
This is one of over 100 articles in the author’s Astronomy Digest.
Pixinsight can use a plug-in called ‘Blur Exterminator’ which employs an AI based deconvolution tool to sharpen images. It is excellent, but there is a cost of 230 euros for Pixinsite and $99 for Blur Exterminator to enable it to be used. There are also a number of de-noise programs such as Topaz DeNoiseAI for $79. A free software program has recently become available (Sept 23) which also uses AI to sharpen and de-noise astronomical images. Only directly available for Windows, there are ‘workarounds’ to allow it to be used in Mac and Linux computers as described in the author’s video which I link to below. The use has a lot of facets and the linked to video is the best way to learn how to use it. At the end of the article, I show how to download what is a very large program. But first some thoughts about my use of the program.
Using Astroclean
This is the new feature to de-noise astronomical images. It is suggested that one should sharpen the image first if one wished to do so then apply Astroclean to de noise it. I have been very impressed with it. I have tried it with two images, the first using an image of M31 to which I have added Gaussian noise and the second, real data derived from just stacking 5 of 500 frames of M27.
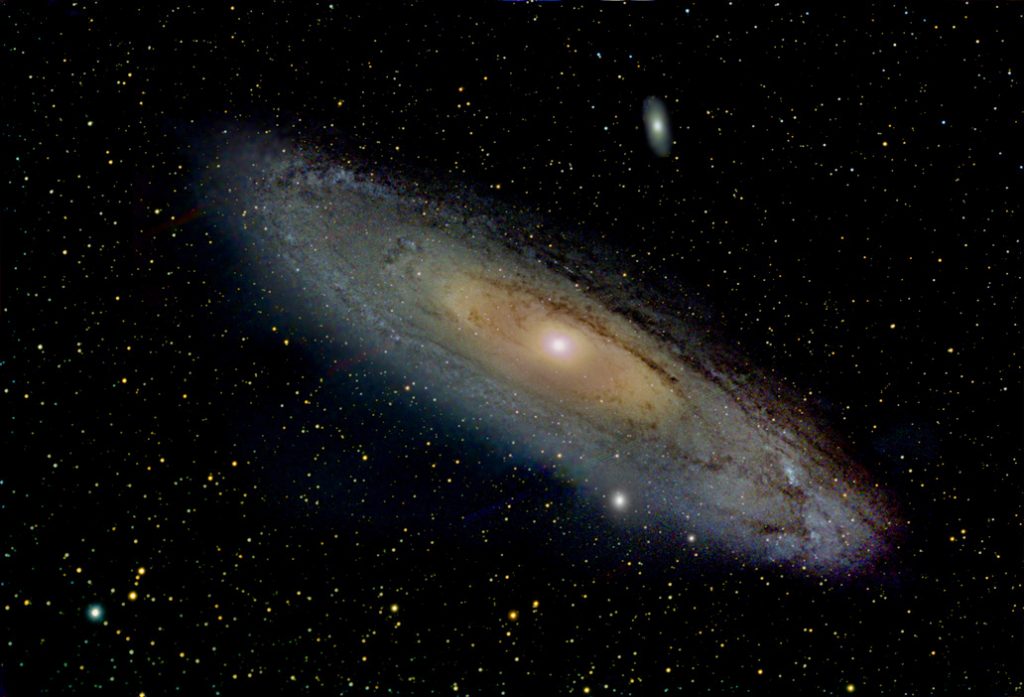
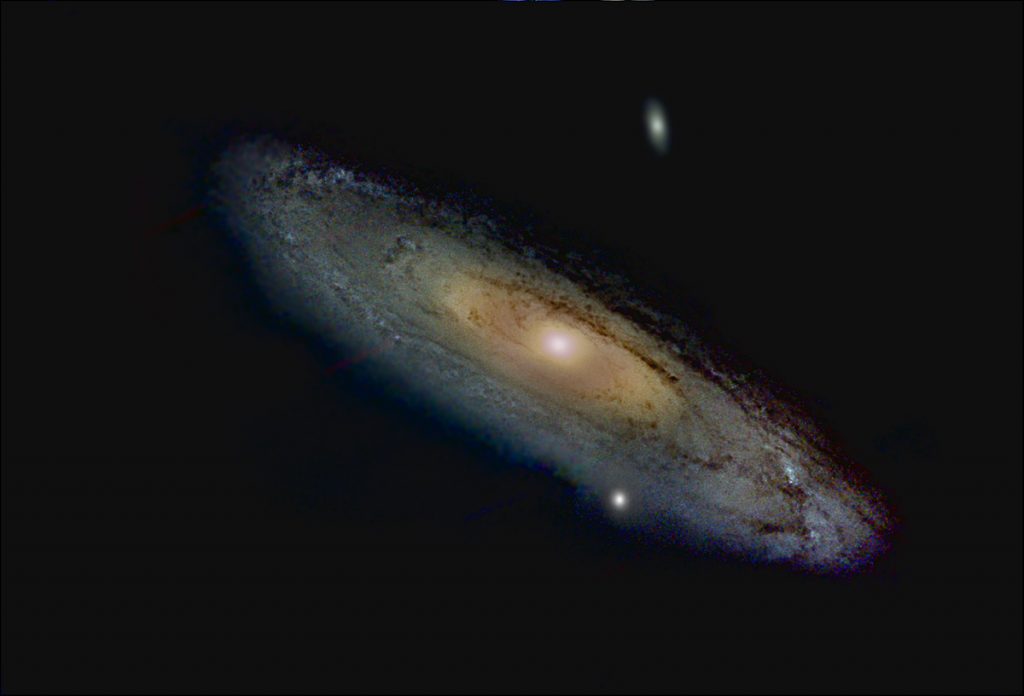
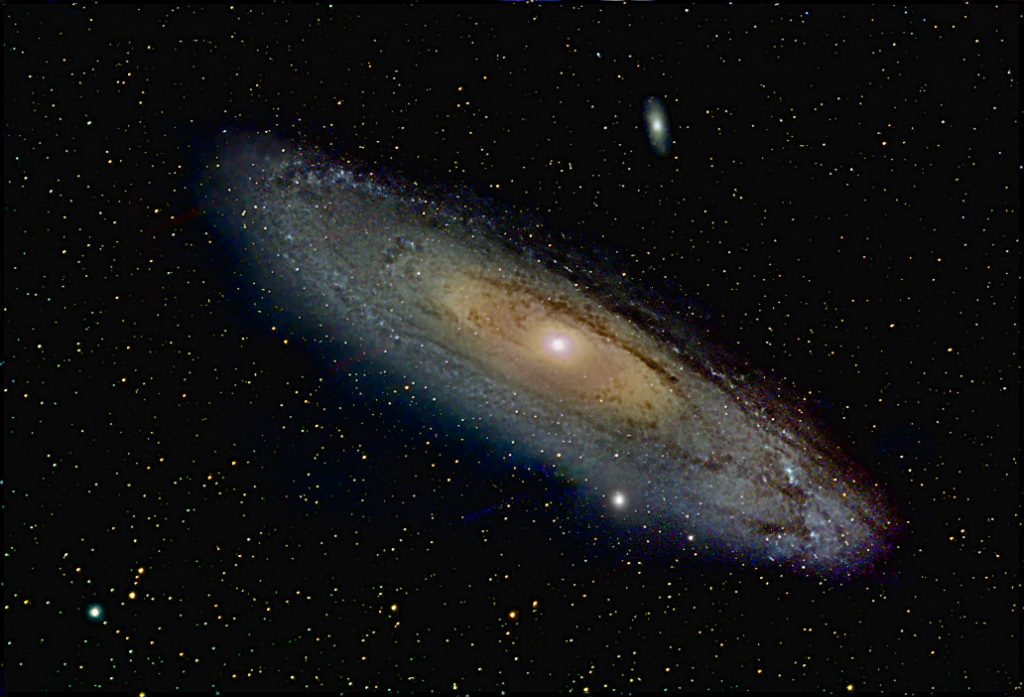
Andromeda Image
Image 1 shows a crop the original image.

Image 2 shows the crop with noise added.

Image 3 shows the crop having applied Astroclean. The result is virtually identical to the original image!

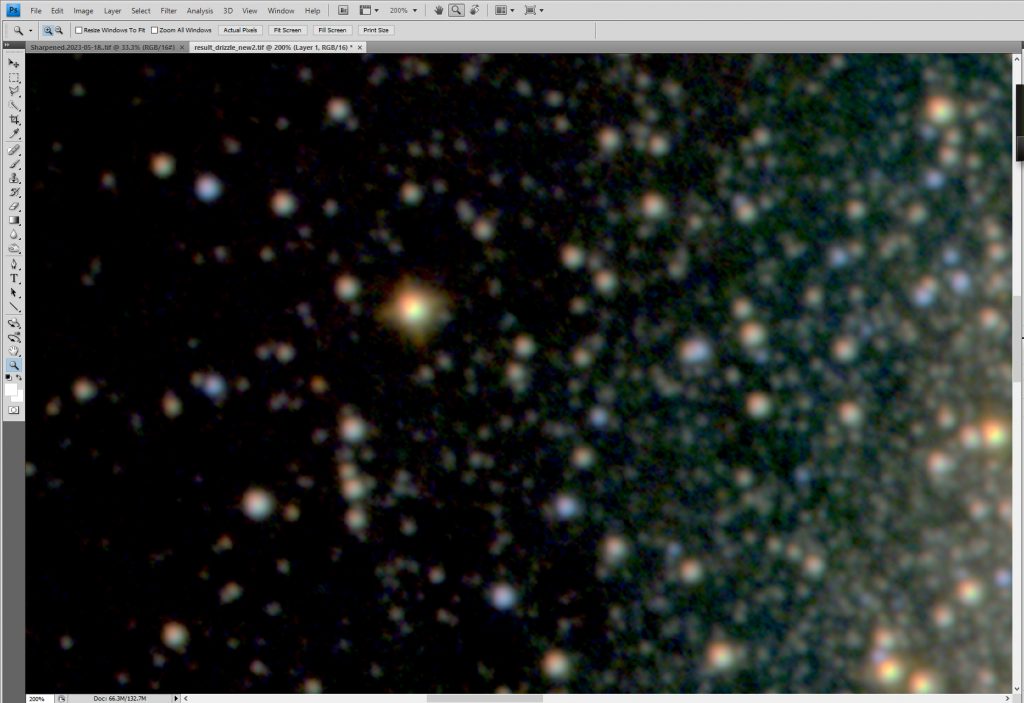
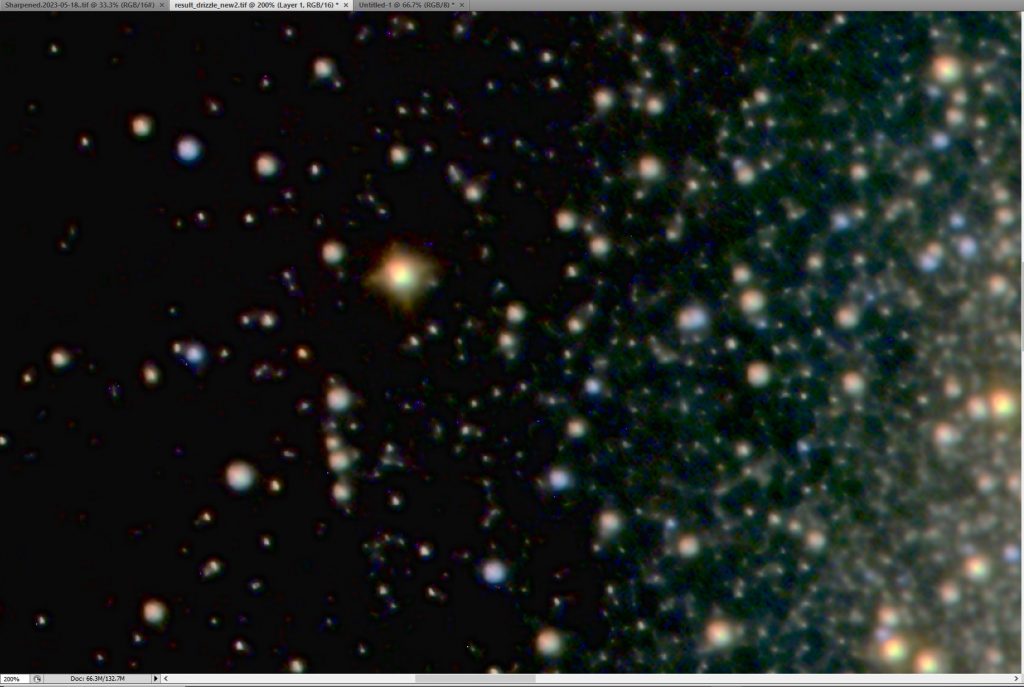
This is real data from a live stack of 500 frames of M27. Crops are shown.
Image 1 is the noisy result of just stacking the first 5 frames.
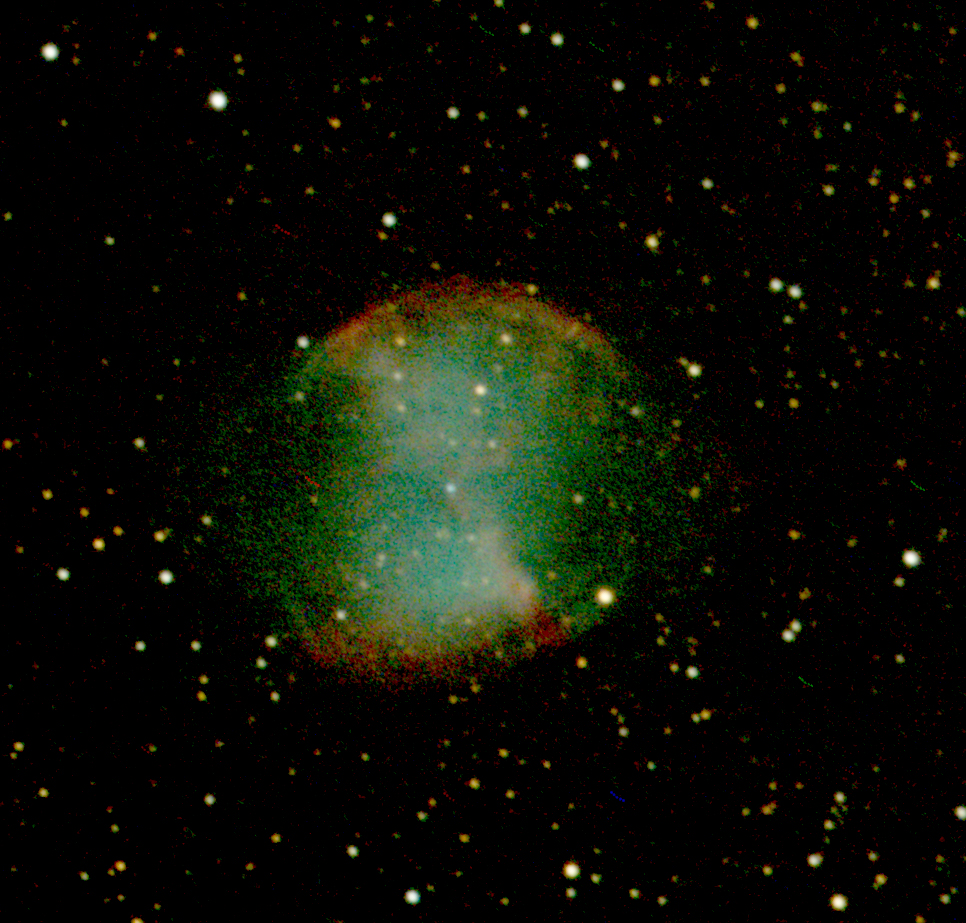
Image 2 is the result of applying Astroclean with the default settings – not bad I think.
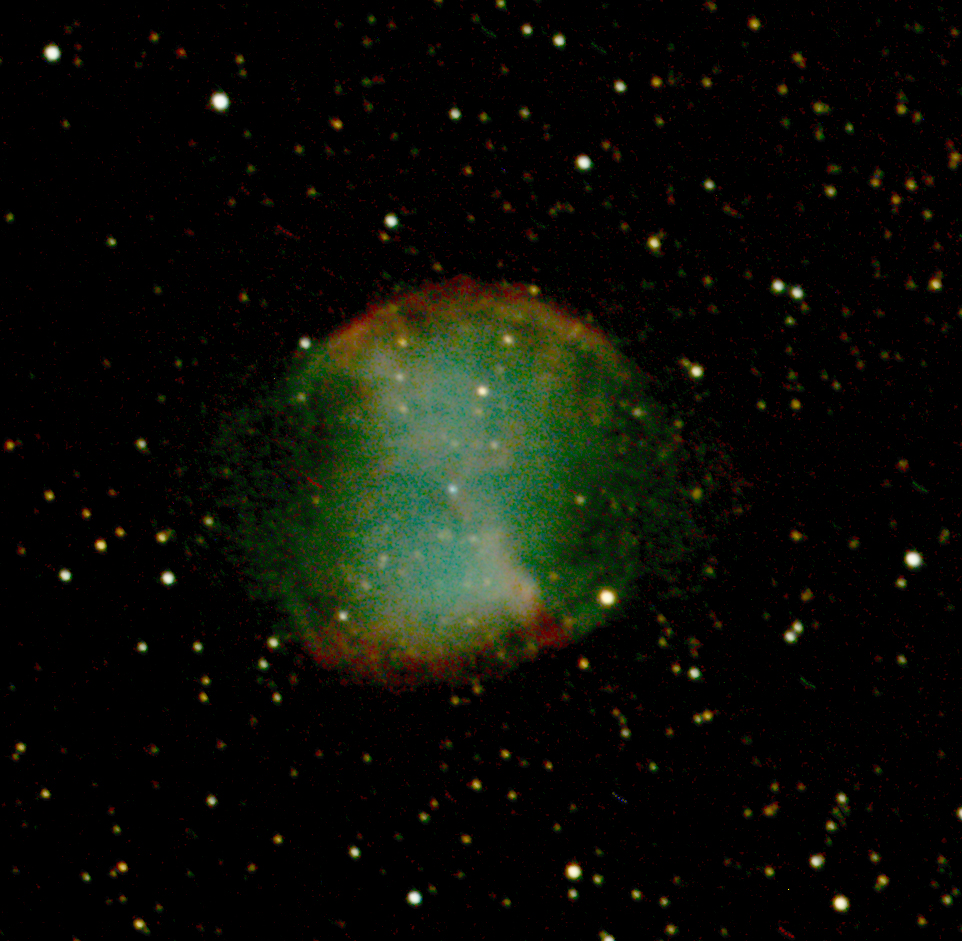
Image 3 is the result of stacking all 500 frames and should be noise free.

Using Astrosharp
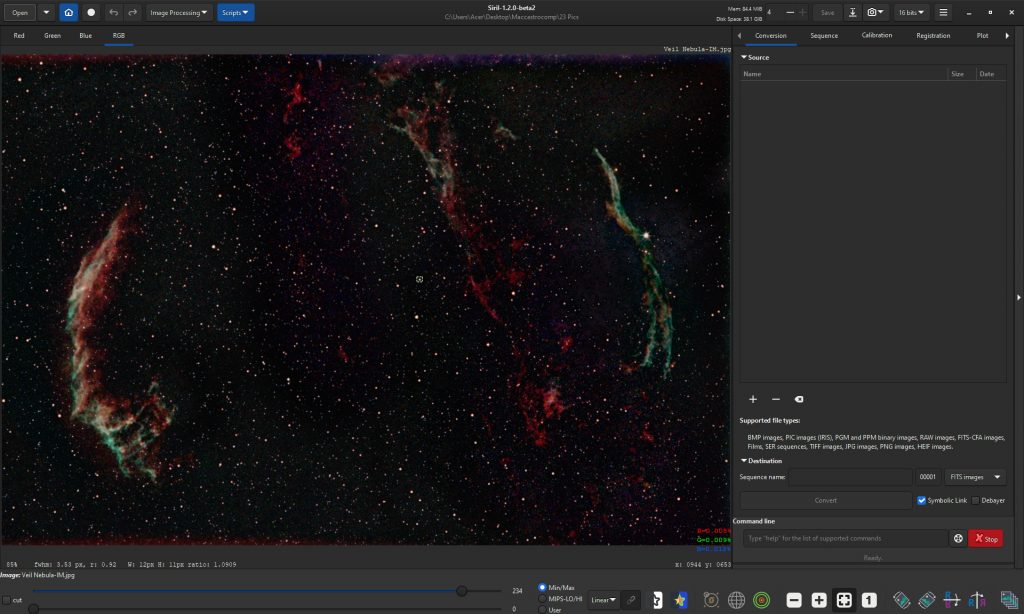
One sharpening mode uses the stellar point spread function. If, in Siril, a selection is made of an unsaturated star in the image, the FWHM is shown at the lower left of the screen. This value is divided by 2.35 to give a value of the point spread function. By adjusting the PSF slider to suit one may get a better result than in the earlier versions.
To use Astrosharp
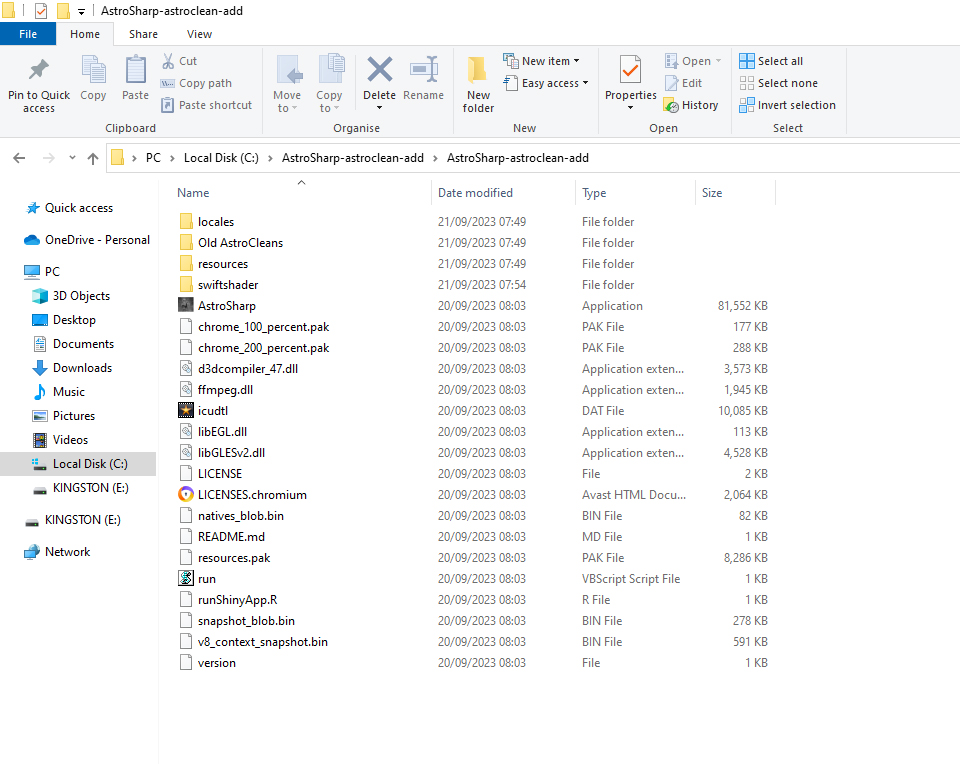
One selects the AstroSharp file location

To bring up its contents:
One double clicks on Astrosharp to open the program:
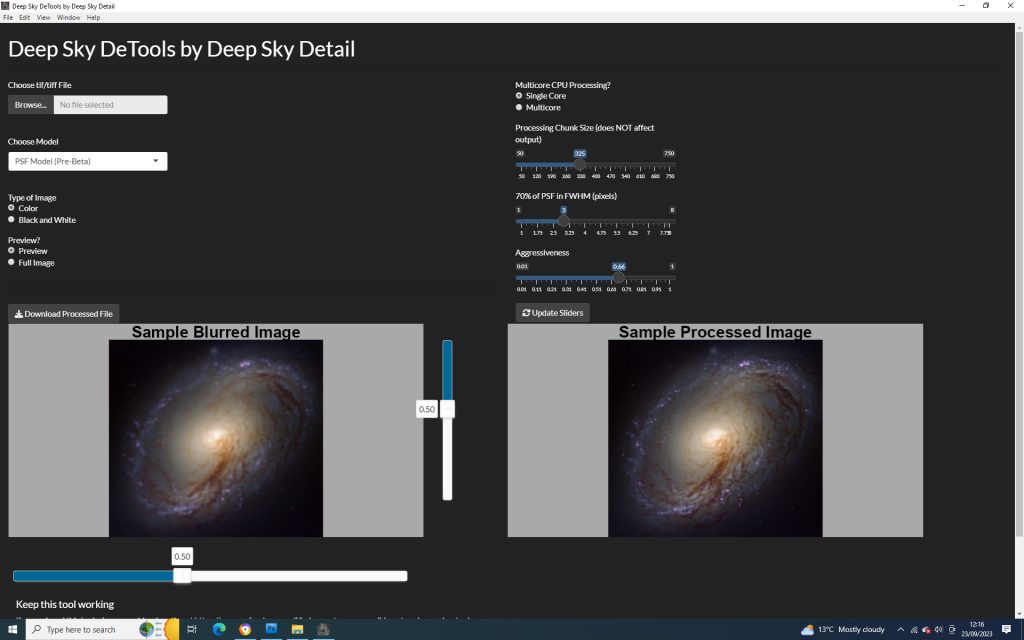
In the ‘Choose Model’ window one can select one of a number of sharpening mode, as described in the videos, or Astroclean.
One can select the new ‘PSF model..’, if desired, and try the program with the default value or that found using Siril. One can select a preview or the full image. When completed – a blue bar moves to the right – one can download the sharpened image.
Using Siril to measure the point spread function of stars in as image.
Select a few unsaturated stars and read the Full Width Half Maximum given at the lower left of the screen. Take the average and divide this by 2.35 to give a value of the Point Spread Function to use un Astrosharp. In the image of the Veil Nebula the average is about 3 so a suitable PSF to try is 1.25.

The ‘Lazy Geek’ has compared its results with Blur Exterminator and finds the sharpening in the earlier versions a bit aggressive. It is easy to ‘tone down’ the result by blending it with original image as described below pertaining to the over sharpened image of M13. Stars against a bright background can sometimes show a darkened ring around them. As I describe below, there is a far better way of using Astrosharp than applying it to a complete image which eliminates this problem.
One simply then browses to select the image to be sharpened – a 16 bit monochrome or RGB Tiff. It advises one to select unsharpened, calibrated, files.
The program then works away with a gradually filling task bar. When complete it shows thumbnails of both the unsharpened and sharpened images. The ‘Download Sharpened File’ box at the base of the program window is simply clicked upon to save the sharpened image in the desired folder. One must select the folder in which it is to be saved (it is not necessarily that from where the image has been selected) and append ‘.tiff’ to the filename before saving.
That is all there is to it!
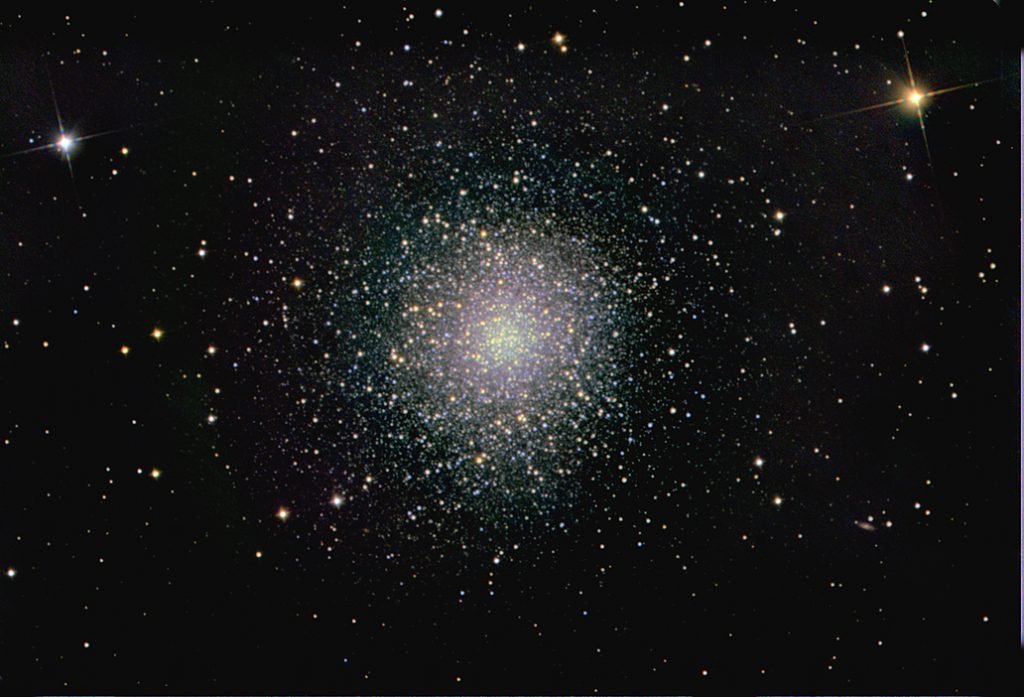
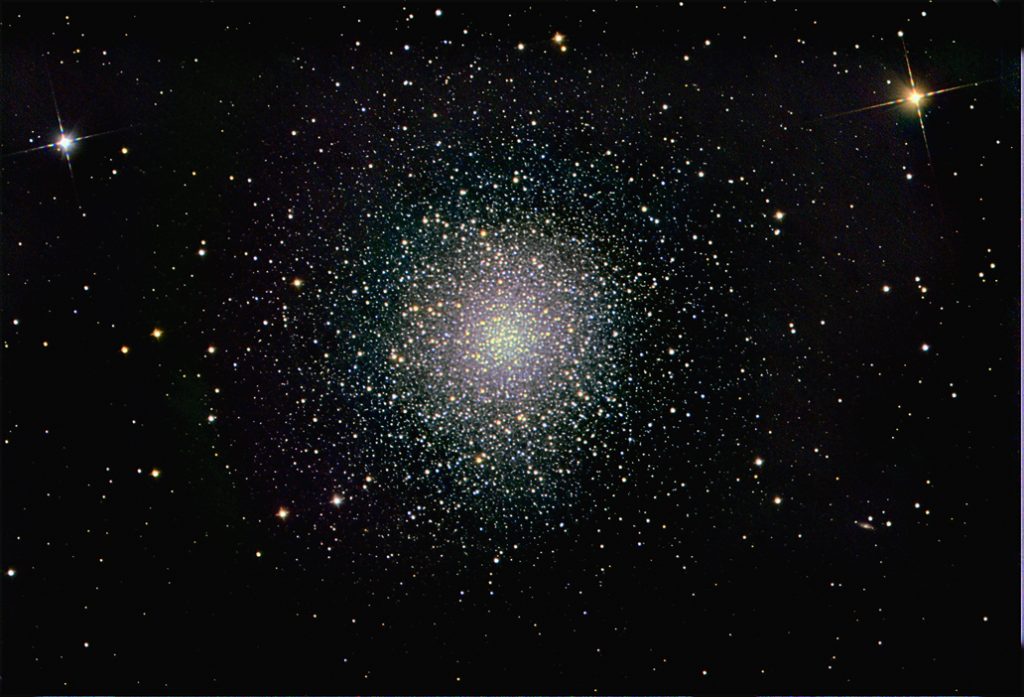
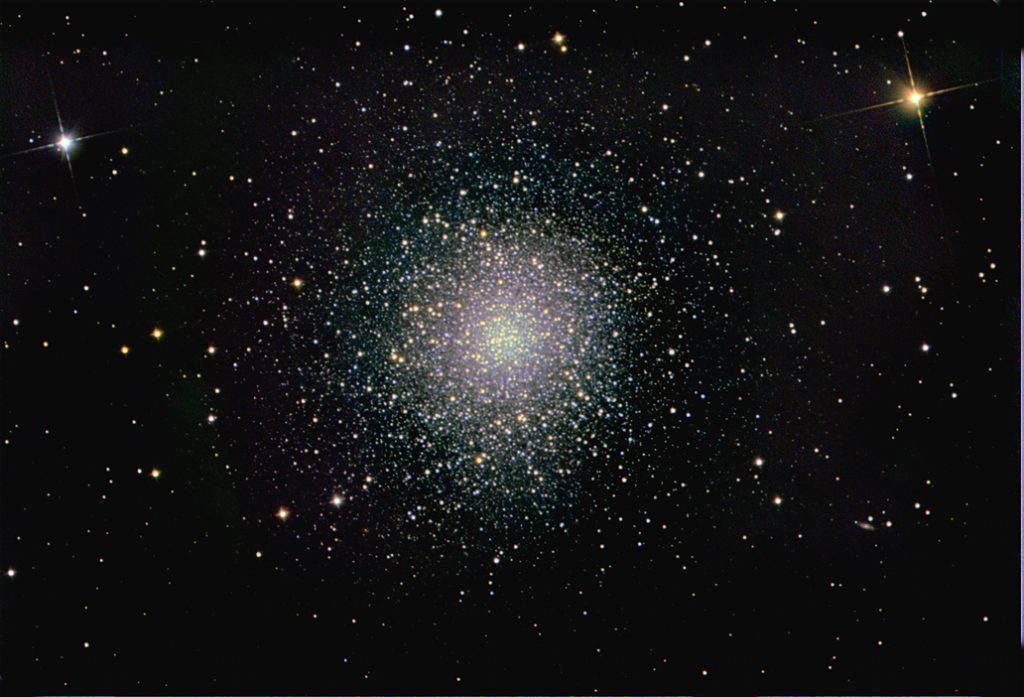
The program reduces the star sizes and ‘cleans’ them up as seen in the two crops of the M13 image below and, I think, applies some local contrast enhancement to the image as seen in the sharpened image of the Andromeda Galaxy to which it gave a subtle, but worthwhile, improvement.
The best way to use Astrosharp
It may be that the best way to use Astrosharp is to separate out the Nebulae and stars using Starnett++ (now accesible from Siril -see my M31 processing article as to how to set this up). Then apply Astrosharp to the ‘Nebula’ and (possibly) ‘Stars’ images separately.
Astrosharp applied to the M31 Nebula image
I find that as well as reducing the star sizes, the earlier versions of AstroSharp can increase their brightness. I like the stars to become less obvious in an image that is focussing on a nebula such as M31. This may not be a problem with the newer version. The enhanced Stars image is copied and pasted over the Nebula image and the two combined by flattening them using the ‘Screen’ blending mode. The stars brightness is simply controlled by adjusting the ‘Opacity’ slider (0% = no stars, 100% = full brightness.
[An alternative to using Astrosharp to reduce the star sizes is to use the free program Images Plus which, in its special functions, has a star size reduction tool which does not brighten the stars.]
Astrosharp’s author advises that one should only apply the program to images that have not had any sharpening previously applied. I did actually try giving additional sharpening to an already sharpened image – as seen in the images of M13 below – and the result was, as suspected, somewhat over the top. However, one can adjust the amount of sharpening applied quite easily. Using any of the image processing programs such as Adobe Photoshop (very expensive now), Affinity Photo (excellent and not too expensive) or Glimpse (free), one simply copies and pastes the sharpened image over the less or unsharpened image and, in the ‘Normal’ blending mode, adjusts the opacity to suit. (0%, unsharpened, to 100% fully sharpened.)
Using Astrosharp and Astroclean
This is the URL of the video describing the program:
Downloading AstroSharp
Put this URL into the top line of your browser NOT the search bar as you will get the earlier version.
https://github.com/deepskydetail/Astr…
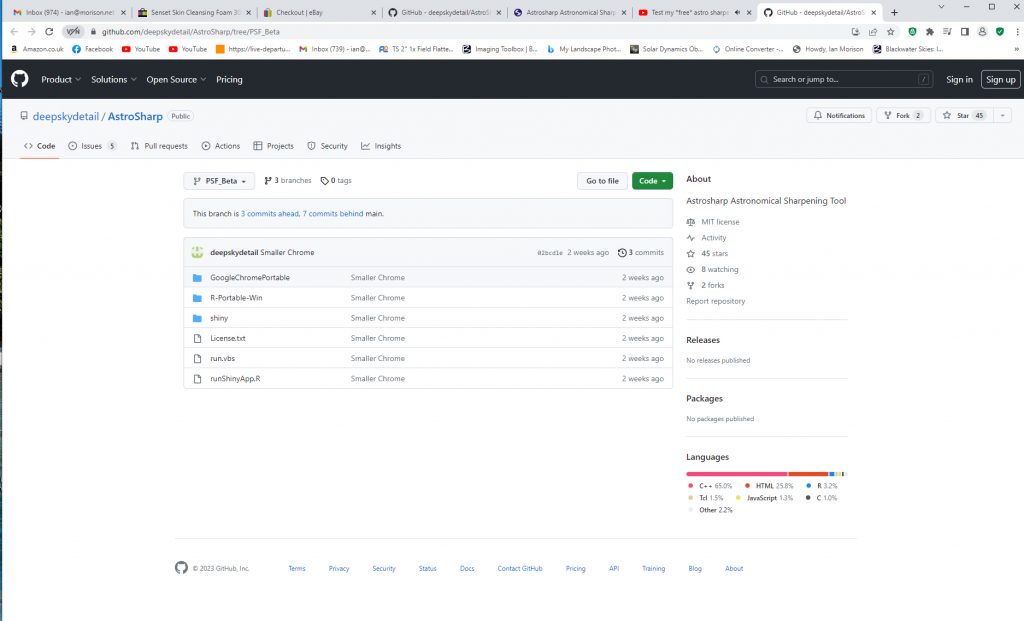
Click on Code green tab to open window.

Click on ‘Download Zip – it will go into your downloads folder.
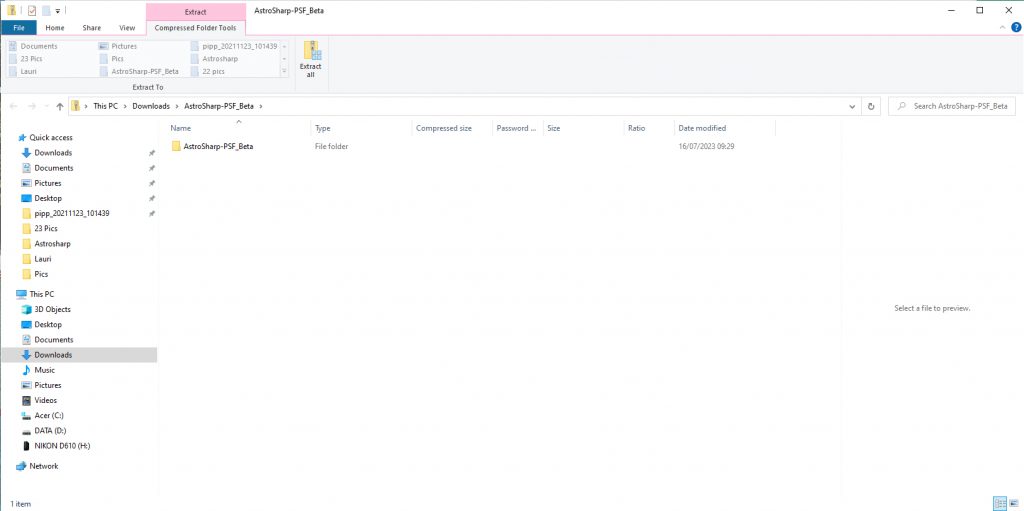
‘Extract All’ into your desired folder – this will take some time!

Open the folder and you will see the uncompressed files . To open the program click on ‘Run’.
This is is the earlier YouTube video about it.