
[This is just one of many articles in the author’s Astronomy Digest.]
Quite a nice thing to do as an amateur astronomer is to attend a star party. These are held across the country in the spring and autumn and give you a chance to see lots of telescopes and equipment whilst, if clear, observing and perhaps imaging the heavens under dark skies. In daytime, of course, there is a chance of observing the Sun in white light and H-alpha emission. Perhaps the best known is the Equinox Star Party that held in the spring and autumn at Kelling Heath in North Norfolk. Two large fields are filled with tents surrounded by vast array of telescopes and there is even a campervan complete with an observatory dome! This account of my visit to the Isle of White star party back in March 2011 might give you a flavour of what goes on.
The Star Party is held in a 1930’s holiday camp (think Hi-de-Hi) on the Isle of White’s southwest coastline.
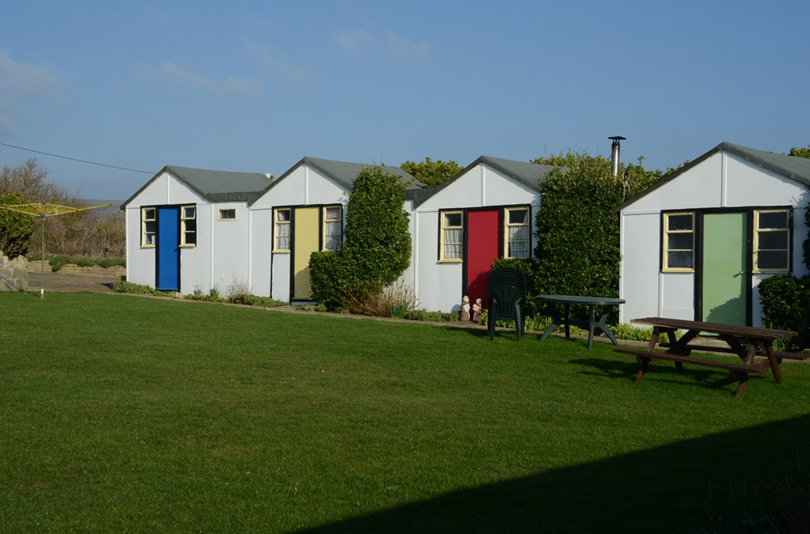
Cabins at the IOW Star Party
It is becoming increasingly popular, with keen visual observers and astro-imagers taking part under its dark skies. [I had with me a SQM dark sky meter which gave a reading of 21.2 − corresponding to a limiting visual magnitude of just over 6 magnitudes.] The grass lawns in front of the cabins, were split into two main areas, in the first there were some giant Dobsonians and other telescopes used for visual observing with the participants moving from one to another as faint galaxies and other deep sky objects were located. Much discussion prevailed. In the second, some distance away, were impressive imaging systems with some using guide scopes to correct for any small tracking errors whilst long exposures were made. In the relative quiet, their owners peered down at laptop computers, shrouded so the glare from their screens would not affect other imagers.
I wasn’t a serious imager, just having with me an iOptron MiniTower alt/az mount, Takahashi FS102 Fluorite APO refractor and a newly acquired Nikon D7000 DSLR camera having a T-mount so that it could be mounted in the 2-inch focuser barrel of the telescope. At that time, the Sony sensor employed in the camera was said to be the best APSC sensor ever produced. A small gel-cell battery was used to power the mount.
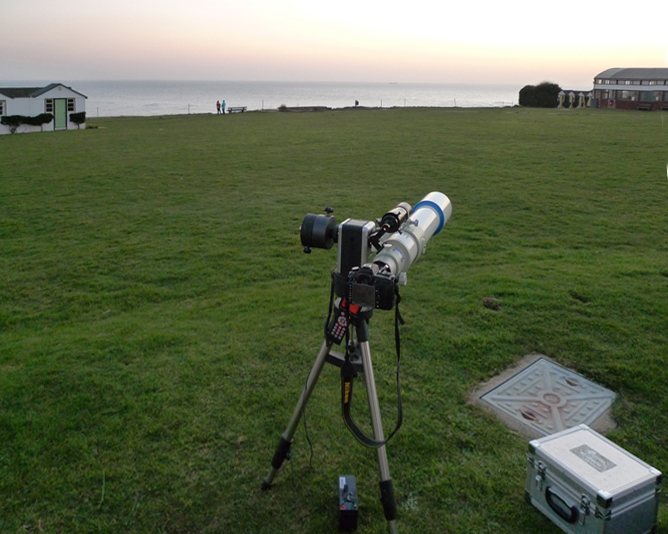
iOptron MiniTower, Takahashi FS102 refractor and Nikon D7000 DSLR
I set up the mount more or less in isolation, near to the Dobsonian area but a little towards the imaging area. It was in the lee of some of the cabins which sheltered me from a rather strong and cool north wind.
My observing site in the lee of some cabins facing southwest
I had aimed to do some simple astrophotography using the DSLR but spent much of my time enjoying the views through the larger telescopes close by. In the afternoons and early evenings we enjoyed some talks given by the participants.
The site is located on cliff tops with a good view of the southwest horizon. I had remembered that the ‘Night Sky’ guide that I write each month (search for ‘Night Sky Jodrell) pointed out that, on the 6th March, Jupiter and a thin crescent Moon would be seen in the western sky with the possibility of spotting Mercury which was barely above the horizon. So, forgoing a pub dinner, I set up my equipment above the cliffs with the sea horizon before me in the southwest. As twilight fell, Jupiter and the Moon were easily seen and photographed, but haze near the horizon meant that none of us could see Mercury.
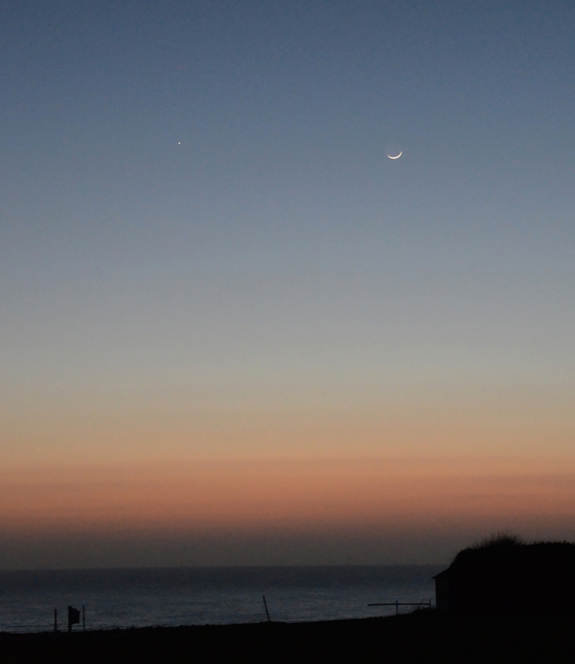
The thin crescent Moon and Jupiter using a wide field lens on the Nikon camera
Having aligned my FS102 on Jupiter, the iOptron mount ‘went-to’ Mercury. This gave us the precise direction on which to train our binoculars, but still no joy. Then a very bright suggestion came from one of the events organisers − why not take a photograph. So my Nikon D7000 camera was mounted on the scope, focussed on the Moon, and then slewed back to Mercury to take an image. We zoomed in and scanned the camera’s small screen and were delighted when we found it − split into the colours of the rainbow by refraction in the low atmosphere. [See the essay on ‘Combating Atmospheric Dispersion’ in the digest.]
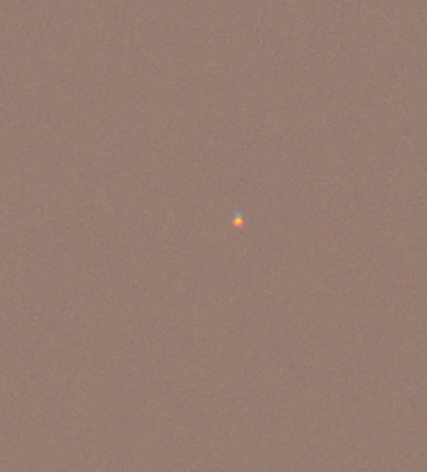
An extreme crop showing the image of Mercury split into a spectrum by atmospheric dispersion
The old moon could just be seen within the arms of the 42 hour old Moon, so I took a number of images exposing first for the new Moon and then for the old Moon in the new Moon’s arms.

The crescent Moon exposed for the bright limb and then to bring up the ‘Earthshine’
Later, a while was spent in Photoshop Elements combining the two images into one.
![]()
Composite image of Earthshine
As darkness fell, Orion became visible in the southwest and an obvious target was M42, the Orion Nebula. The iOptron Minitower is an alt-az mount [see an essay about these mounts in the digest] and so is not ideal for very long exposure astro-imaging due to the fact that the image will rotate round in the camera frame (called frame rotation) as the object moves across the sky. It does, however track very well and unless very long exposures are used no star trailing will be apparent. I did, however, have in my computer the free software package called ‘Deep Sky Stacker’ which can take a number of images, calculate the positions of the bright stars in the image, and automatically rotate them before aligning them and ‘stacking’ them into one. So, undaunted, I began to take a series of images of the Orion Nebula.
The Orion Nebula is a difficult object to image well due to the great brightness range between the very bright region surrounding the Trapezium stars at its heart and the very faint outer nebula regions. If one takes sufficiently long exposures to bring up the outer nebula regions the central regions will be blown out and pure white. One can either take a series of different exposures and combine them − which is quite a difficult process – or take a very large number of exposures sufficiently short so that the central region is not over exposed, stack them and stretch the resulting image to bring out the outer parts of the surrounding nebula. I thus chose a short exposure time of just 8 seconds with the ISO set to 800.
The heart of the Orion Nebula imaged with a very short exposure times showing the ‘Trapezium stars’
This was long enough for me to see if the images were sharp by inspecting the brighter stars in the image and meant that any tracking errors would not harm the stellar images. Two tricks were used to help: as I did not have a remote release, I used the self timer to delay the shutter release for 5 seconds to let any vibrations, caused when pressing the shutter button, die down and also used the ‘mirror up before imaging’ mode which lifts the mirror one second before making the exposure. I took several sets of images, re-focussing the image before each set. A remote camera control system that enables one to control the camera and inspect the images on a computer screen would have helped. It is free for Canon cameras but was, then, quite expensive for Nikons! There is now, however, a freeware program called qDslrDashboard that I have now installed onto my laptop and tablet (equipped with a USB adapter) which will remotely release the shutter of my D7000 camera and input the images into the computer/tablet which can then be inspected at large scale to check the focussing.
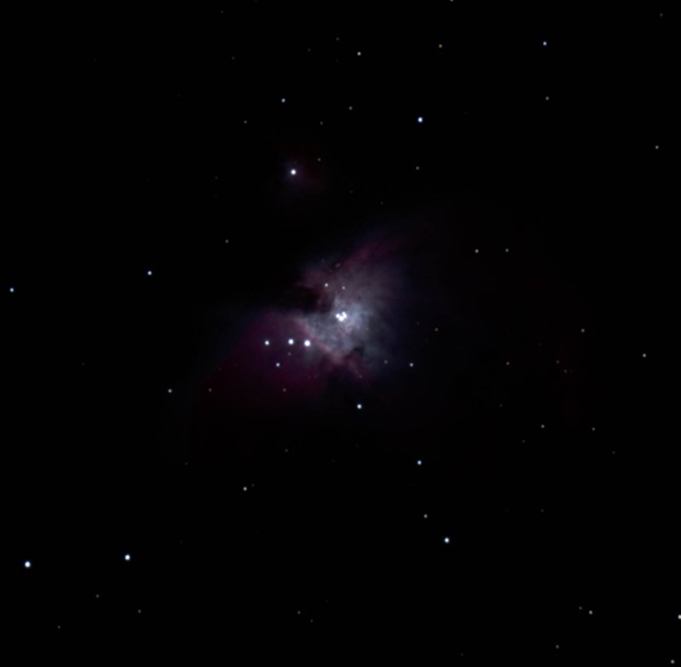
Deep Sky Stacker was used to align and stack the short exposures and then the free IRIS program was used to stretch the image and bring out the faint nebulosity. The free program GIMP was then used to enhance the image to give the final result shown below.

The Orion Nebula with, above, the ‘Running Man’ reflection nebula.

A crop of the central image of the Nebula showing the Trapezium stars. The Flame Nebula lies just above.
The Pleiades Cluster was my next target. The image below shows a single exposure.
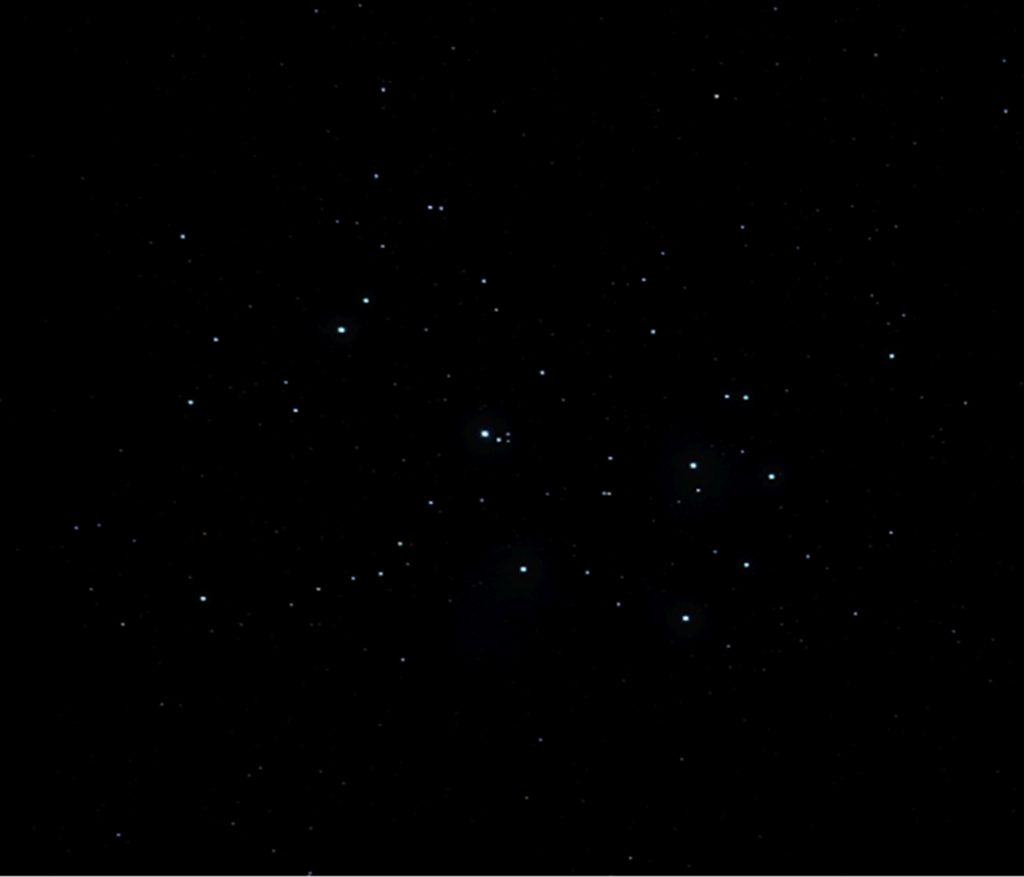
A single exposure of the Pleiades Cluster showing the brighter stars
A set of 20 exposures were then aligned and stacked in ‘Deep Sky Stacker’ and stretched in IRIS. Full details of the techniques used for all these images are given in ‘The Art of Astrophotography’.
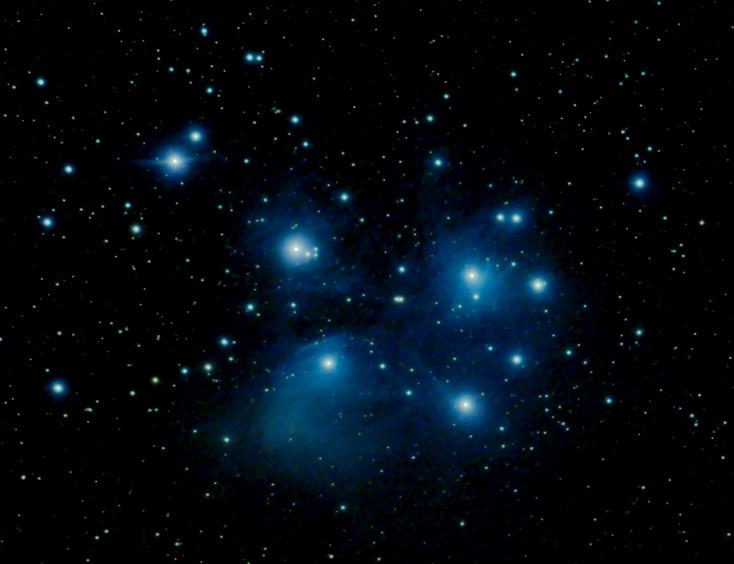
The processed image of the Pleiades Cluster showing the nebulosity surrounding the brighter stars.
Finally, I moved on to image Caldwell 14, the Double Cluster in Perseus again taking sets of images.
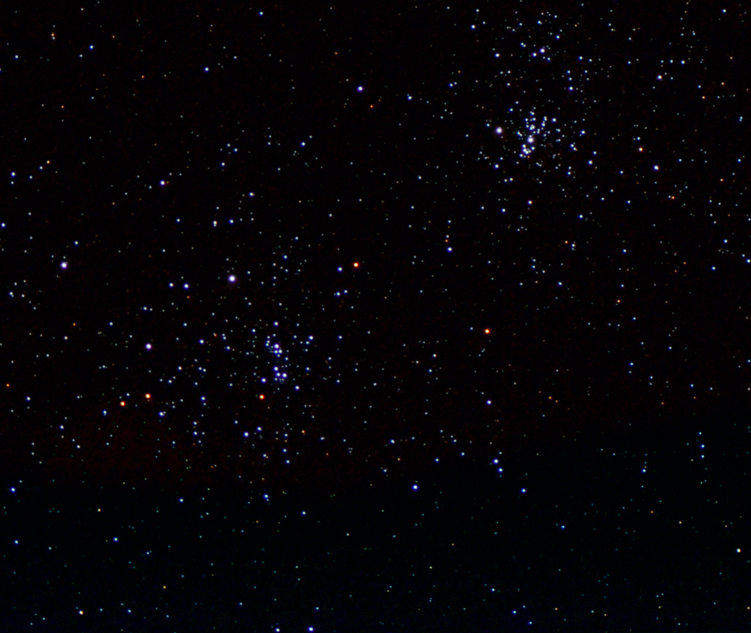
Caldwell 14, the Double Cluster in Perseus showing a number of red giant stars (which appear orange)
By this time clouds were covering much of the sky, though they did clear later in the night and there was a clear sky as, just before dawn, I packed up my car. Just before leaving, the Sun rose over St Catherines Down with the haze acting as a solar filter. So a final quick image of the Sun was made using a 300 mm lens which nicely showed the two sunspot groups that were gracing its surface. A really good finale to my few days away!

The rising Sun taken with a Nikon D7000 DSLR and 300mm prime lens.