
[This is just one of many articles in the author’s Astronomy Digest.]
If one’s mount can be controlled from a computer via ASCOM, then SharpCap can be very useful in helping to precisely locate an object that is to be imaged.
This uses ‘Plate Solving’ and it may be worth first reading the digest article ‘Plate solving with a handset…’.
The SharpCap section on Plate Solving in its homepage states that one of three plate solving programs (all of which use the basic ‘Astrometry.net’ code) must be installed on the computer running SharpCap. These are: All Sky Plate Solver, AnSvr and Astro Tortilla. Having downloaded one of these, they lead you to download a set of ‘indexes’ and the stellar database.
When the mount has been linked to SharpCap, a small window appears under the ‘Mount Controls’ section which is, surprisingly, part of the ‘Camera Controls’ window.
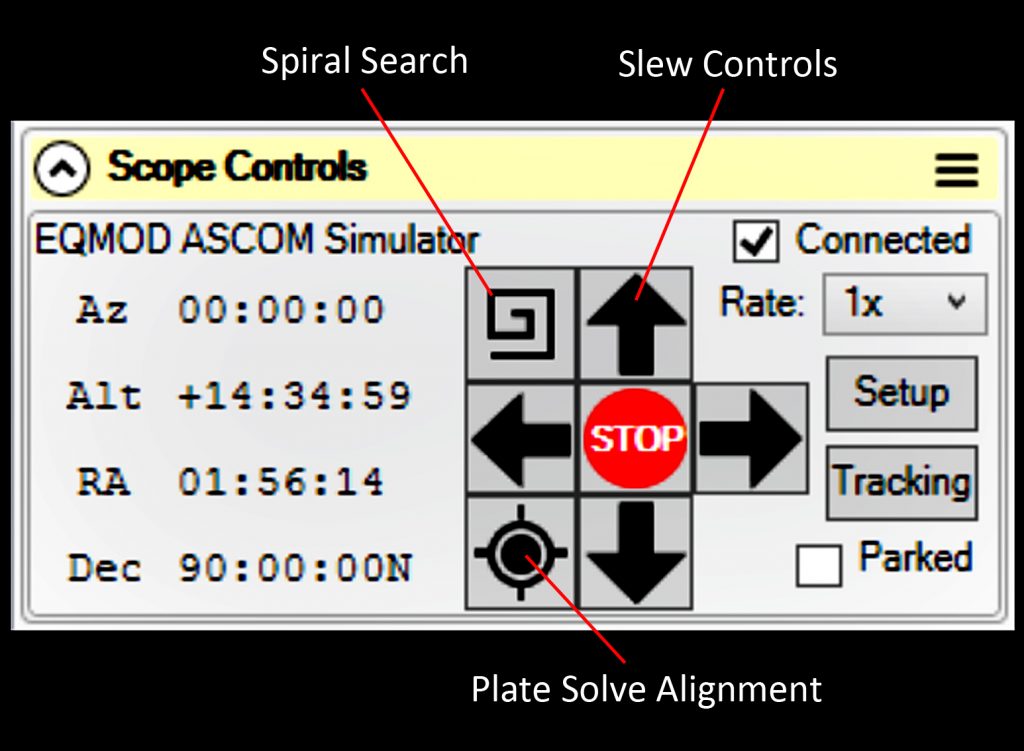
This allows one to slew the mount should one wish, carry out a spiral search from the current position of the telescope or – the key point – use plate solving to find the precise current position of the telescope and then slew the mount to centre on the object that one wishes to observe.
Usually, when slewing the mount to carry out star alignments, a finder scope may be required to centre it in the field of view. This is no longer required and assuming that mount has been accurately polar aligned (SharpCap can do this too) one does not really need any further alignment steps as one can use SharpCap to align on the first object that is to be observed.
Having slewed to your desired object, depending on the field of view of the camera, the object may well not be visible in the captured image field. Then, with SharpCap linked to the imaging camera, the exposure and gain are set to give an image with ~20 or more stars visible and one simply clicks on the plate solving button. SharpCap takes an image and passes it to the plate solving program. Assuming that the plate is ‘solved’, SharpCap reads the precise RA and Dec of the mount’s current position and synchronises the mount. The mount’s displayed RA and Dec will then change to the actual mount position. Knowing the position that one is aiming to observe – taken from the mount before synchronising it – SharpCap issues a command to slew to this position. As this is likely to be very close the actual position so that the mount has only has to move a small amount, the intended object should then lie at the centre of the field of view. It does.
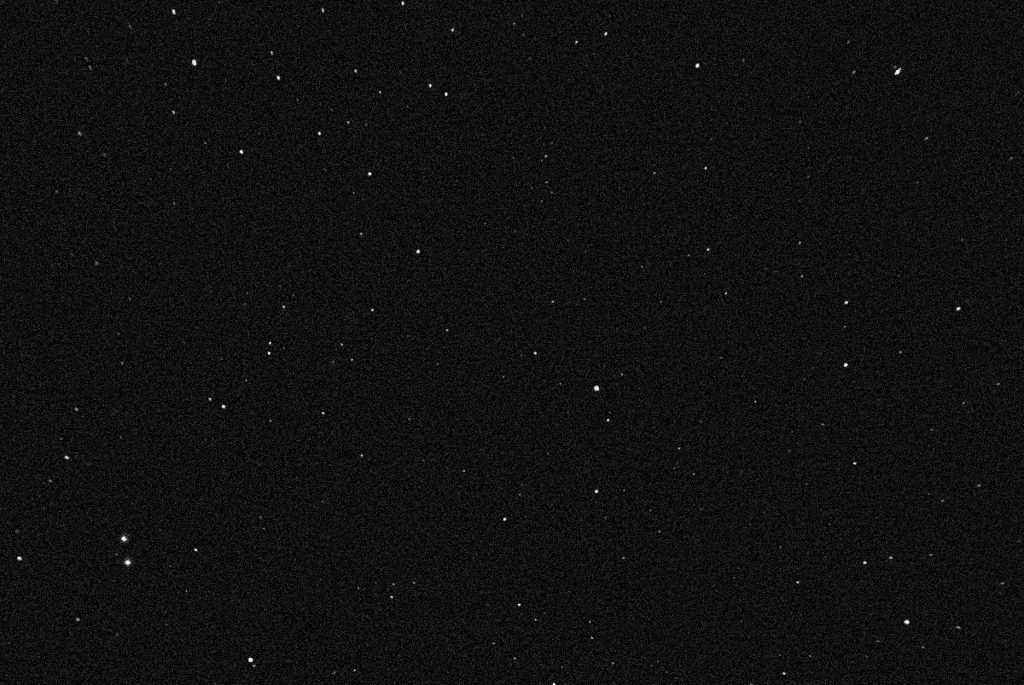
For my first test of the technique, I polar aligned the mount using the QHY polemaster (article in digest) and decided to ‘goto’ Vega – which can hardly be missed. The exposure and gain of the camera were set so that a good number of stars were visible. Not surprisingly, it did not quite get there and Vega was not in the camera’s field of view. For interest I saved this mono image which is noisy as a short exposure with high gain was used. I suspected that the doublet of stars seen at the lower left of the frame were the ‘double double’ star, Epsilon Lyrae.
For interest, having saved this image before asking SharpCap to plate solve, I later submitted it to Astrometry.net and my suspicion had been correct.
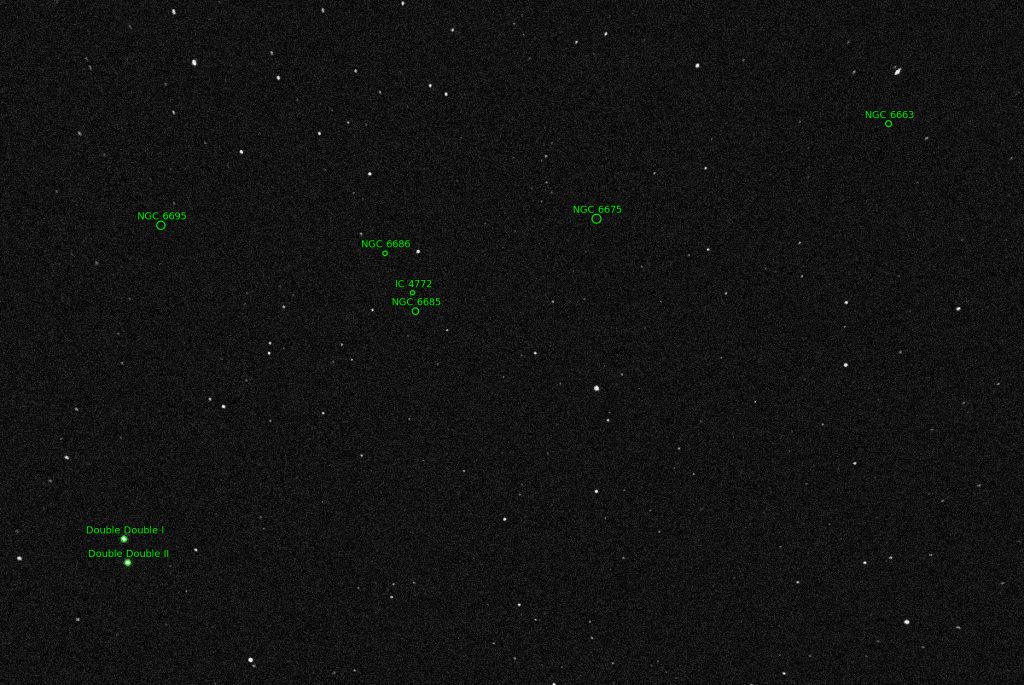
It showed that the mount had got very close to Vega which was just outside the field of view.

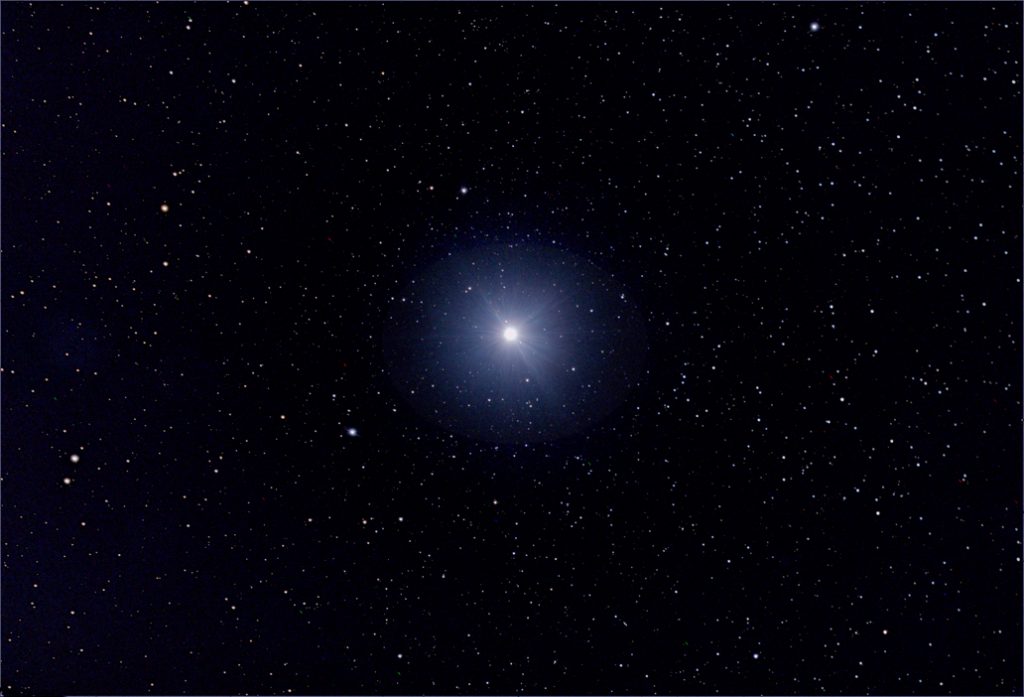
The platesolve button was clicked upon and, following a successful solve, the mount slewed to centre the field on Vega. Below was the image then captured by the Altair Astro 294 cooled camera which, with a Telescope Service 90 mm, f/6.6 refractor, had a field of view of 1.83 x 1.59 degrees. Success!
The mount was then ‘synchronised’ on Vega and further ‘goto’s’ in this region of the sky would be quite accurate – but if an object is not found the process can be used again and, as I found, it may well be quicker to use SharpCap to centralise an object in the field of view rather than use the manual slew controls.
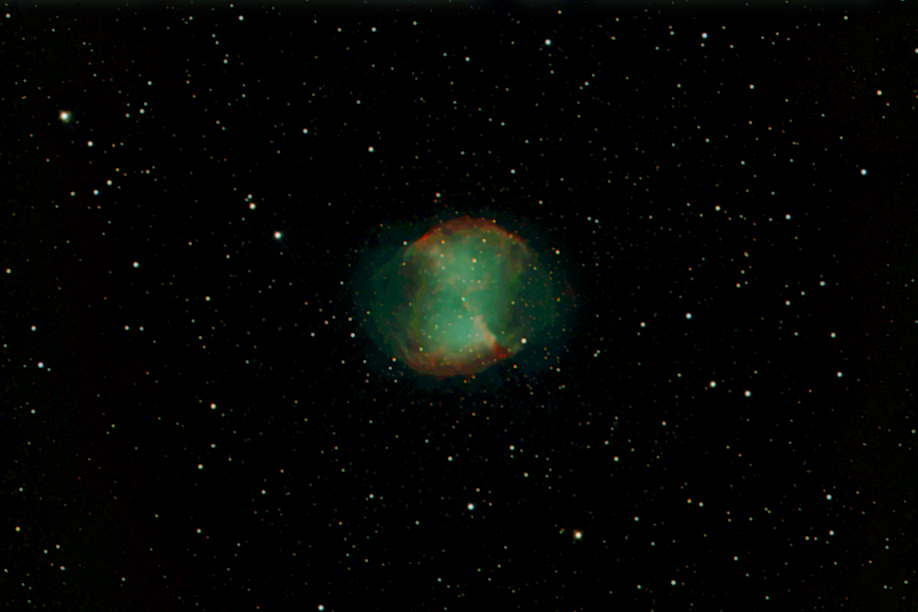
I had decided to image M27, the Dumbbell Nebula, using my Vixen VC200L catadioptric astrograph as, like the Celestron Edge HD SCTs, it uses corrective optics to give a coma free, flat, field). This telescope/camera combination has a smaller field of view of 0.51 x 0.53 degrees and, as my mount’s un-aligned ‘gotos’ typically only get within ~ 1.5 degrees of the desired object, I was not surprised that it was not visible. SharpCap was used to plate solve and within a very short time, M27 lay in the centre of the camera’s sensor. A total of 1 hours worth of 25 second exposures were then taken with camera sensor cooled down to -15 C. [With this exposure length, no star trailing is visible and I simply increase the camera’s gain until sufficient stars are visible in a single frame to allow them to be aligned and stacked.]
Having removed the sky glow (moonlight and light pollution), stretching the image resulted in the final image shown below. No filters had been used and, to be honest, I was not expecting such a good result!
Using SharpCap I now believe that, having accurately polar aligned a mount, there is no need to carry out any further star alignments. One simply asks the mount to ‘goto’ the first object to be observed, and SharpCap will centre it in the field of view. The mount can then be synchronised so one has, in effect done a ‘one object’ alignment and will then get closer to further objects to be observed but there is no need, one can simply let SharpCap’s plate solving find them for you. Magic!