[This is just one of many articles in the author’s Astronomy Digest.]
Reviews on YouTube suggest that this is an excellent lens for taking wide field astrophotography images so I bought one to couple with my Sony A5000 (see article in digest) to take to New Zealand to image the southern Milky Way. These are my thoughts.
Construction and optics
It is a purely manual lens and, though made using plastic, is very well constructed with a metal lens mount. I cannot fault it. It comes with a lens hood. The optical design is very complex using ED and aspherical elements.
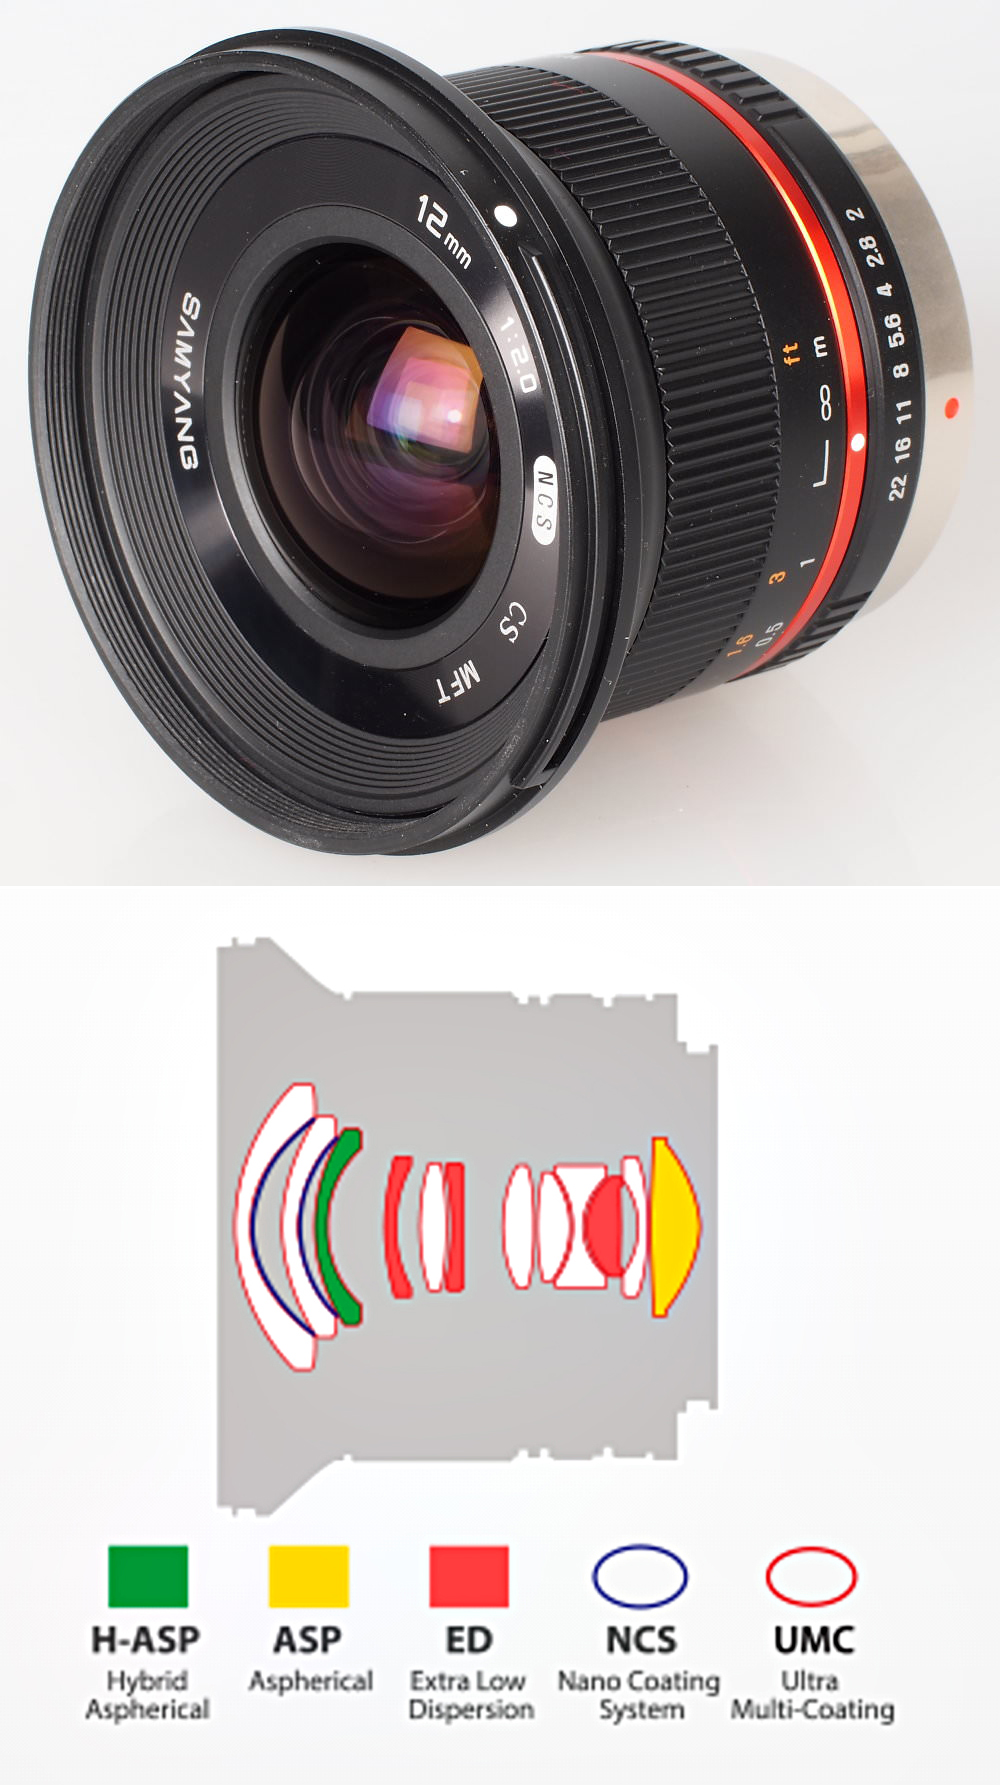
Image quality
The central part of the image is very sharp even at full aperture with the corners, as expected, somewhat behind. Stopping down to f/5.6 or f/6 gives excellent corner sharpness too. For astrophotography use, I have stopped the lens down to f/4 which gives reasonable corner sharpness. Many wide angle lenses give stars angel-like wings in the corners. Creditably, this lens does not but corner stars become linear streaks aligned away from the image centre and also show some chromatic aberration. Inadvertently, I took a set of images of the Cygnus and Lyra region with the lens stopped down to f/8 − so a rather long combined exposure was required! The corner stars were then very good.
At f/4, one could either crop away the corners so reducing the field of view or clean them up using a clone tool as described in the digest article ‘Wide-field Imaging: stretching the output from Deep Sky Stacker, repairing distorted stars and image enhancement’. But it must be said that at f/4 the great majority of image is excellent. When using the lens with the smaller micro 4/3 sensor, it would be a near perfect lens. There is some distortion which is easily correctable in post processing if required. There is a fair degree of vignetting (darkening of the corner regions) which remains even when the lens is stopped down. This again can be corrected in post processing if desired.
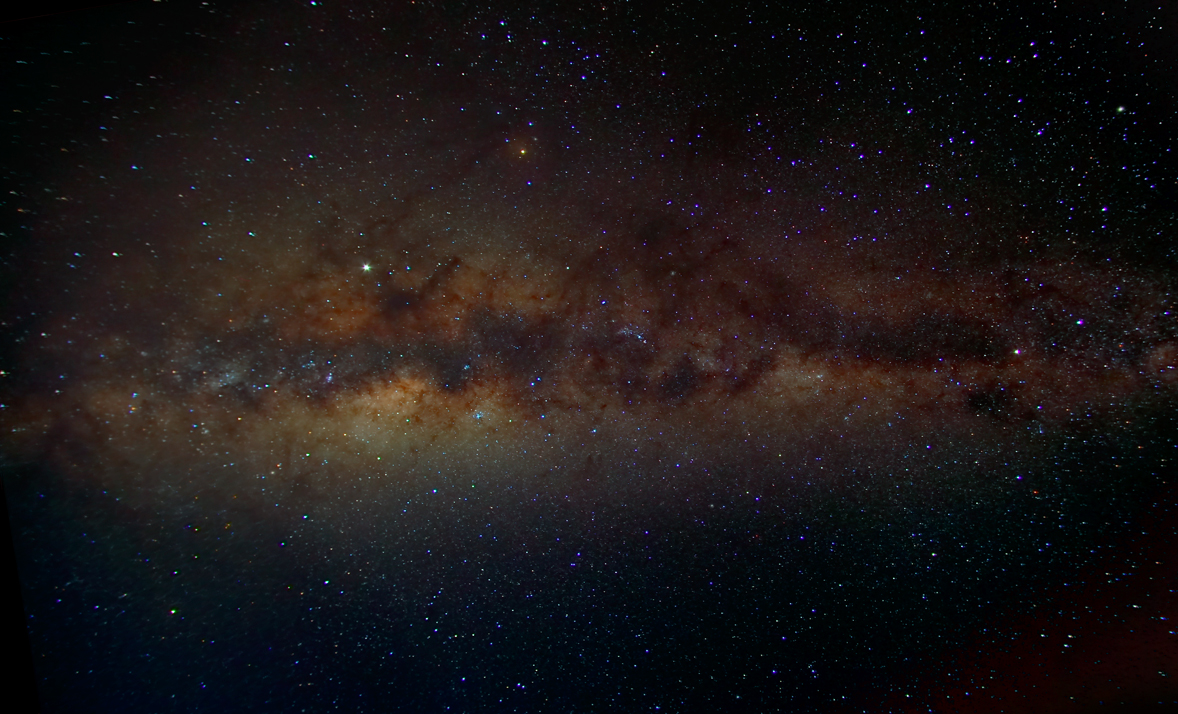
Imaging the southern Milky Way
It is rarely possible to remove light pollution from an image of the Milky Way so we really need to image the Milky Way from a dark site with little or no light pollution and I was able to visit the Aoraki Mackenzie International Dark Sky Reserve in South Island, New Zealand, which is one of four ‘gold tier’ dark sky reserves in the world, to take the image that is described below.
The camera was mounted on a Nano Tracker (as described in the article ‘Three Tracking Mounts’) which was approximately aligned on the South Celestial Pole. There is no obvious star there, so I used a compass and protractor to set the alignment. As a very short focal length lens was being used the alignment does not have to be too precise and there is then the advantage that the image will move somewhat over the sensor during the taking of the sequence of frames which helps to remove what Tony Hallas calls ‘Colour Mottling’.
Using an intervalometer, I took a set of 30 second exposure frames at 800 ISO which were stacked in Deep Sky Stacker. No darks or flats were taken – it is very difficult obtaining an accurate set of dark frames when the camera’s sensor is changing temperature during the set of exposures. The use of long exposure noise reduction would have removed hot pixels but this would halve the time capturing photons from the sky and also adds noise into the image. Deep Sky Stacker can be set to remove hot pixels and none were visible in the final image. However, inspecting individual frames I could not spot any either so the sensor was performing well. The vignetting which would be removed by using flat frames can be largely corrected in Photoshop (at f/4 a value of +55 in the ‘Distort > Lens Correction’ filter). [This would not help reduce the effects of dust mites on the sensor that flat frames taken at the same time would remove so the sensor should be kept clean!]
Thoughts about Dark Current
Each of the 25 frames would contain dark current electrons in their pixel wells as well as those produced by photons captured from the sky. The dark current noise will average out when a reasonable number of frames are taken and provide a smooth pedestal on which the stacked image is placed, so will not add significant noise into the image. This is why I believe taking a larger number of short exposures when using a DSLR or Mirrorless camera is better than taking a few longer exposures. With longer exposures the dark current noise will be greater (so reducing somewhat the dynamic range of the image) and, with fewer frames to stack, this will not average out to the same extent increasing the noise in the final image. Given good tracking, I now believe that 60 second exposures would be about optimum provided 20 or more frames will be taken to reduce the dark current noise.
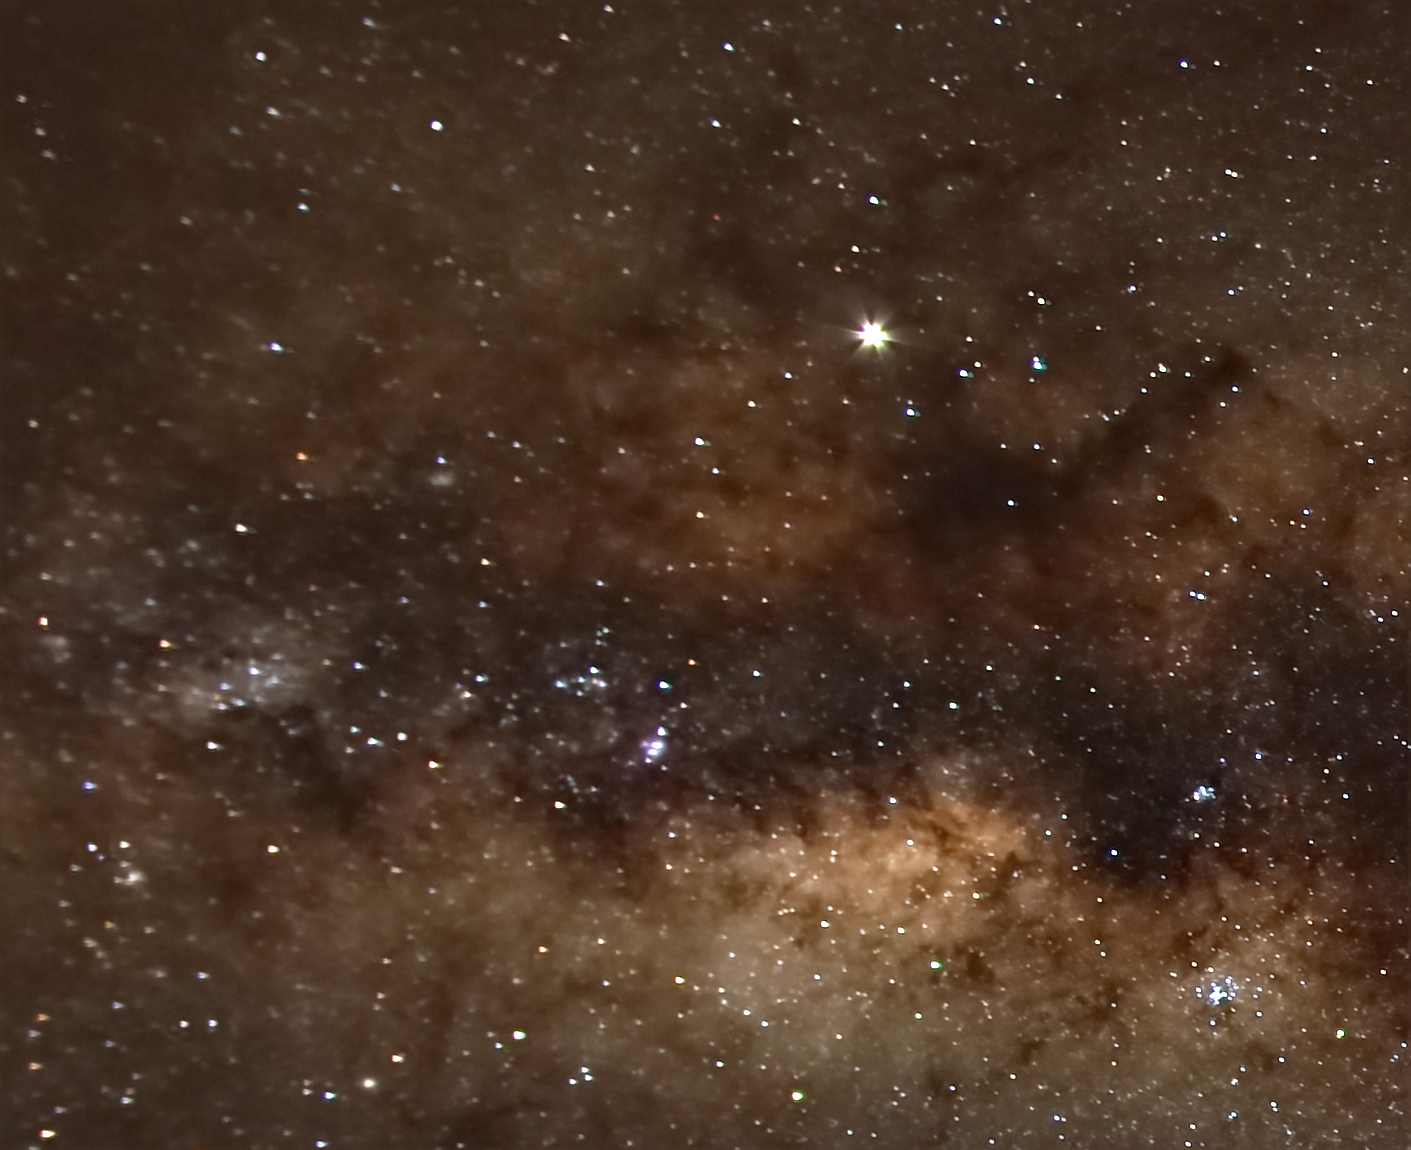
The Centre of the Milky Way
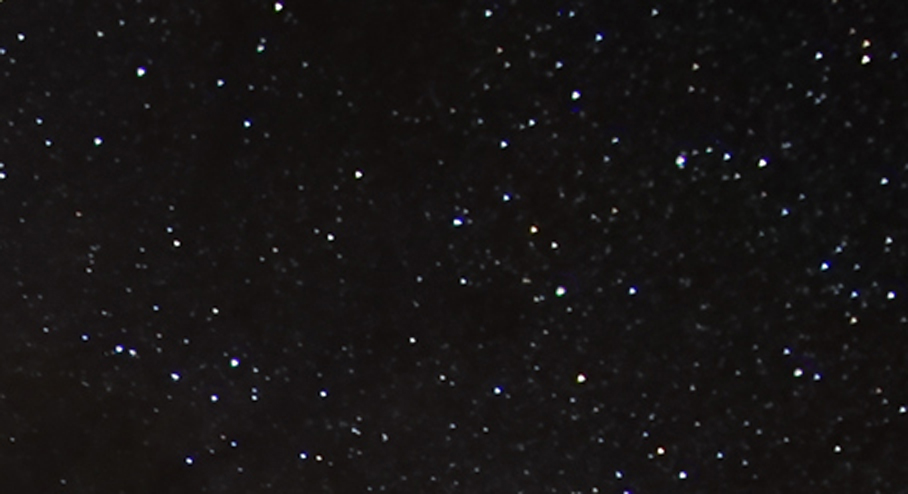
In general, the image was very pleasing but the image quality in the 4 corners was not even. This implies some decentering of the elements within the lens. On one side, chromatic aberration extended the star images with a blue colour as seen in the crop below and elsewhere the stars were somewhat streaky.
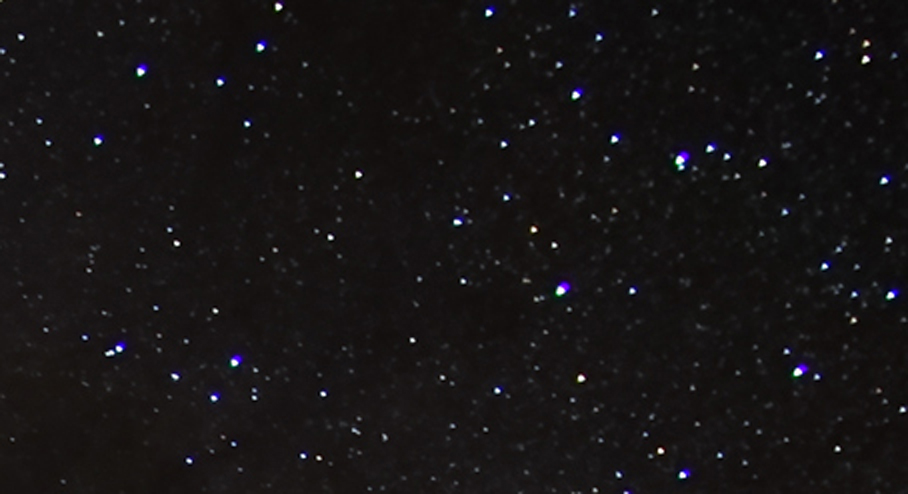
By using the star repair brush described in the article mentioned above, it did not long to repair those suffering from chromatic aberration or streakiness.
The local contrast was enhanced using the ‘Unsharp Mask’ filter in Adobe Photoshop with a very wide radius and small amount. Finally a little sharpening applied with the ‘Smart Sharpen’ filter. [Never use the Unsharp Mask filter to sharpen images, use ‘Smart Sharpen’ instead.]
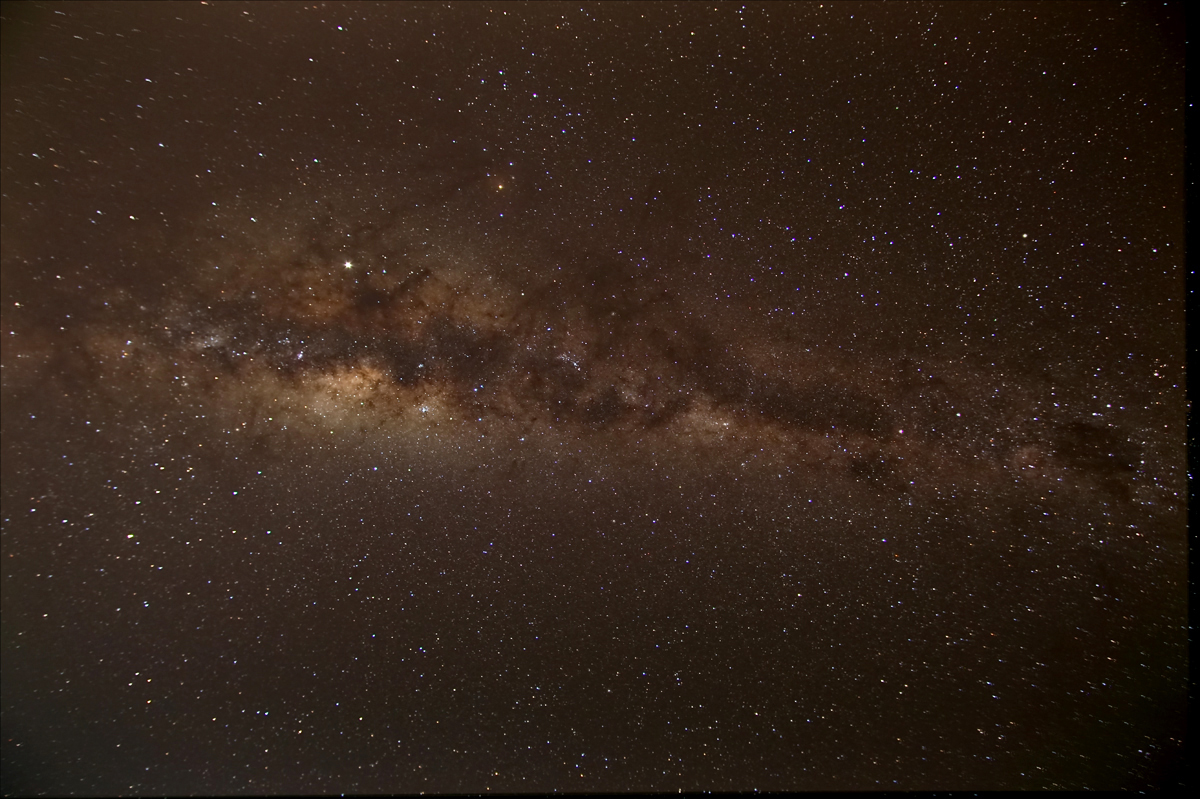
The corrected image was cropped to give the result below.
A crop of the centre region showed Jupiter well with the diffraction spikes caused by the 6 aperture blades.
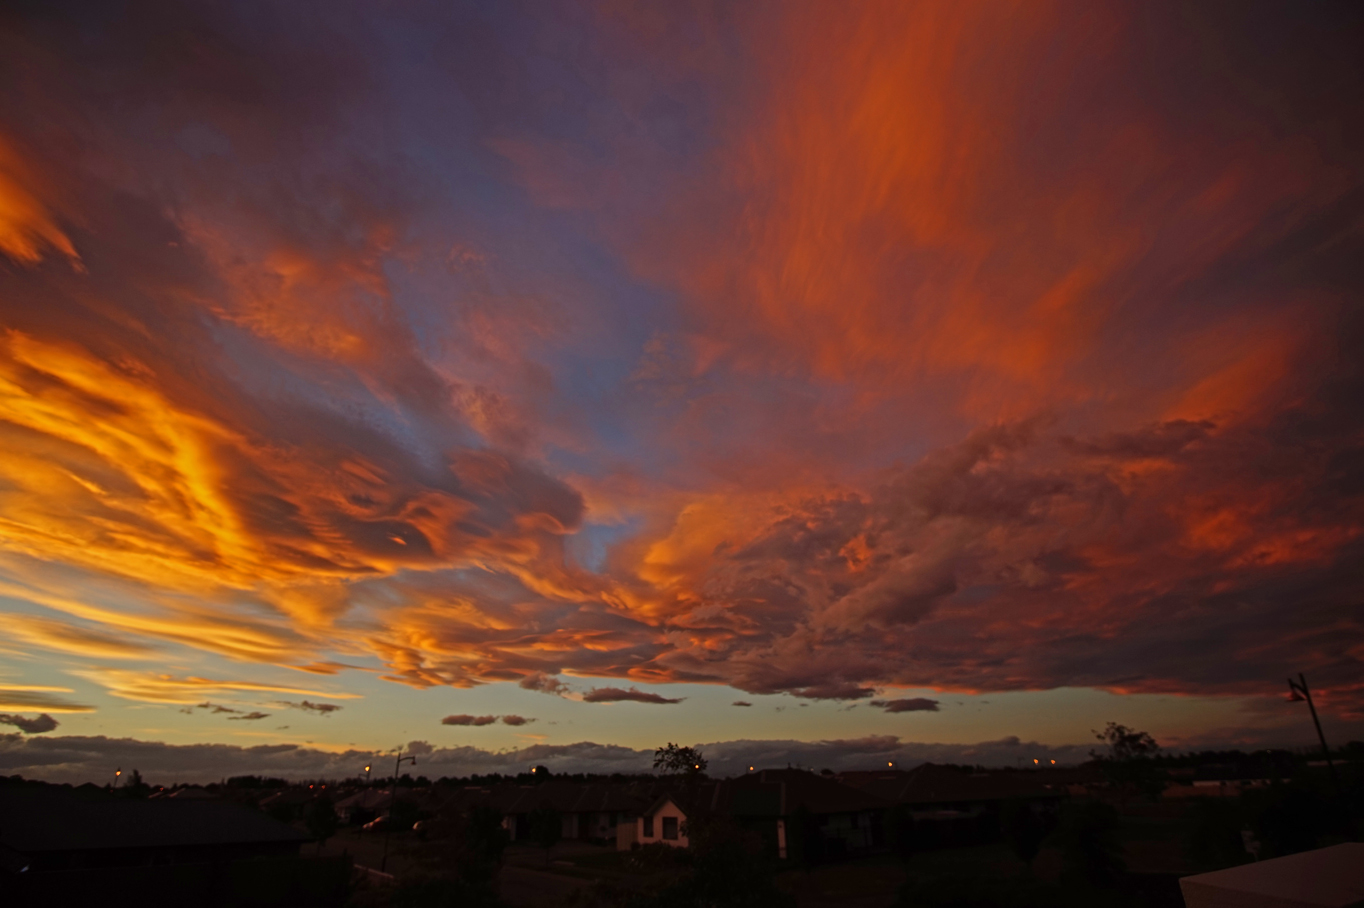
This lens can, of course, also be used for landscape or skyscape images.