DECEMBER 2018
Astronomical Image Processing using Adobe Photoshop Elements
An article in the author’s Astronomy Digest – https://www.ianmorison.com
Photoshop Elements can carry out many of the processes that I use in creating my astronomical images with Adobe Photoshop. In particular, it is capable of carrying out the method I use to remove light pollution from an image. What it cannot do is to carry out the initial stretching of the output of Deep Sky Stacker that many use to align and stack a number of short exposure images to give the effect of one long exposure. This is because the output of DSS has a 16-bit depth, that is, 16 bits are used to specify each of the R, G and B values for each pixel of the image but Elements can only handle 8-bit depth values. However, the free program, IRIS, can be used to do the initial stretch and provide an 8-bit result can be imported into Elements for further processing. There follows a simple example of its use imaging the Pleiades Cluster, M45.
Processing an image of the Pleiades Cluster in Deep Sky Stacker (DSS), IRIS and Elements.
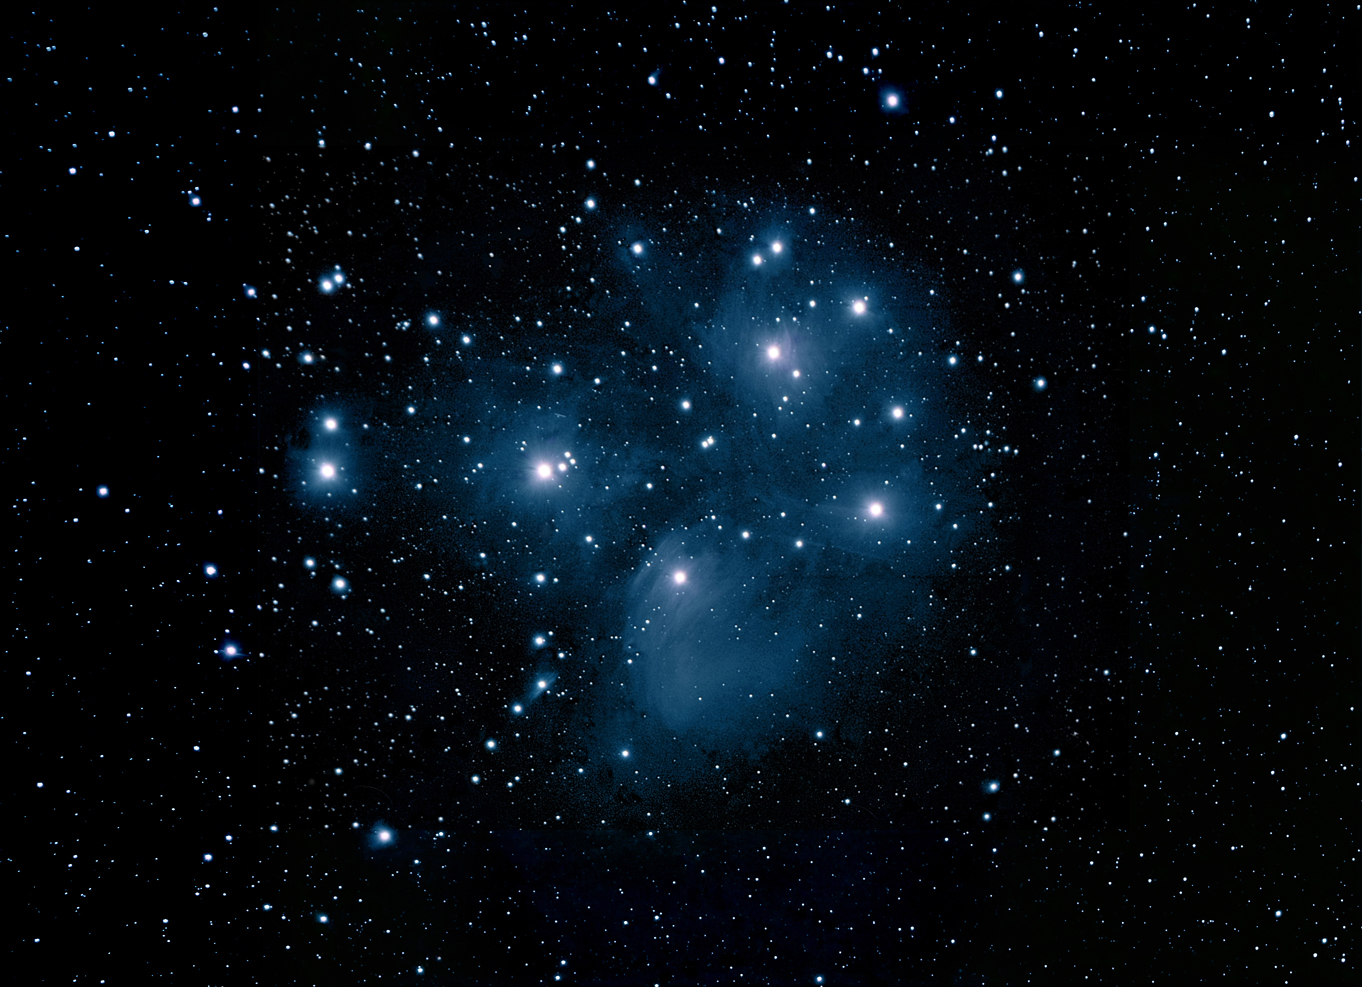
I think that, in 2009, this was my very first attempt to image the Pleiades Cluster. A set of just 10, 30 second, frames were taken with my Nikon D80 DSLR with an ISO of 100 on a fixed tripod. The result did provide a nice image of the stars of the Pleiades Cluster but light pollution (and the short exposure time) hid the reflection nebula surrounding them. [At the end of the article I include an image of the Pleiades Cluster produced from 5 hours of imaging.]
 One of the single frames to be imported into Deep Sky Stacker
Aligning and stacking the frames in Deep Sky Stacker (DSS)
These were imported into DSS and, within the ‘Register checked pictures’ box, the number of stars that it would find checked by adjusting the slider. A number of between 70 and 200 stars works well. In this case the slider was set to 11% finding ~90 stars in each frame.
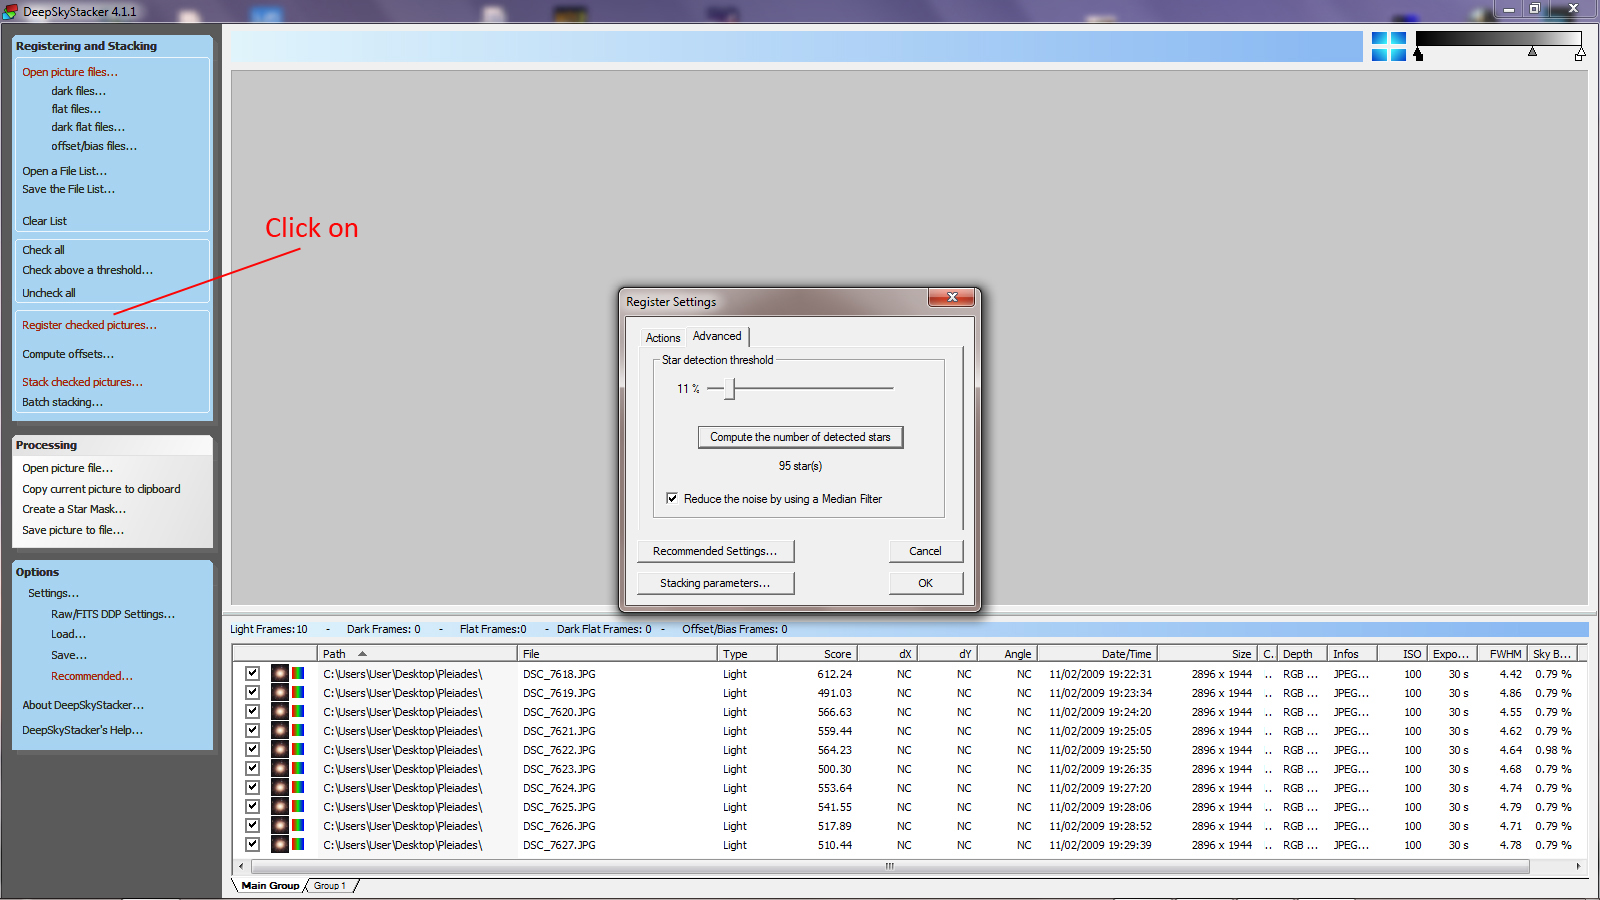
Having clicked on OK, the ‘align and stacking’ window appears and the default ‘Average’ stacking mode chosen.

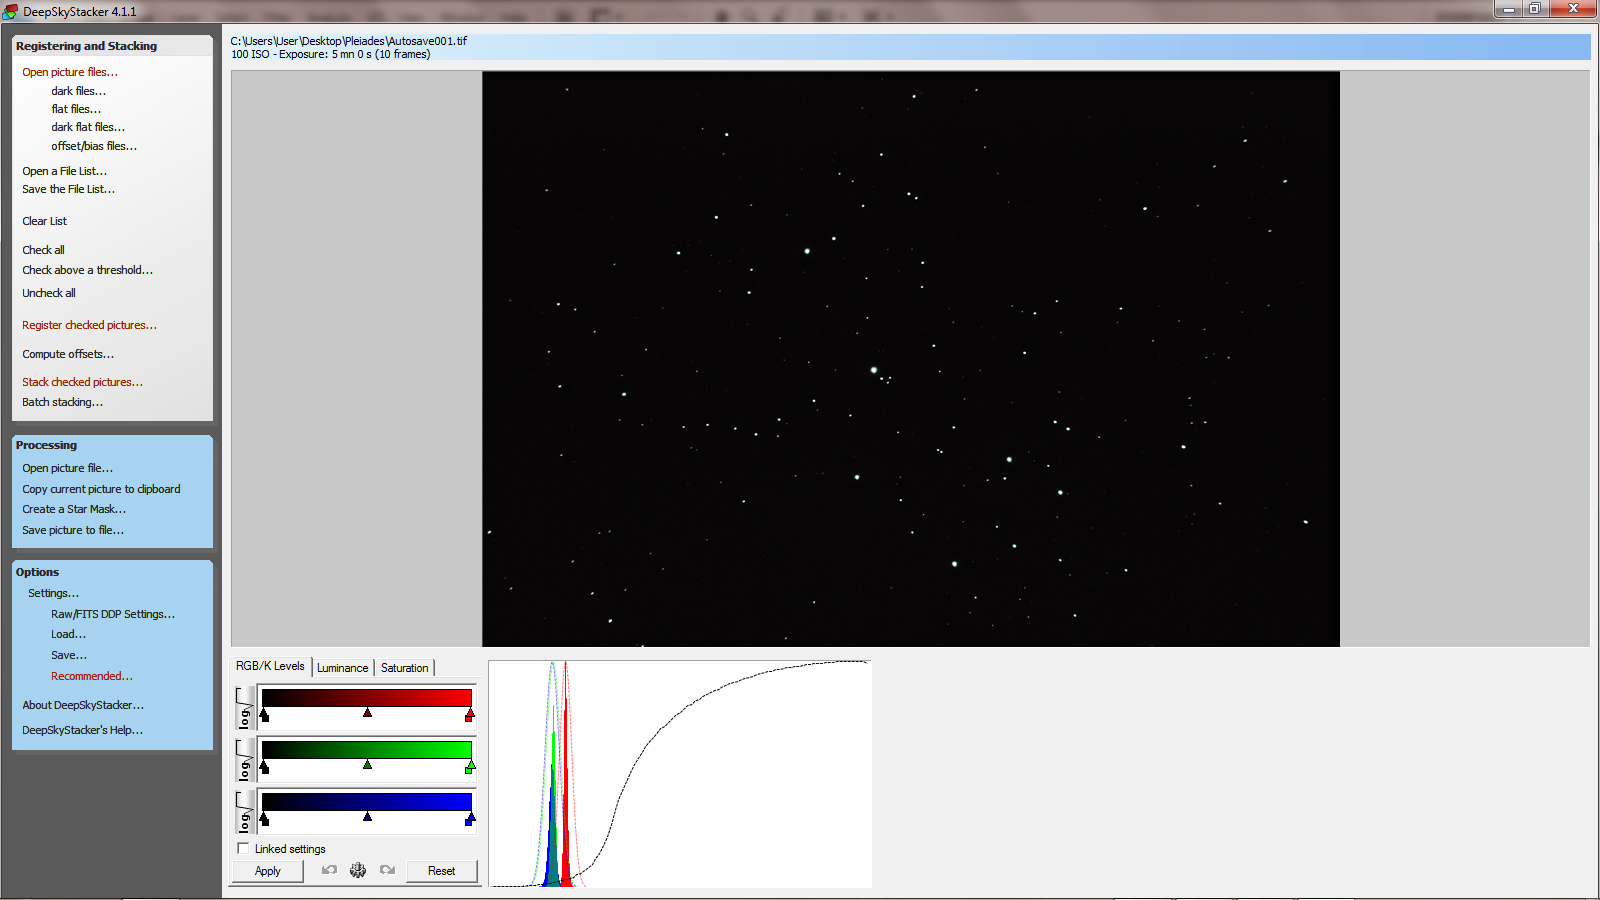
DSS finds stars in each frame and writes a ‘.info’ file for each frame into the folder. It then uses this data to align (using both linear and rotational movements) the frames and stack them. The output from DSS often either looks very odd or shows no more stars that in one of the single short exposures that were imported into it. Below the stacked image is a RGB histogram of the image in which it can be seen that there is a red peak to the right of the green and blue histograms. This is caused by the light pollution within the image. The image is saved as a 16-bit .Tiff file.
Stretching the output of DSS using the IRIS program
The output file from DSS has to be stretched to increase the brightness of the fainter stars or nebulae. The simplest program to use to carry out this stretch is IRIS which can be downloaded for free. When the image is loaded, IRIS automatically produces a simple linear stretch.
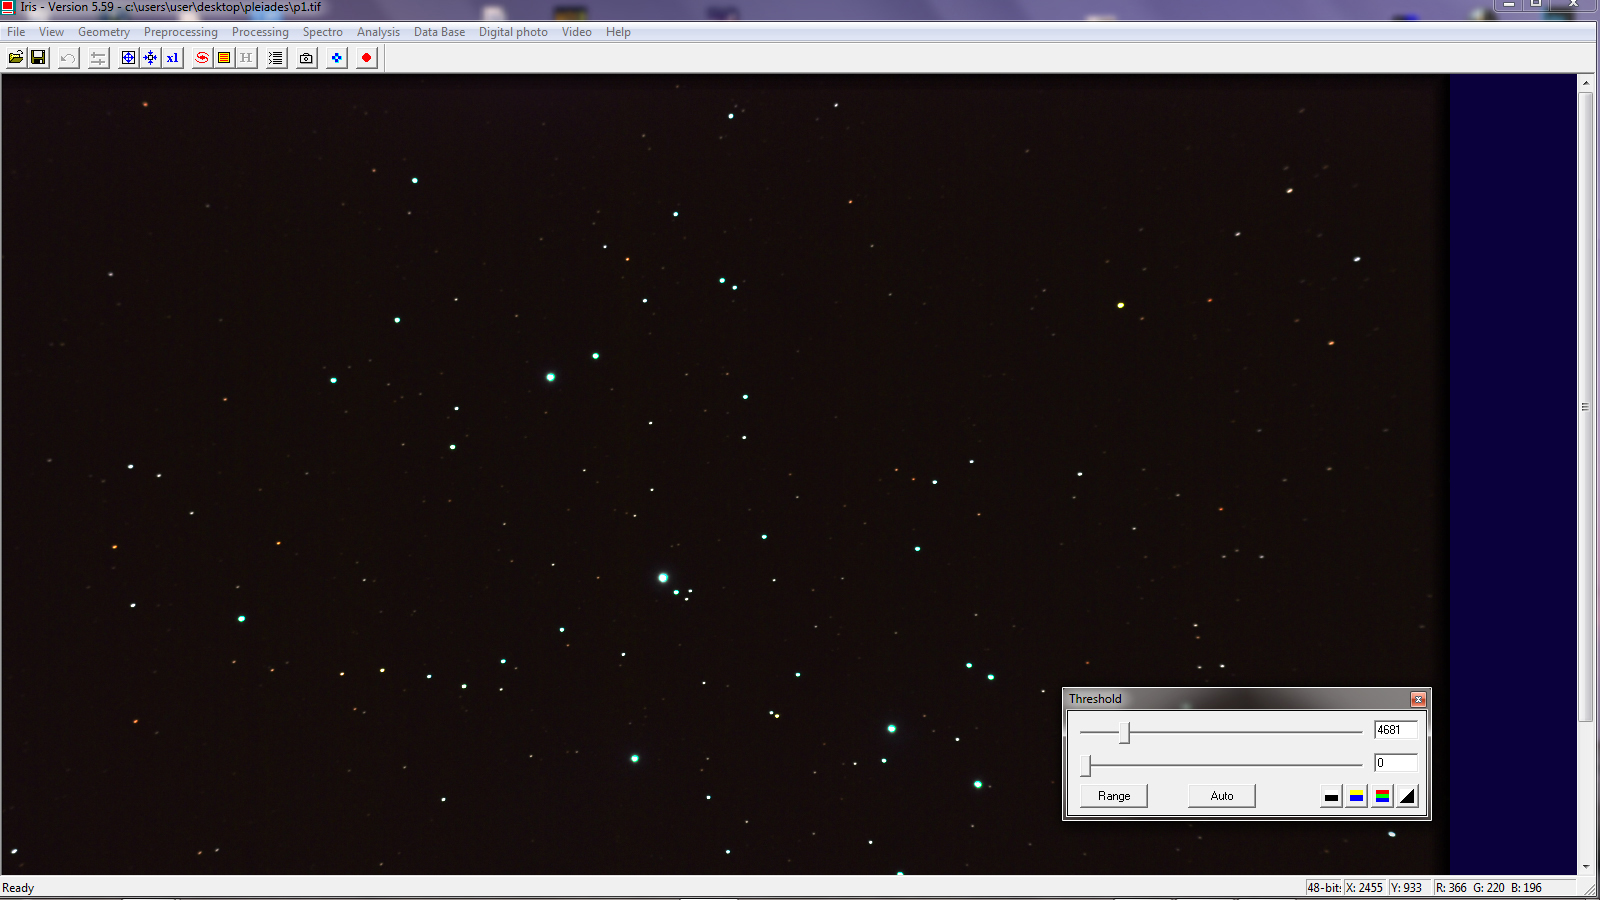
However, usually, a better result is achieved by bringing down the ‘View’ menu, upper left, and clicking on ‘Logarithm’ when IRIS appears to make three passes of the data to give the stretched result.
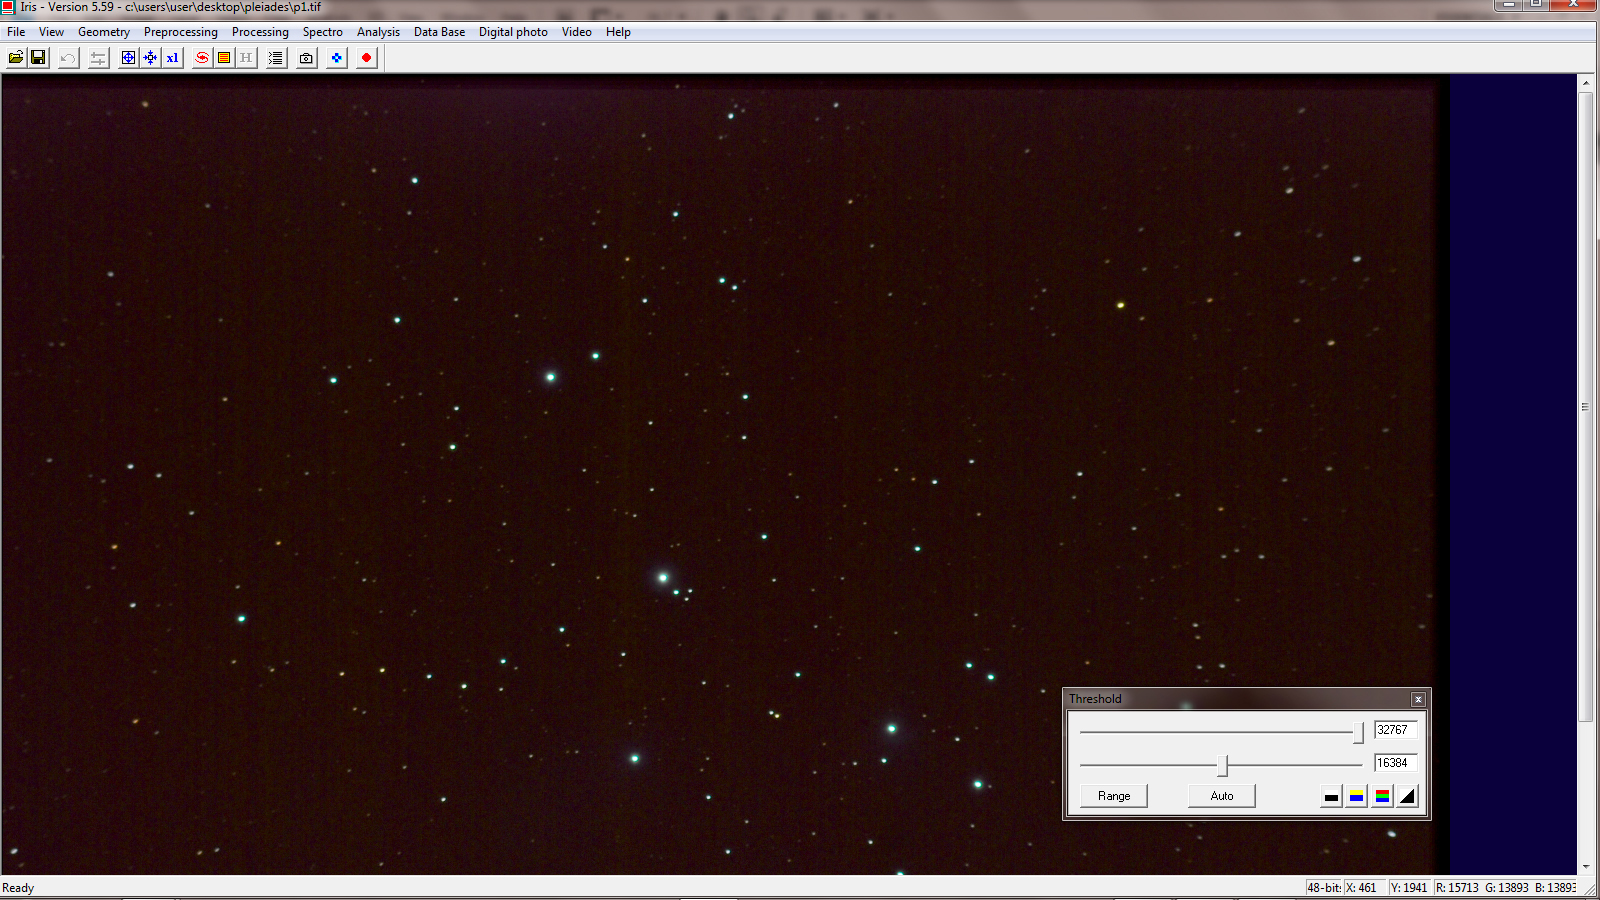 Using IRIS to produce a logarithmic stretch
Using Photoshop Elements to further process the stretched output from IRIS
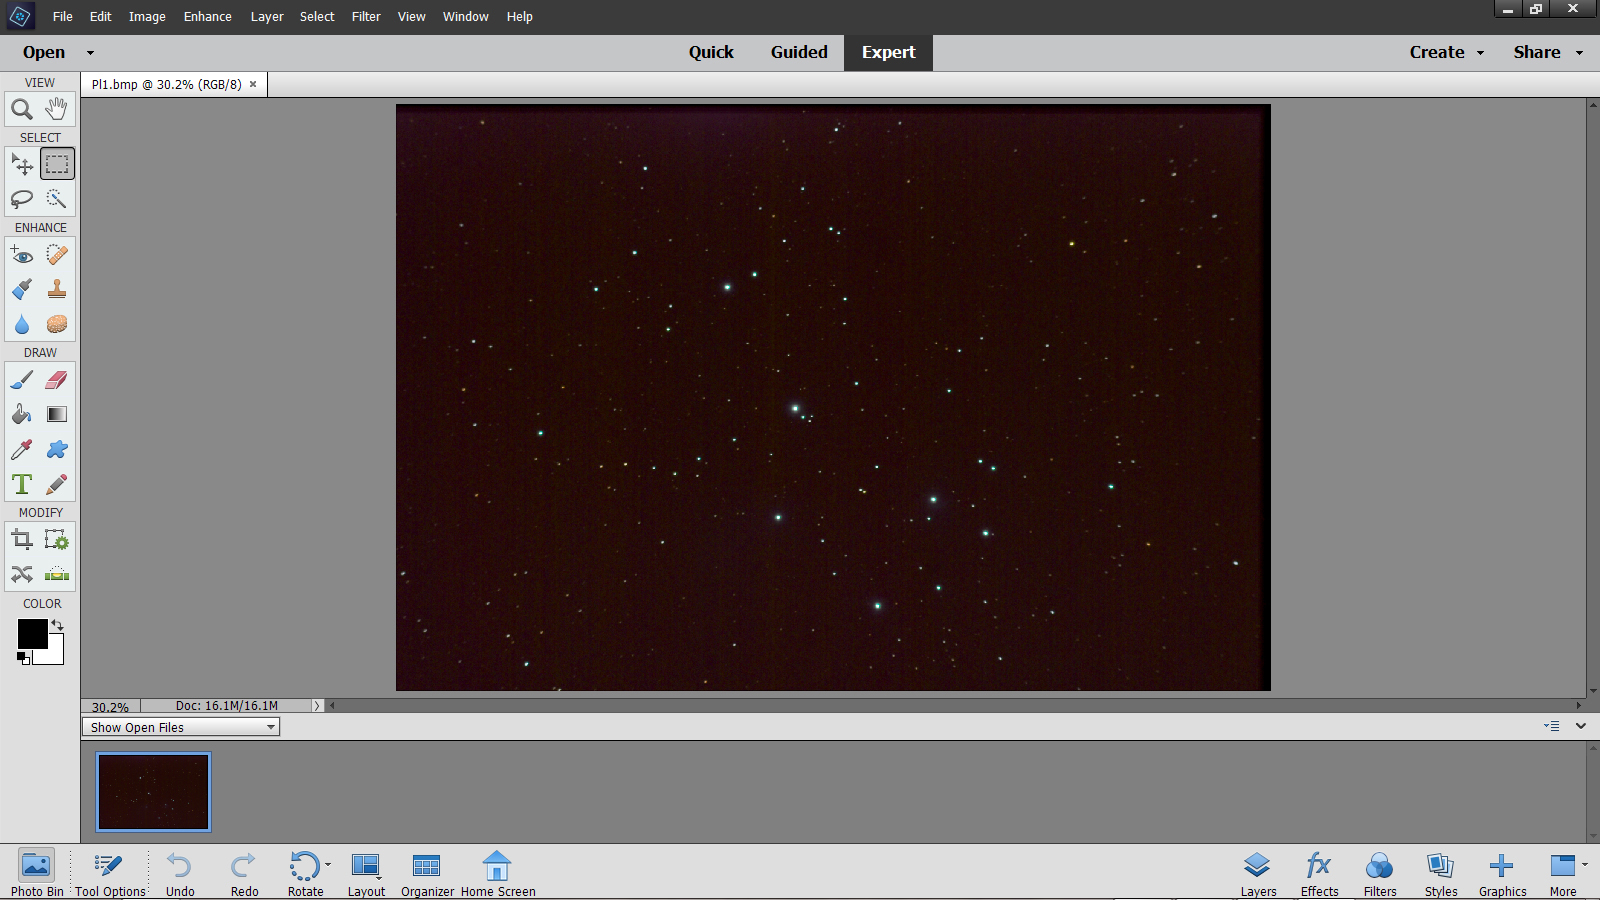
The stretched image produced by IRIS is saved as an 8-bit .bmp file. These files are uncompressed and, for each pixel, 8-bits are used to encode the brightness of the three RGB colours.
When loading Adobe Elements, the ‘Expert’ mode must be selected at the top centre of the screen before the output from IRIS is loaded.
The first step that many of us need to do is to remove any light pollution in the image − but remember that the light pollution will mask any parts of the image such as faint stars or the fainter parts of a nebula that are below its brightness level, so either use a light pollution filter if one is appropriate or, even better, get to a dark site to do your imaging.
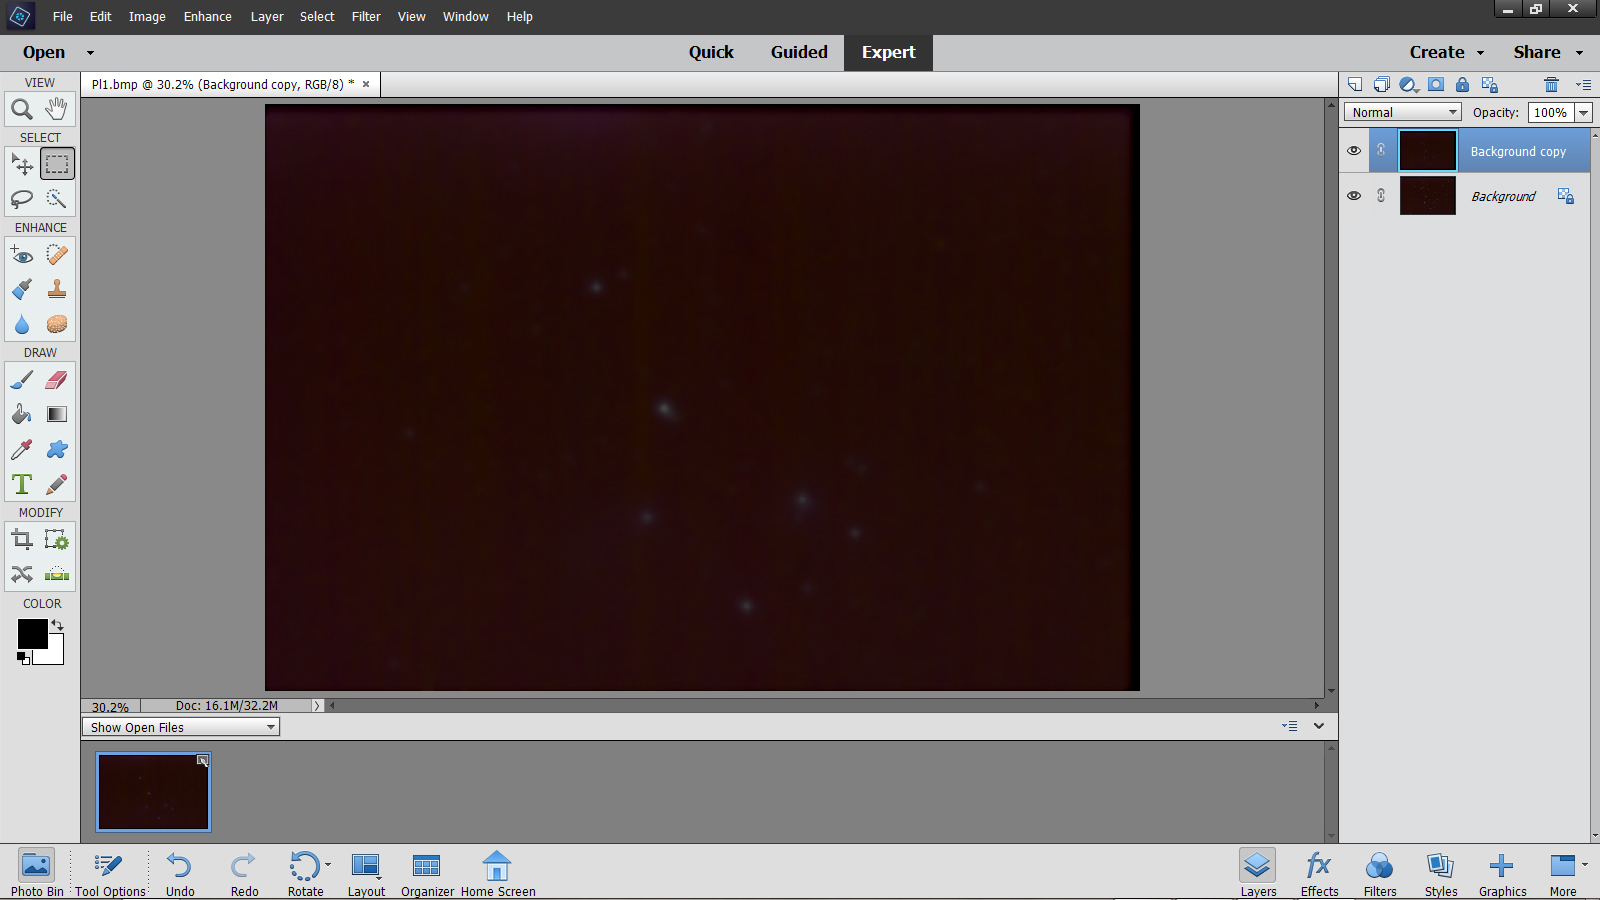
Happily, rather to my surprise, Elements does include the filter that I use to achieve to remove light pollution − the ‘Dust and Scratches’ filter (Filter> Noise >Dust and Scratches). I usually apply this with a radius of 15 pixels. The filter ‘thinks’ the stars are dust and removes them! To achieve this, the image is duplicated (Layers > Duplicate layer) to give a second copy of the image that lies above the original.
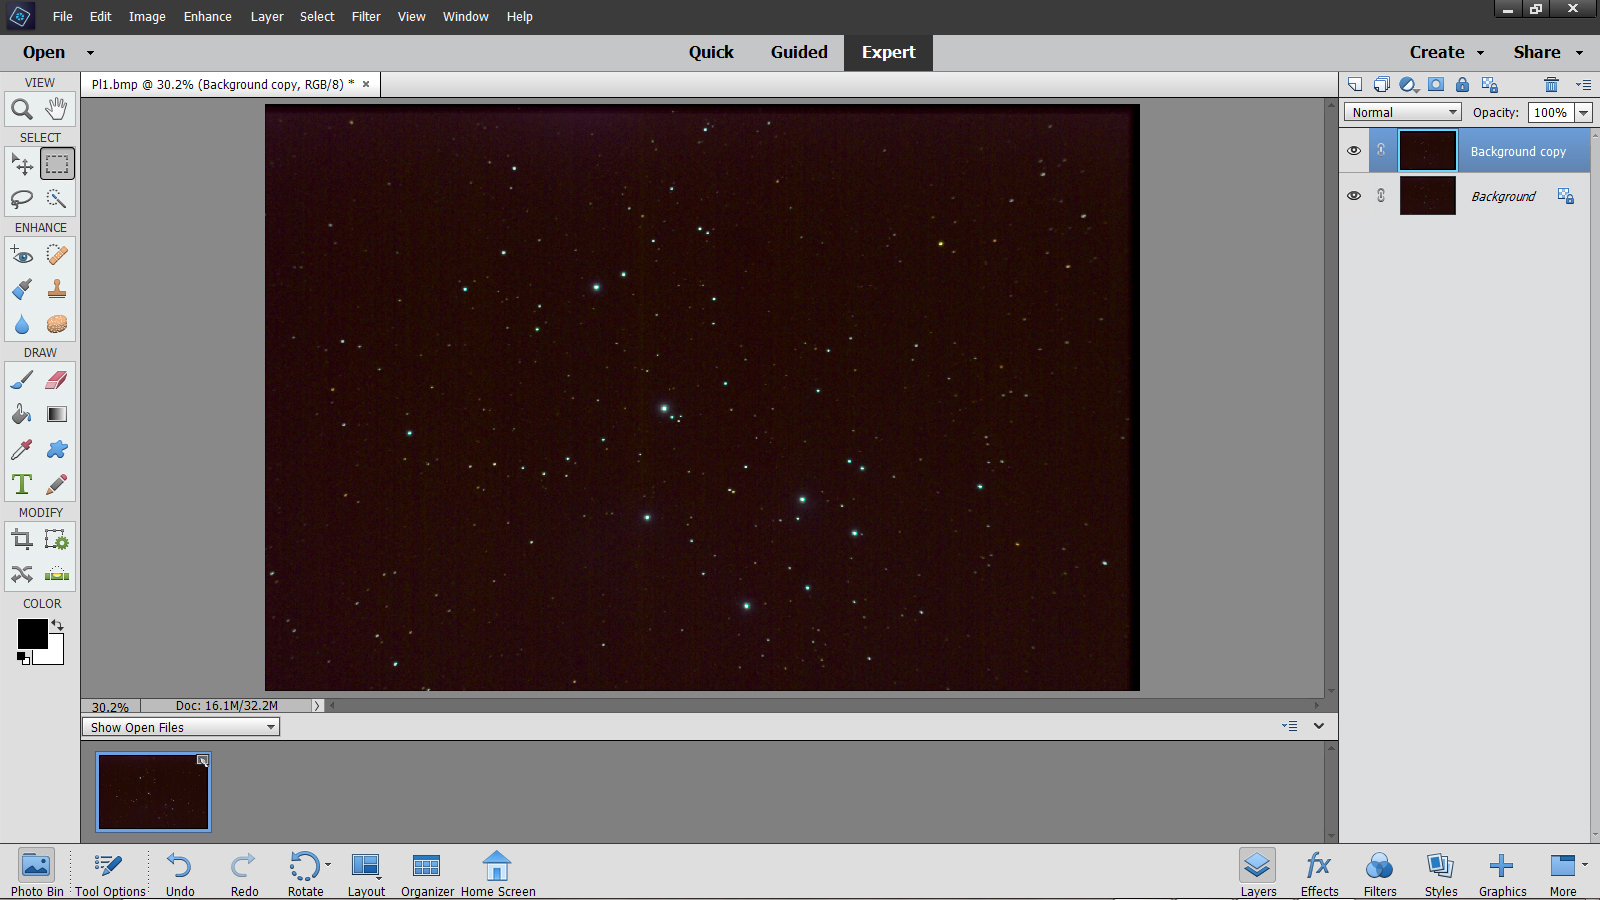
In the ‘Window’ drop down menu, click on ‘Layers’ and the two layers will be seen top right. Any processes will the only be applied to the upper layer such as the application of the ‘Dust and Scratches’ filter. If the image only contained faint well spaced stars, having applied this filter would give an excellent image of the light pollution but, normally, there might be some nebula regions or bright stars which are not removed.
The trick then is to clone out these regions from as near as possible in the frame (so that the light pollution would be similar).
I would then apply a Gaussian Blur Filter (Filter> Blur >Gaussian Blur) with a radius of, say, 40 pixels to give a smooth result. If this were to be applied to the whole image, edge effects would be seen, so I select a box inwards from the edges and only apply the Gaussian Blur to the area within the box.
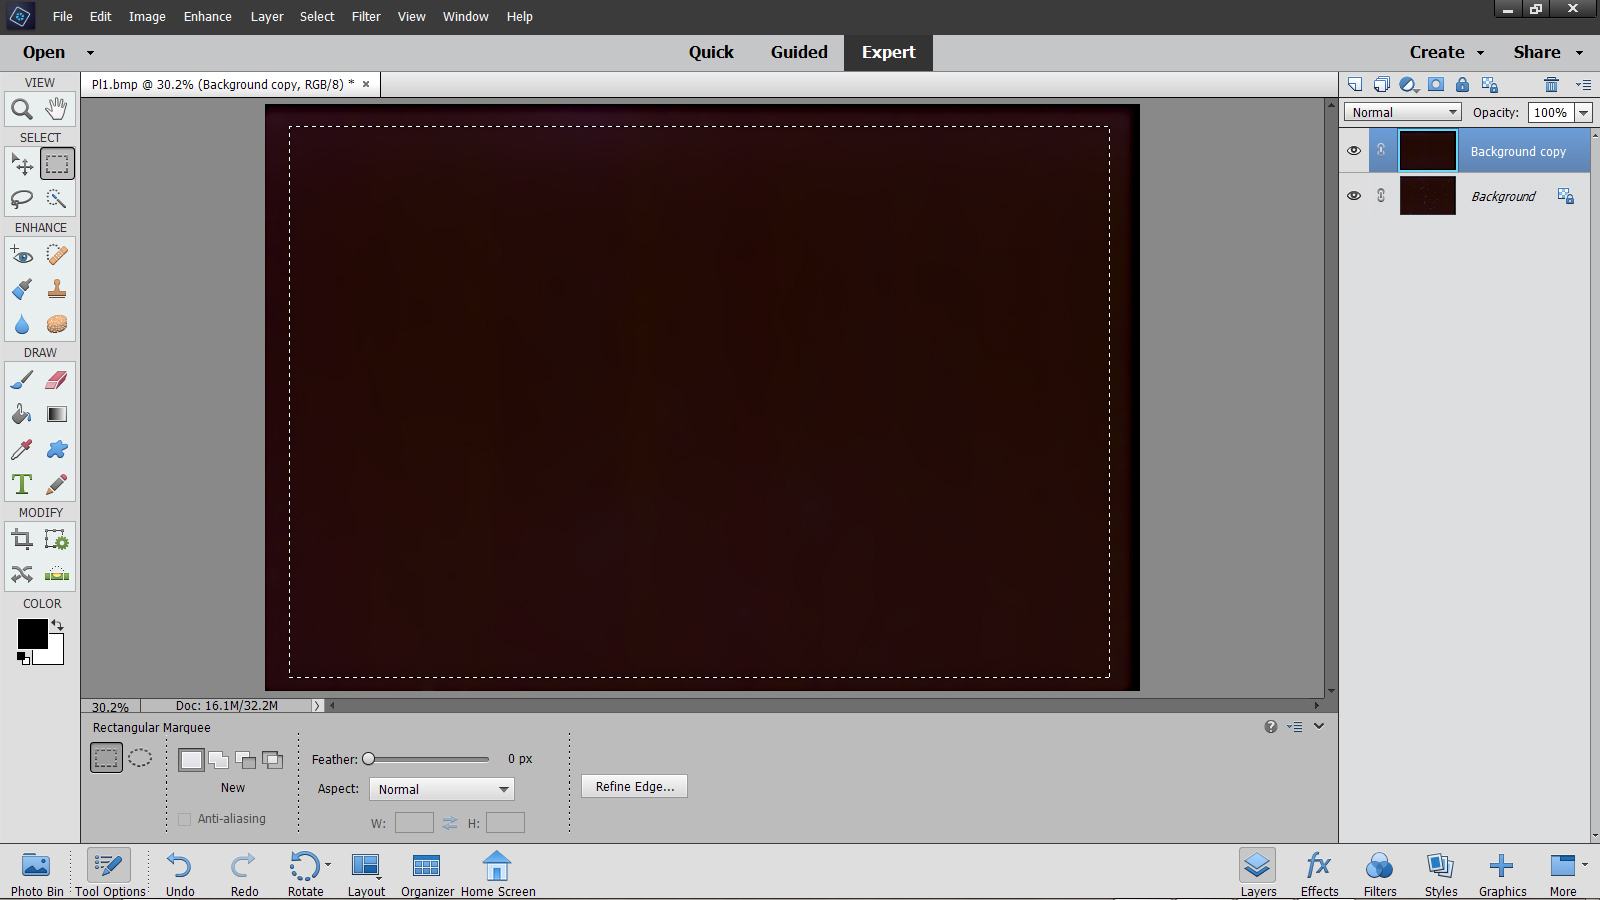
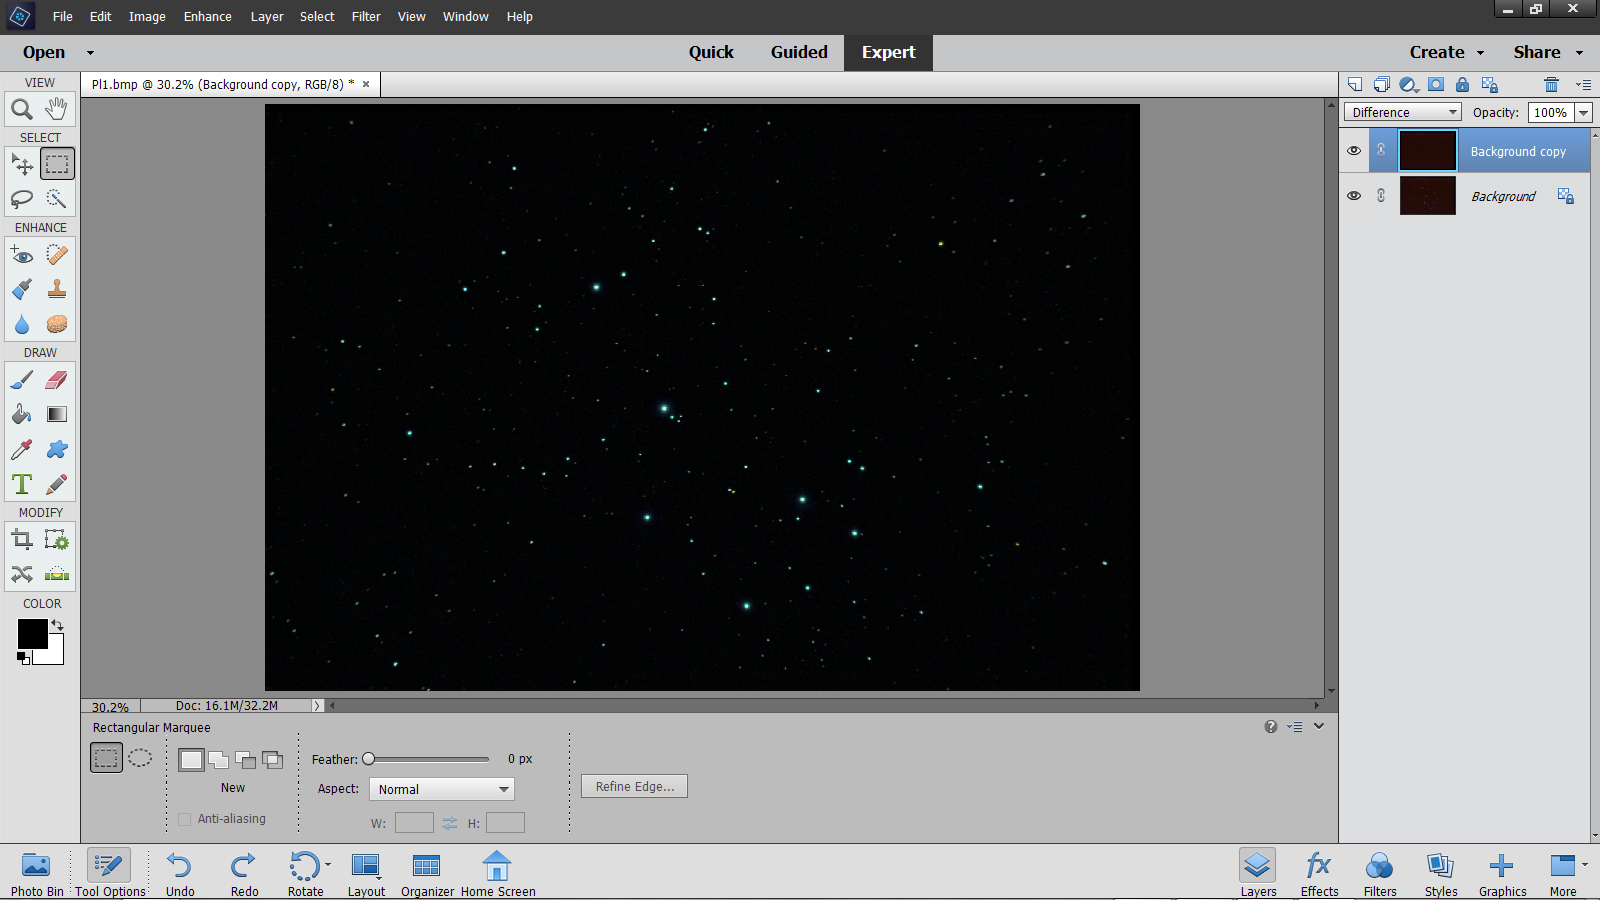
The selection is removed, the layer blending mode is then set to ‘Difference’ and the two layers flattened. The result should have a totally black background with the light pollution removed.
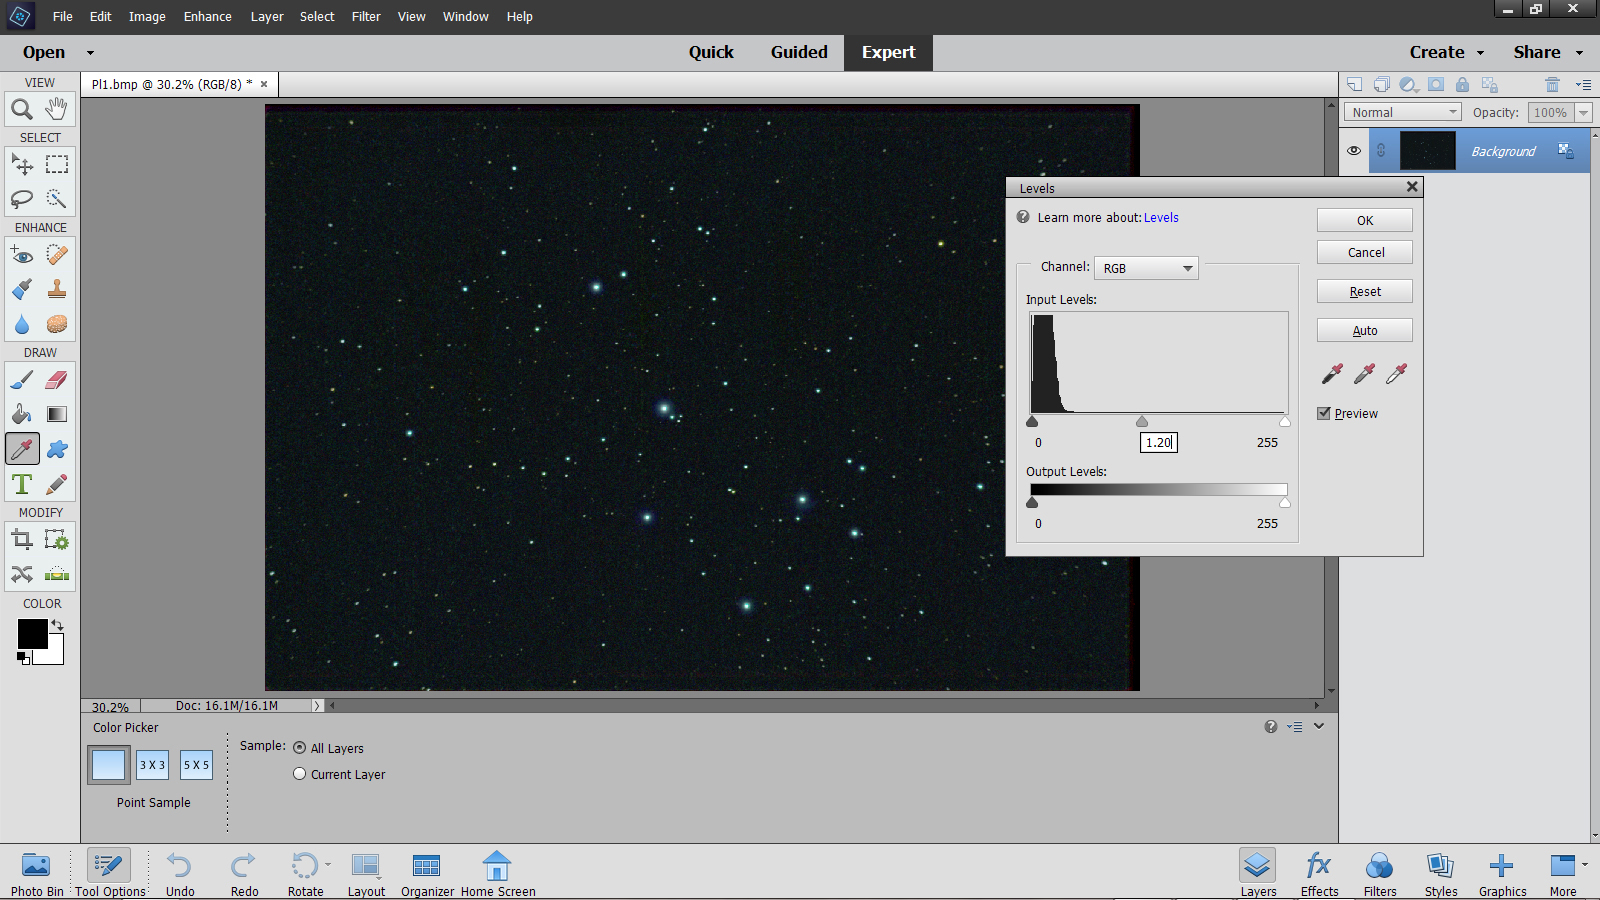
Some more stretching can then be applied. In Elements one can use the ‘Levels’ command (Enhance> Adjust Lighting > Levels) and make one or more applications with the central slider moved left to the 1.2 position.
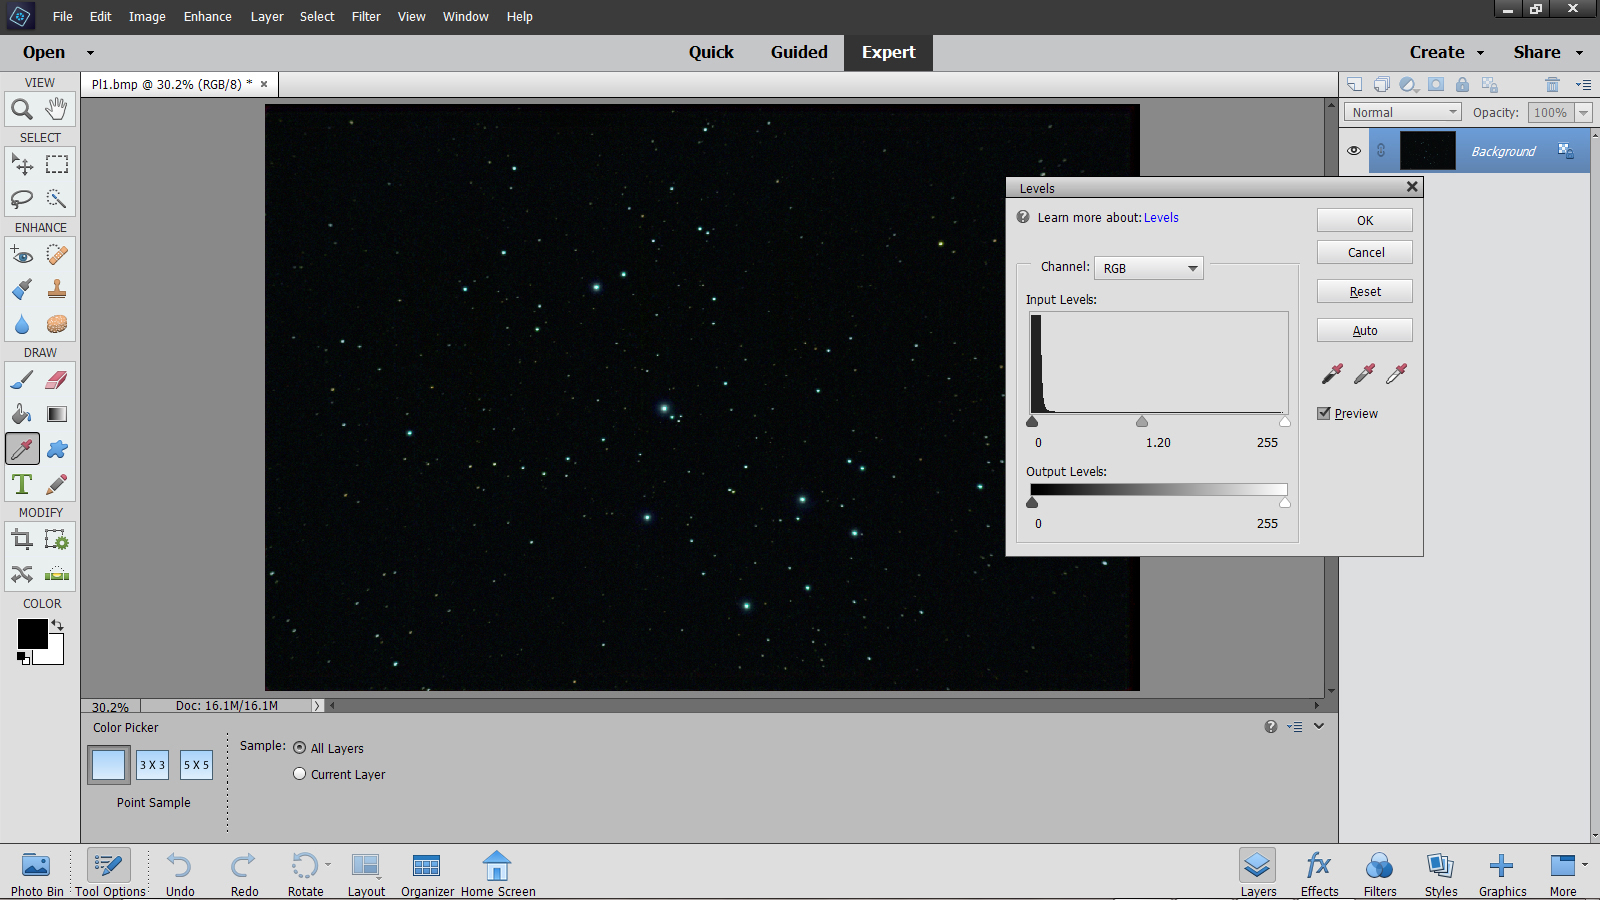 First application of the levels command
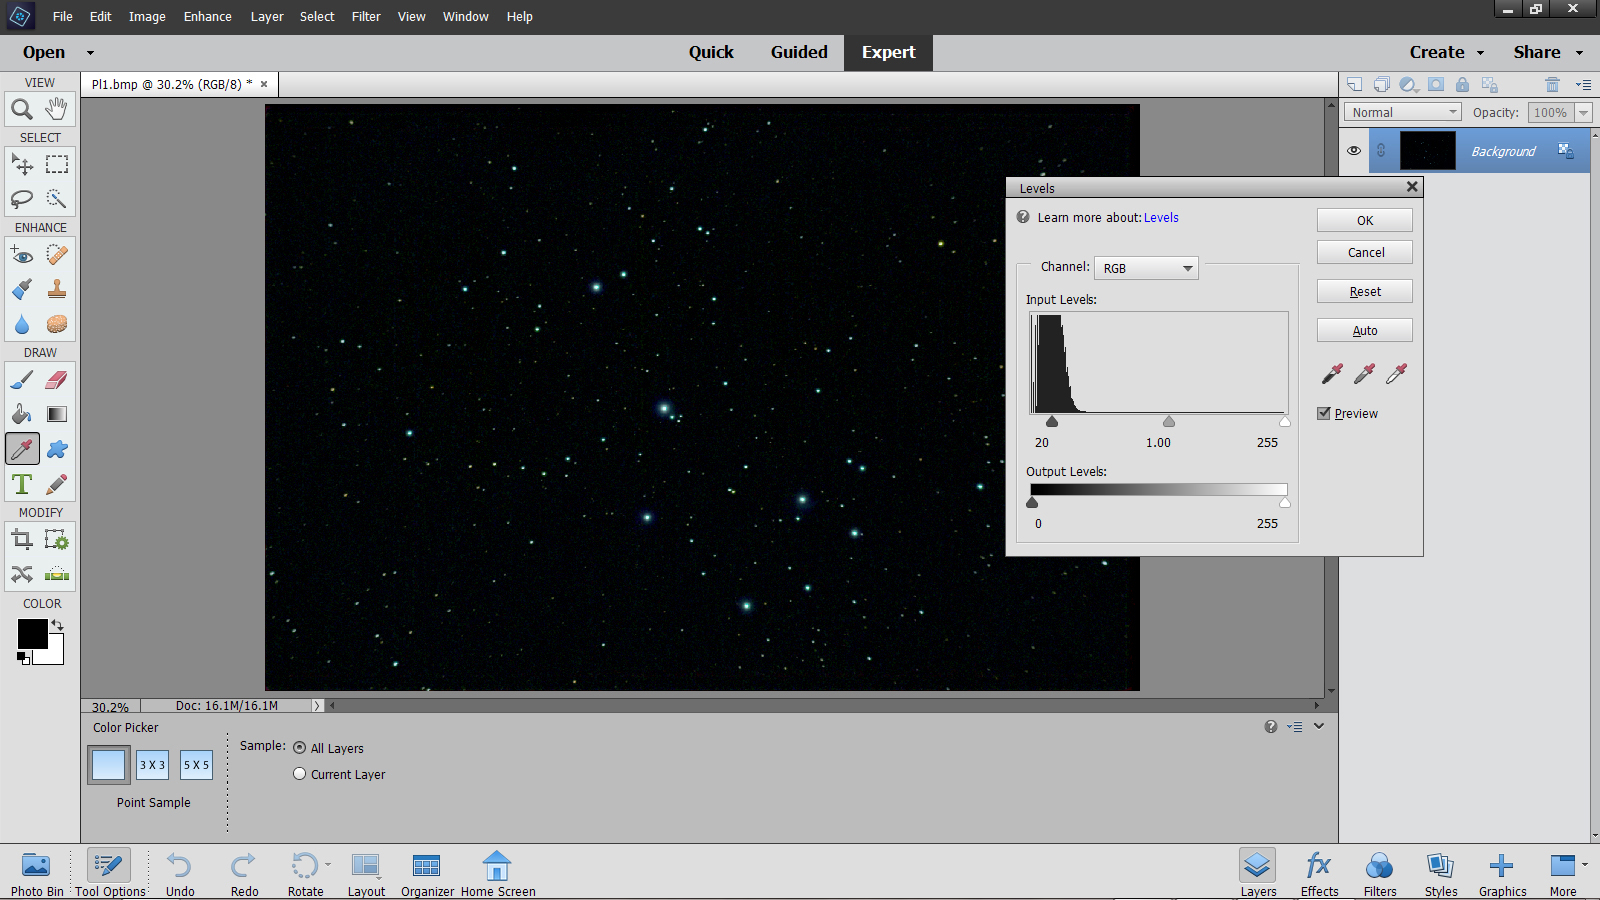
 Second application of the levels command
The fainter stars become more obvious, but significant noise becomes apparent. A final use of the levels command is used to lift up the ‘Black Point’ of the image by moving the left had slider to the right until the image becomes noise free.
This then is the final result. There can be a green cast and the red stars not as prominent as in a single frame. Within levels, the red and green (rather than RGB) individual channels can be selected and some adjustment made to improve the colour balance.
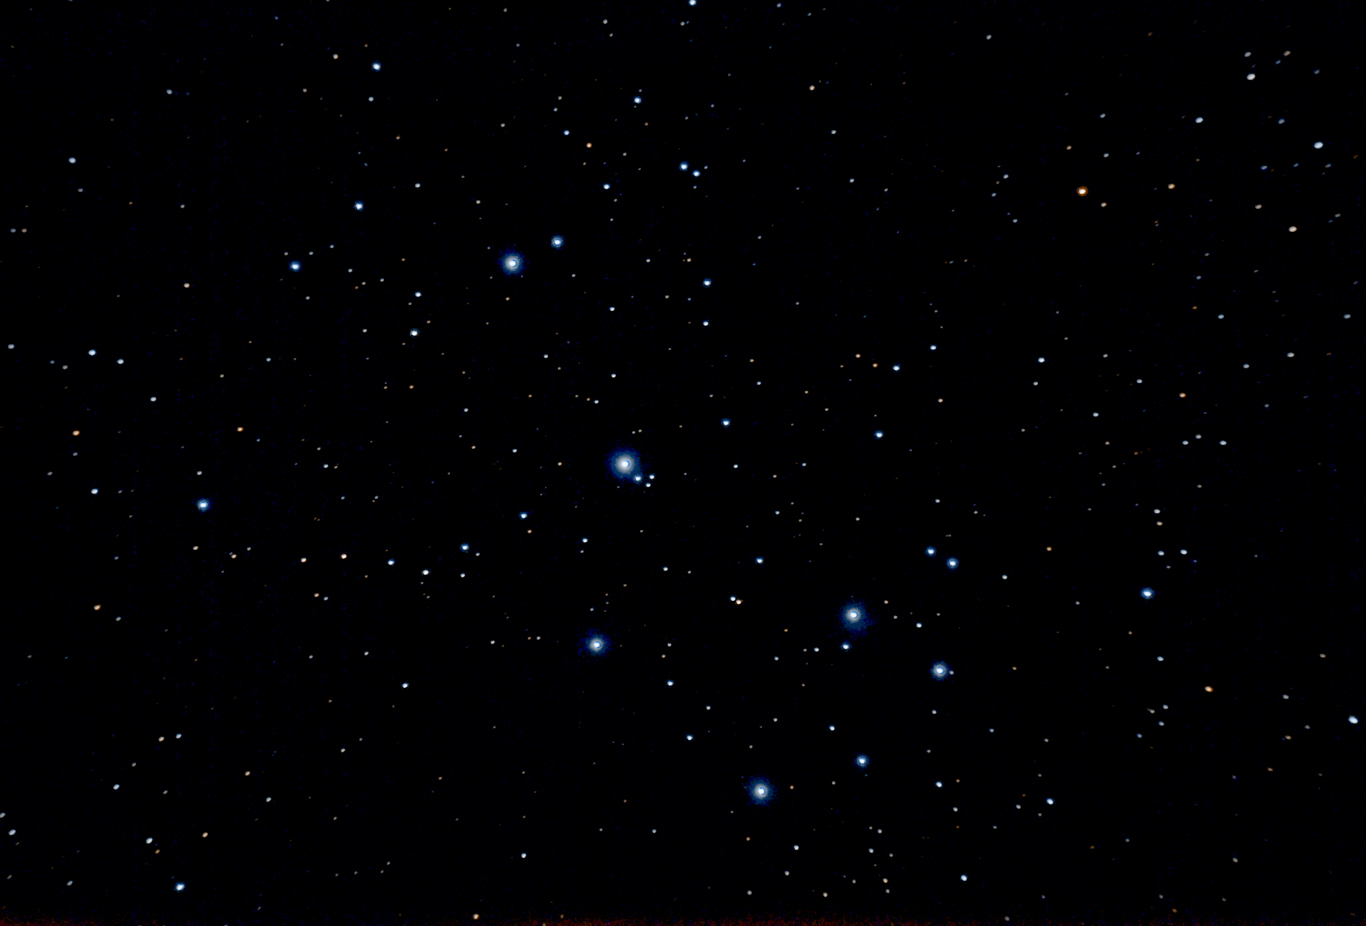
Some of the brighter stars are extended due to scattering of their light by surrounding dust, but the full extent of the nebula has been hidden by the light pollution – and the fact that only a 300 second exposure was made.
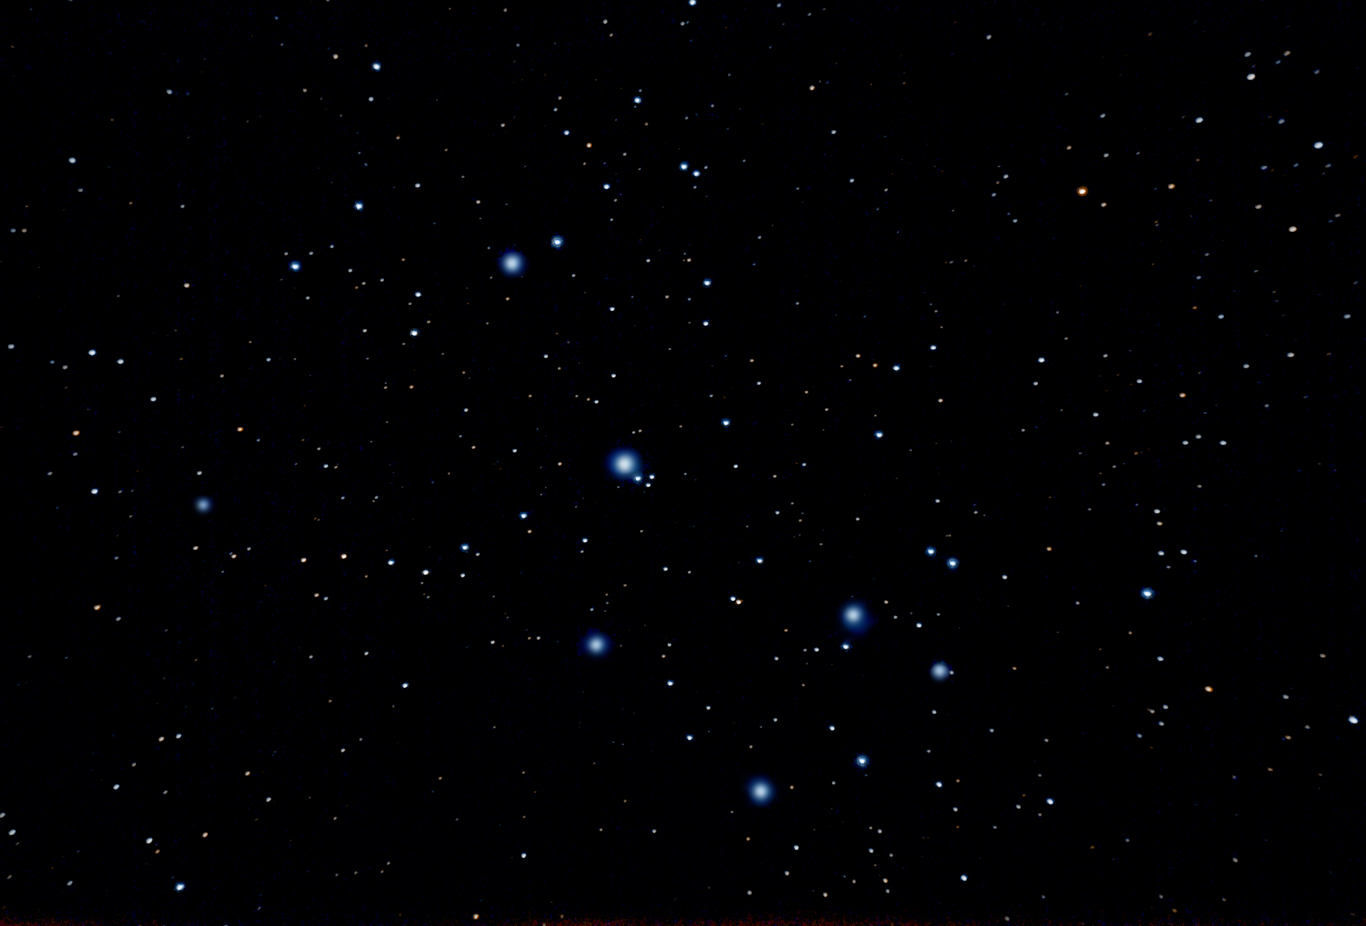
The brightest stars look somewhat ‘unclean’. If, using the oval selection tool, they are selected and a little Gaussian blur applied a better result might result.
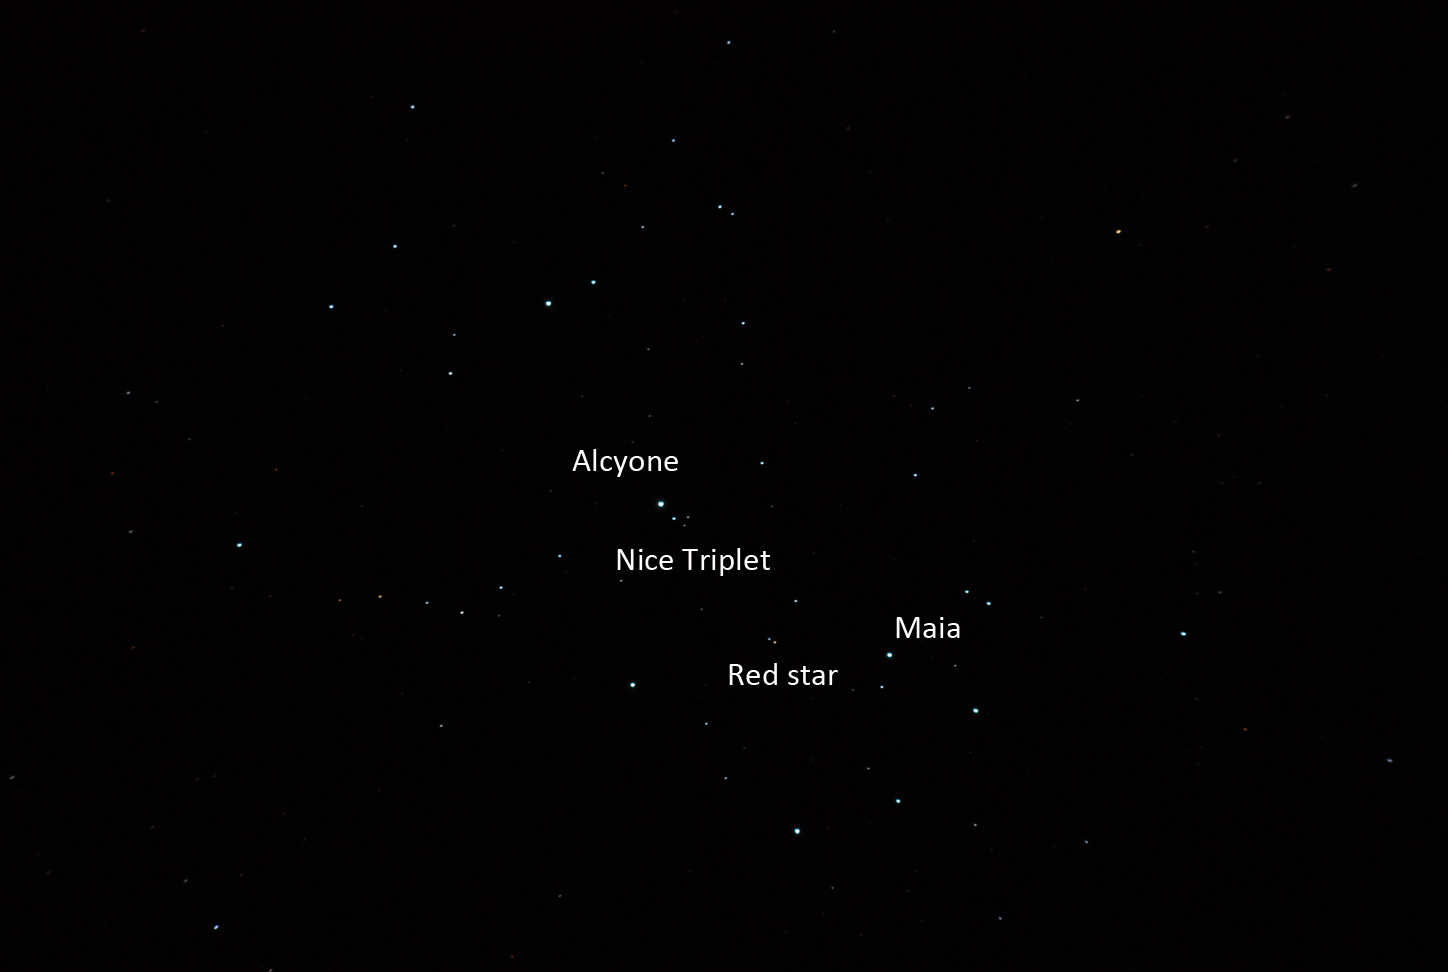
There is a lovely triplet of stars just to the right of Alcyone and the right hand star of a pair between it and Maia to its right is distinctly red. I also like the arc of stars arcing away to the left of the cluster.
I have processed the output from DSS as I would normally do using Adobe Photoshop and the result is essentially identical showing that a combination of using IRIS to do the initial stretching and Elements to complete the image processing is a viable procedure. Excellent.
Using several hours of total exposure from a darker location provided me with this nice image of the Pleiades Cluster showing the nebulosity well.
Return to Astronomy Digest home page