SEPTEMBER 2023
Imaging the Leo Triplet
Just below the ‘body’ of the constellation Leo lies a group of galaxies called the Leo Triplet. It comprises Messier M65 and M66 along with NGC 3628 which is also known as the ‘Hamburger Galaxy’. The group lies at about 35 million light years from us. M66, the largest and brightest of the group,is ~95 light years across and has a magnitude of 8.9. M65 has a magnitude of 10.25. NGC 3628 is a spiral galaxy seen edge on having a very distinctive broad dust band effectively splitting it in two.
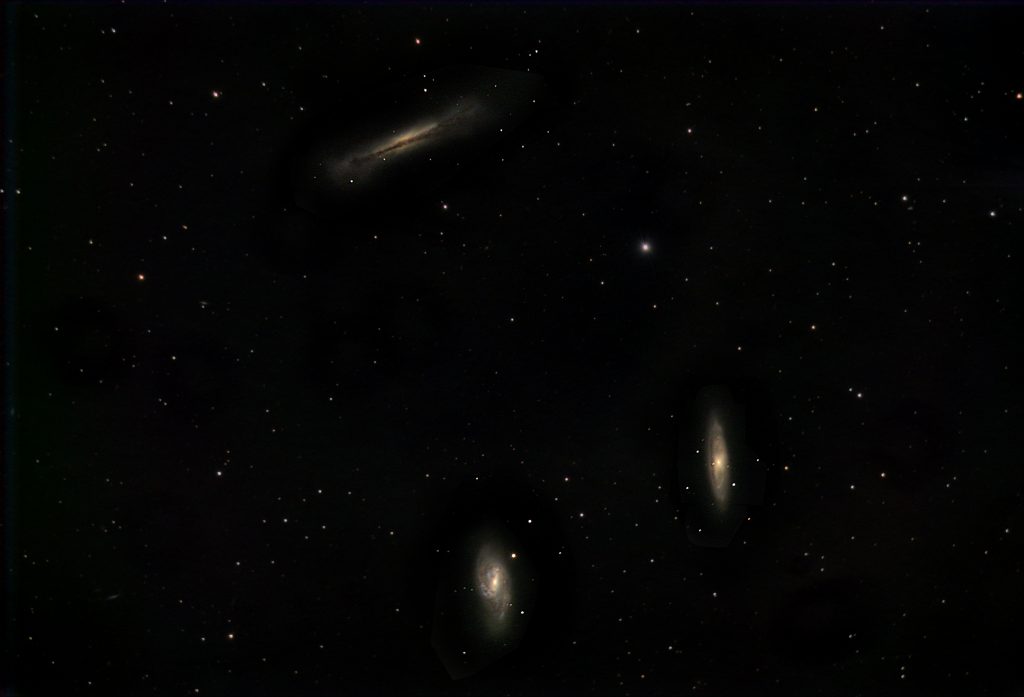
On a night of reasonable transparency, I imaged the Leo Triplet using a Meade 200 mm aperture Schmidt-Newtonian. It has a focal length of 800 mm - so having a focal ratio of f/4 which is good for imaging faint galaxies. Rather than using a parabolic mirror, it uses a spherical mirror allied to a Schmidt correction plate at the front of the telescope tube which supports the secondary mirror - so there are no stellar diffraction spikes. The effects of coma are around half that of a standard Newtonian and using my micro 4/3 sensor camera no coma corrector is required. I acquired 300, 20 second, frames using a high quality unguided mount. This allowed the image move very slowly across the sensor during the exposures - a form of ‘dithering’.
Against perceived wisdom, I took no darks or flats.
Dark Frames
Dark frames will remove the effects of hot pixels and amp glow from an image and I should have used them. Stacking programs which ‘average’ the frames showed both. However, using Deep Sky Stacker with the Sigma-Kappa stacking mode removed both. Dithering would have helped DSS to remove the hotpixels, but I do not understand how it was able to remove the amp glow that my Altair Astro 294 MC Pro camera produces.
Flat Frames
With my Micro 4/3sensor, I know that there is very little vignetting which flat frames wouldremove. They will also remove ‘dustbunnies’ caused by dust on the sensor (or window in this case). If the light pollution is uniform across the image one can, as will be shown, derive a flat frame from the stackedimage. As the result below shows, the vignetting was insignificant and there were no obvious dust bunnies. To be honest, does it really matter if stars in the corners of the image are a little less bright than they should be when one is imaging galaxies nearer the centre of the image? To produce the ‘flat frame’ the galaxies in the stacked result were cloned out and the ‘Dust and Scratches’ filter applied with a radius of 60 pixels. All stars are then removed from the image. The image below shows the green brightness values across the frame.

Stacking in Deep Sky Stacker
The 300 frames were loaded into DSS and aligned and then stacked using the Sigma-Kappa stacking mode. The screenshot below shows the resulting green cast due to the fact that astro cameras do not correct for the fact that there are 2 green pixels foreach red and blue.
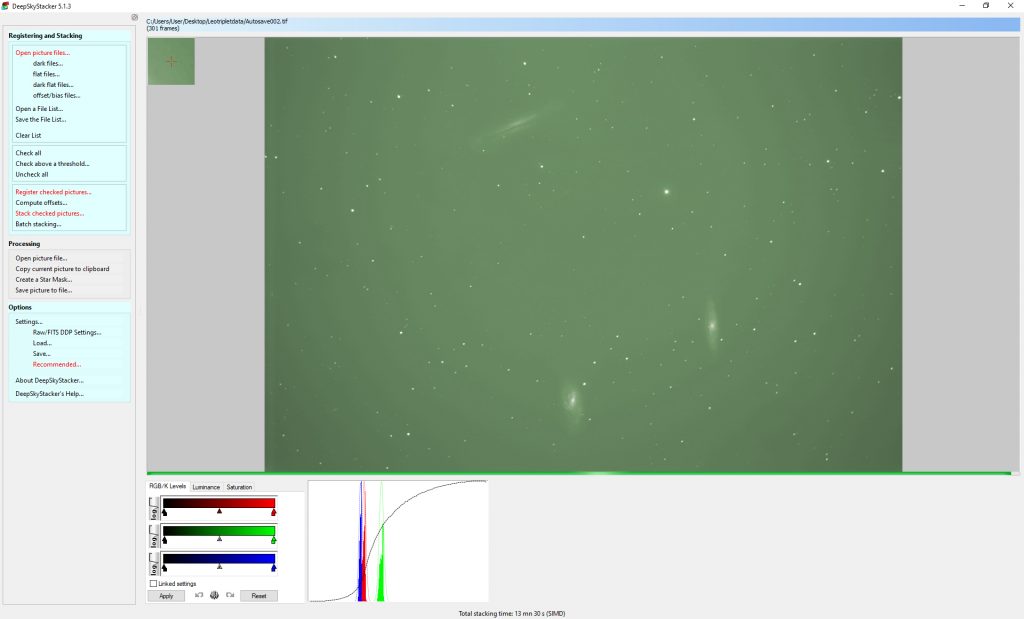
One can approximately colour balance the image by adjusting the RGB sliders to align their histograms.
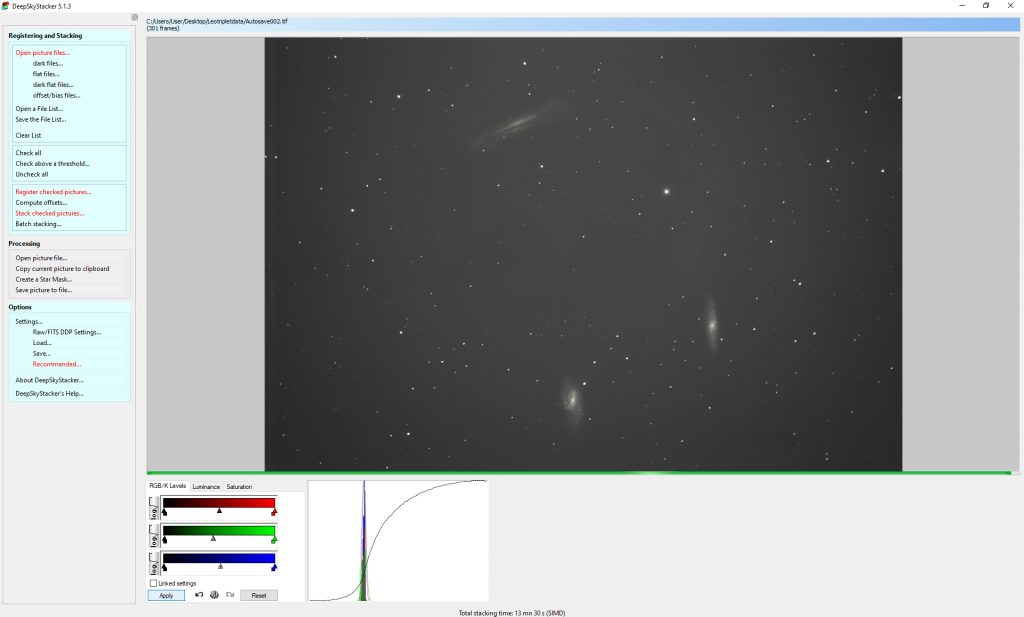
The result was saved as a 32-bit FITs file to load into Siril.

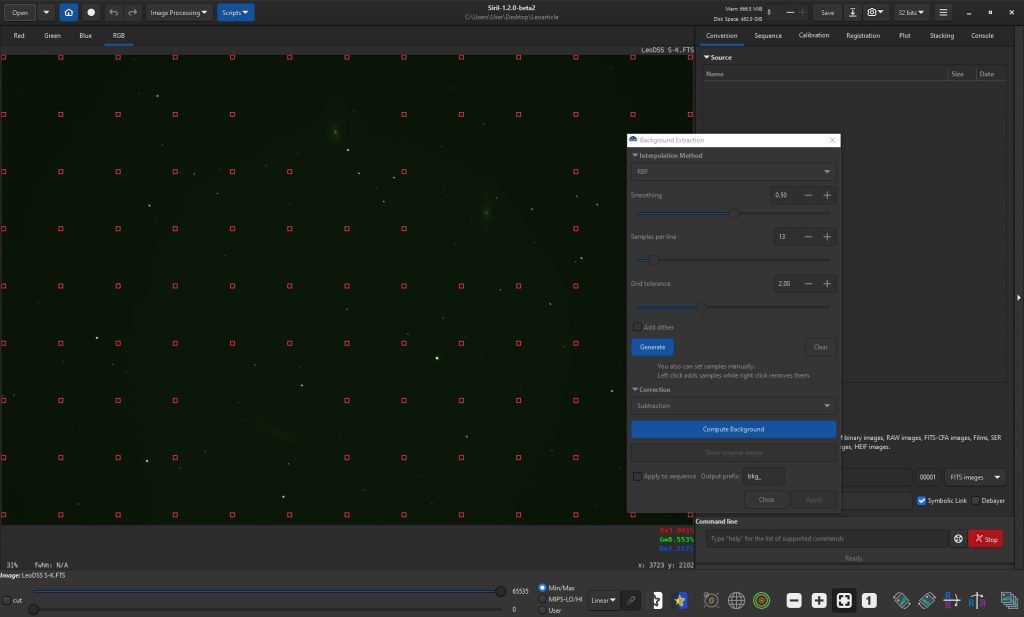
Background Extraction
The ‘Background Extraction’ tool in Siril was opened up and a grid of points was placed over the image.
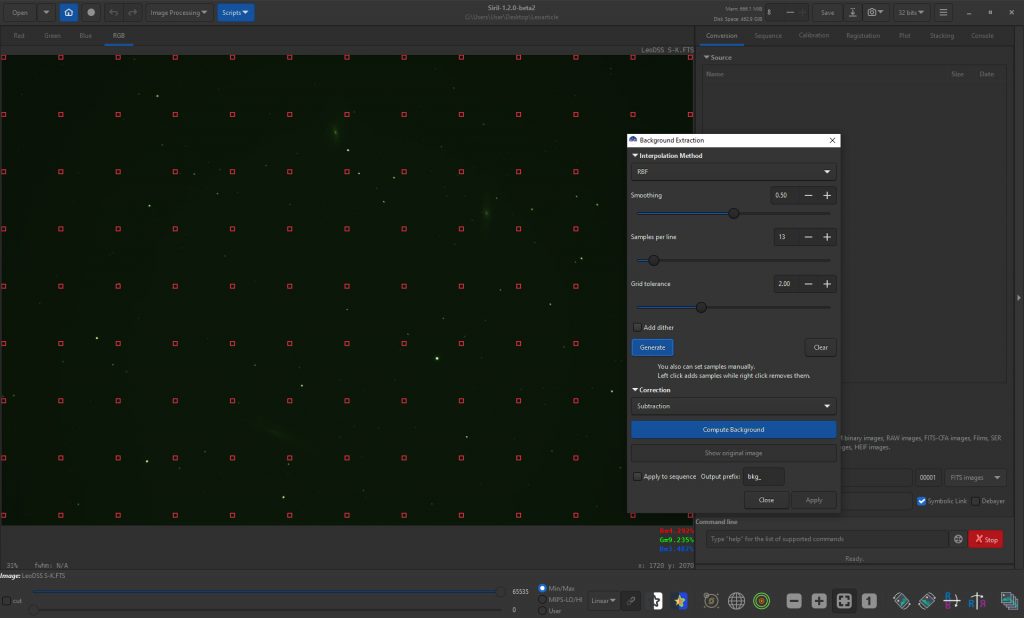
Those sample points near to the three galaxies were removed by right clicking on them and the extraction activated.
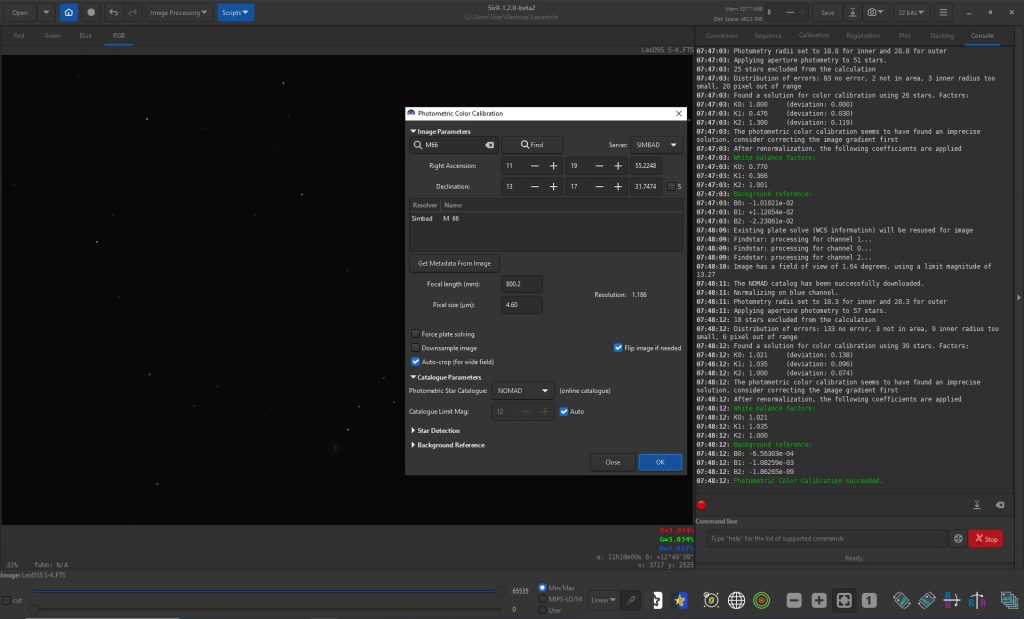
Photometric Colour Calibration
This compares the colours of stars within the image with their values in either the NOMAD or APASS star catalogues. One has to give the procedure the location of the image (I selected M66), the telescope focal length (800 mm) and the pixel size of the sensor (4.63 microns). The results show the weights that have to be applied to the RGB channels to colour balance the image (the K0,K1 and K2 values seen in the monitor panel).
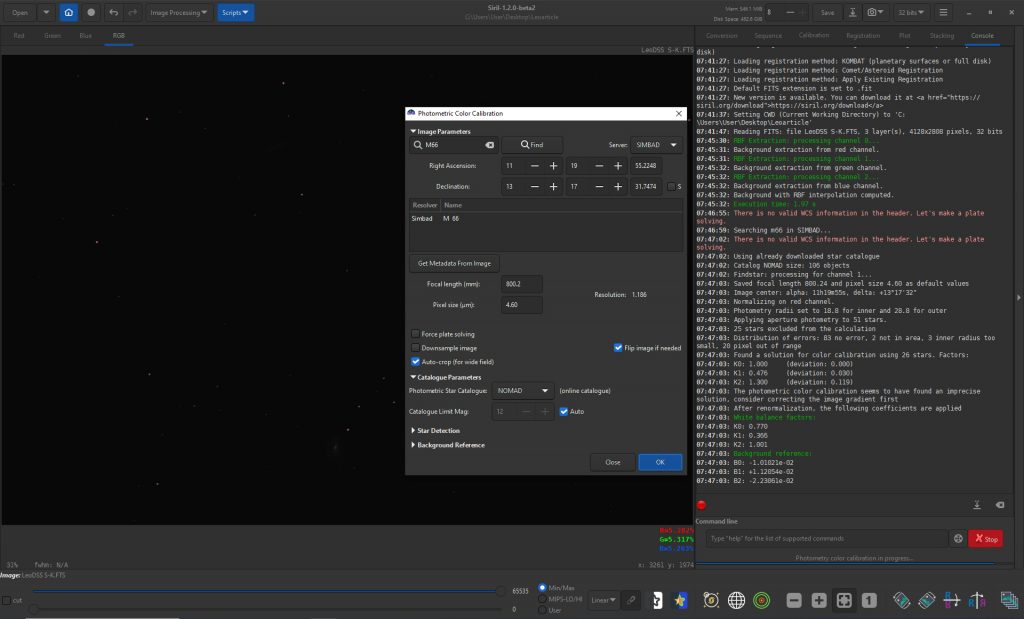
If the process is initiated a second time, the weights become very close to 1!
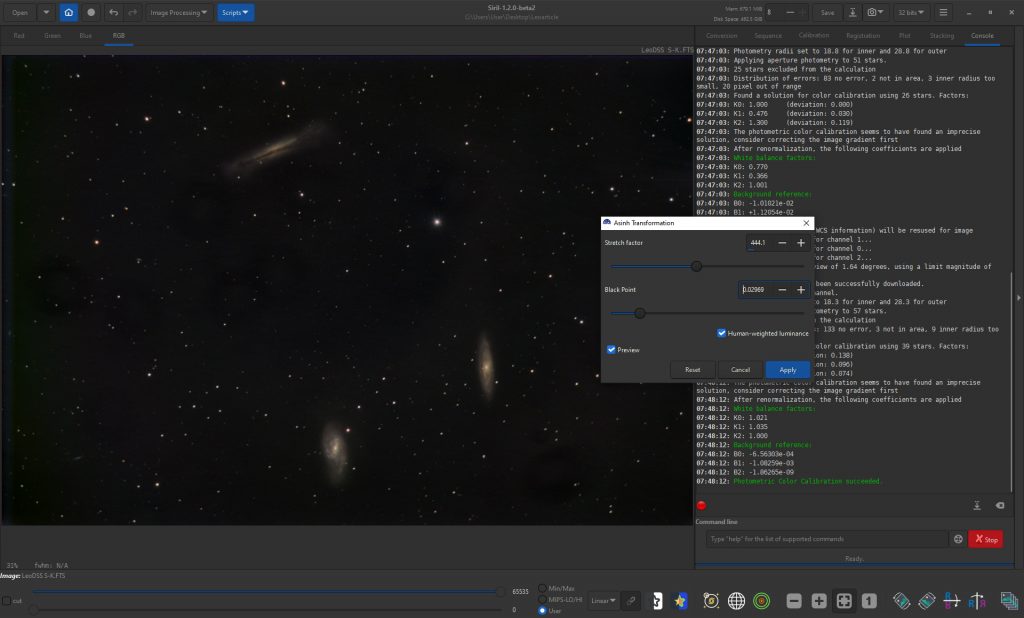
Asinh Stretching
This is opened up and the amount and black point adjusted togive a good result.
Final Adjustments
In an image processing program such as Adobe Photoshop or Affinity Photo, the ‘Unsharp Mask’ filter was applied with a very large radius and small amount to apply some local contrast enhancement and the galaxies selected and some sharpening applied to give the final image at the head of the article.