SEPTEMBER 2023
Imaging the Sun in H-alpha
There is often a problem when imaging with an H-alpha telescope that uses sub-aperture etalons. The brightness of the captured image varies across the surface whic hmakes it very hard to add colour should one wish to. This article describes how a ‘flat frame’ can be derived from the image and applied to even out the brightness.
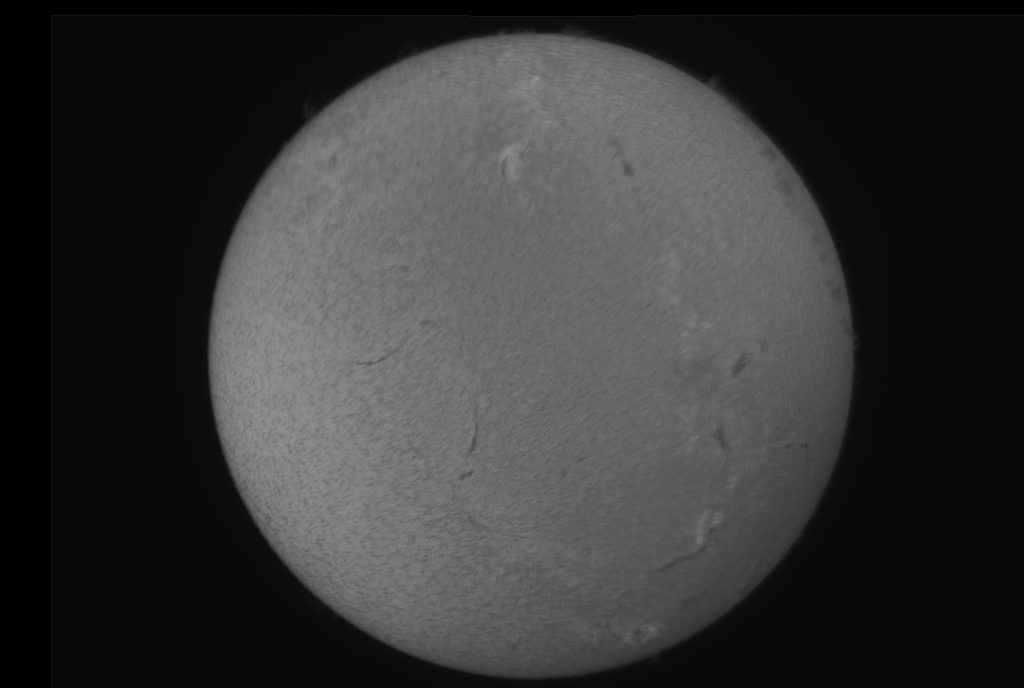
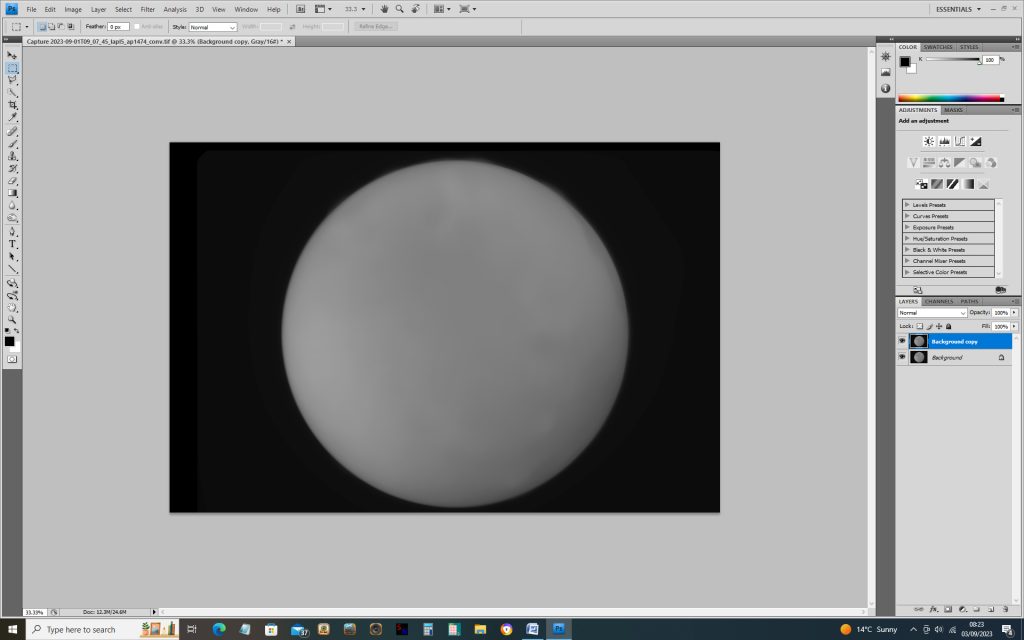
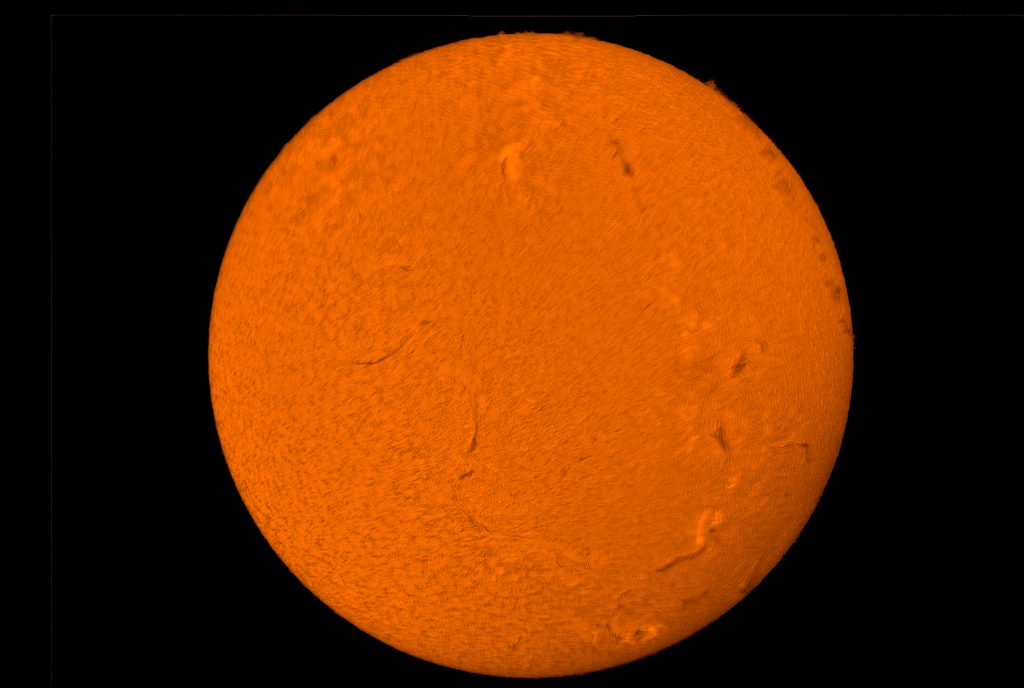
The data was taken at 08:45 BST on the 1st September 2023 using a double stacked Lunt 60 mm telescope and comprised 630 frames in a .AVI file. As will be seen, the image quality was very good.
Aligning and Stackingin AutoStakkert
The .AVI file is opened in AutoStakkert
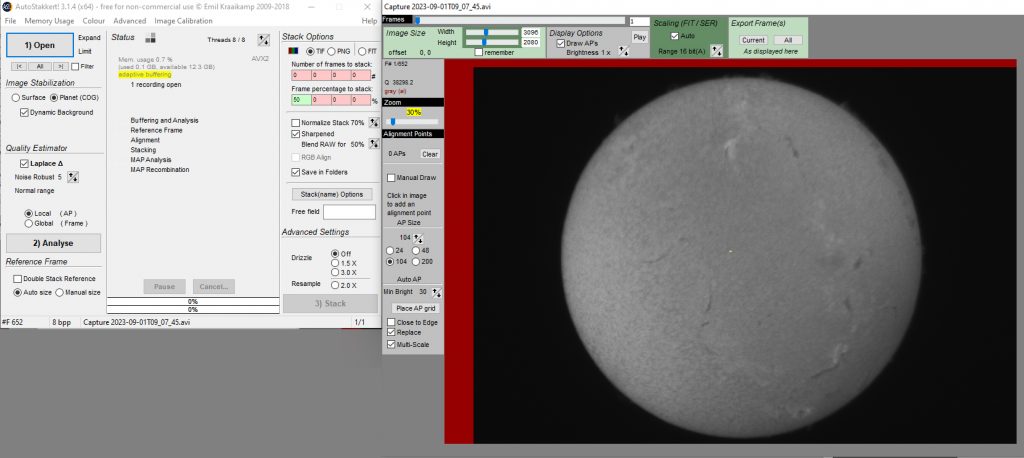
and a set of sample points chosen.
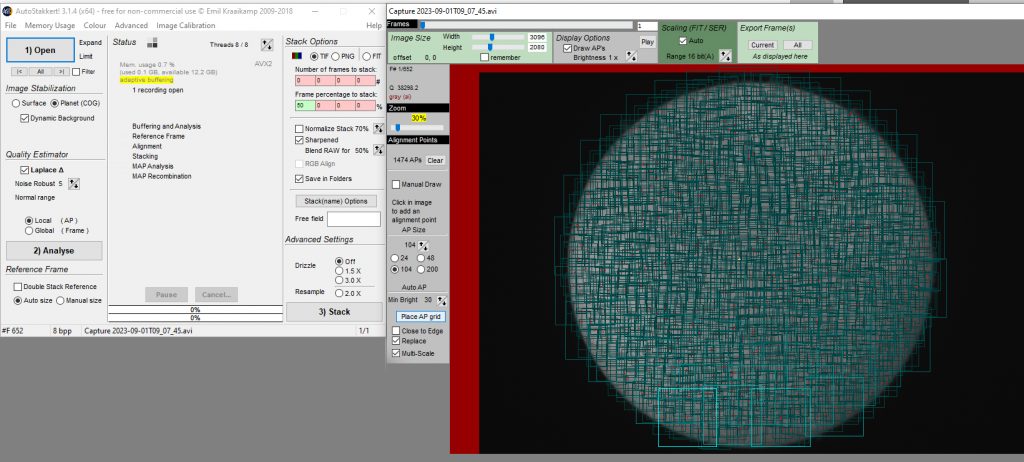
Analyse is clicked upon

The quality graph that results is very good and it would be worth stacking 50% of the files where the quality has fallen to the 50% line.
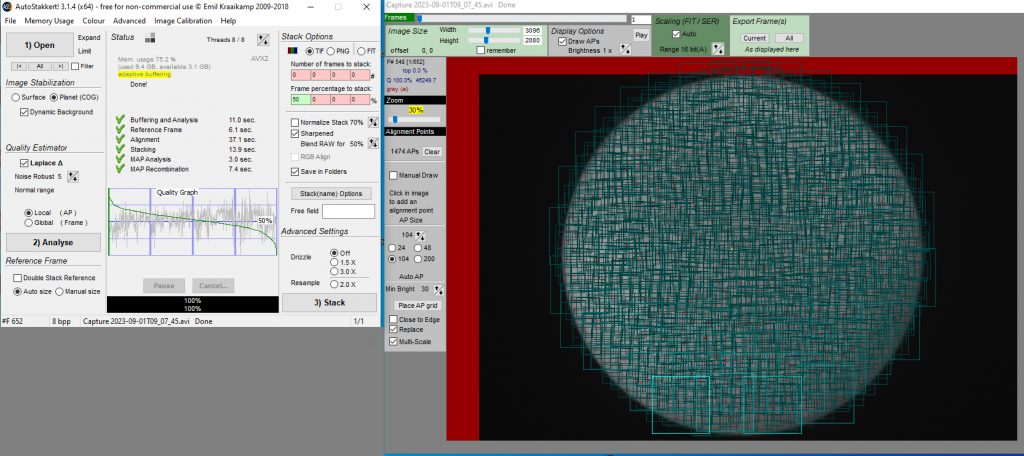
The result is saved in a folder named ‘AS_P50’ (as we selected 50% to stack). There are two versions; unsharpened and sharpened.
Production of a ‘Flat Frame’
For the production of a ‘flat frame’ the program to achieve this needs to include either the ‘Median’ or ‘Dust and Scratches’ Filters. These could be Adobe Photoshop should you have one, Affinity Photo which is far less expensive or the free programs Glimpse or GIMP.
Making and applying a‘flat frame’ to even out the brightness across the image.
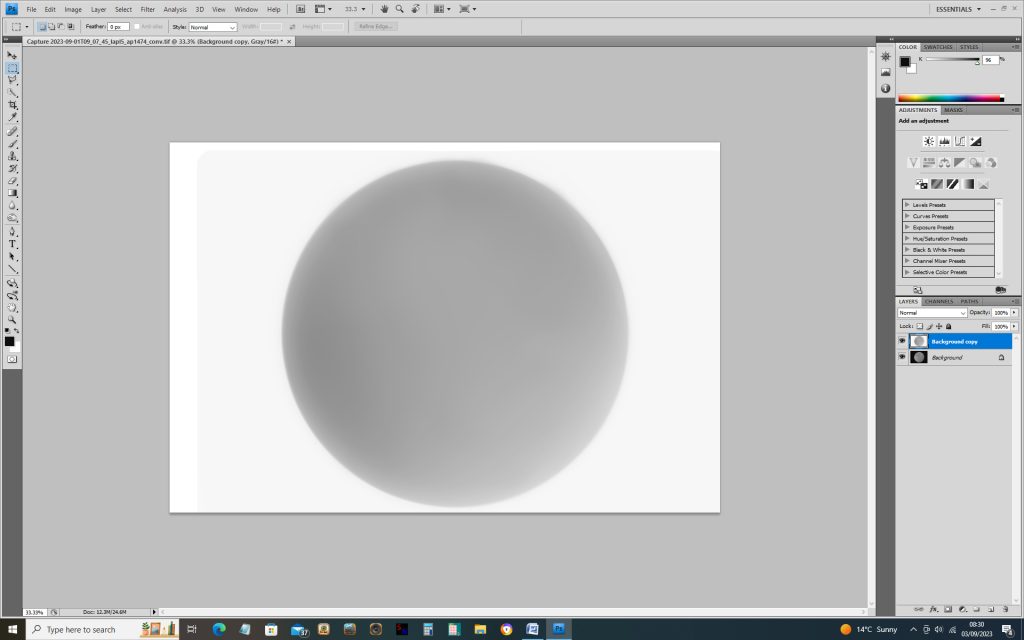
The image is duplicated and the Median or Dust and Scratches with a radius of 60 pixels or more applied to the duplicate layer. This removes the detail in the image.
This layer is then ‘inverted’.
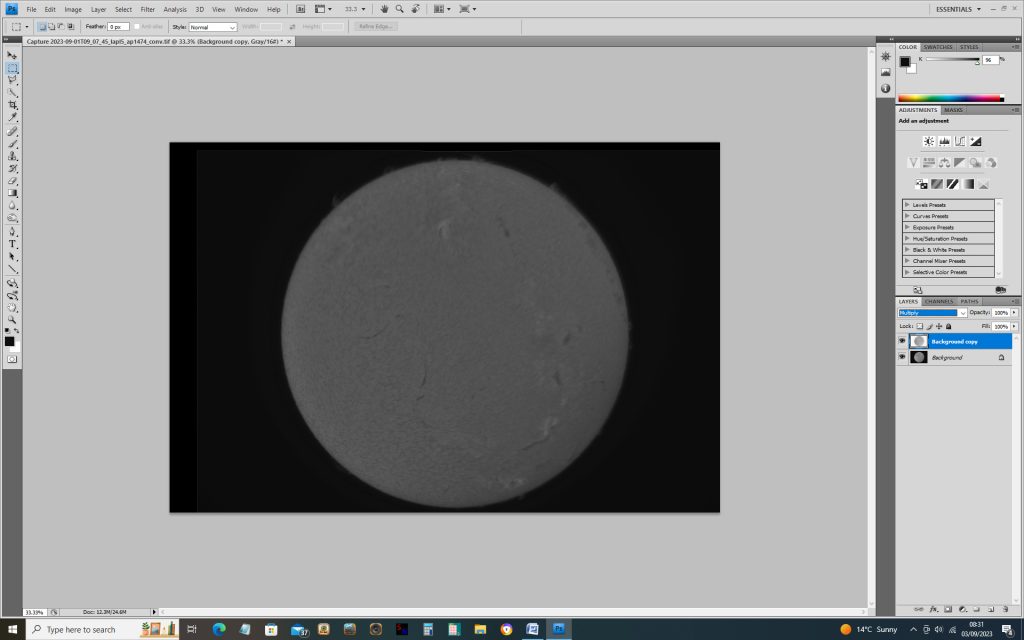
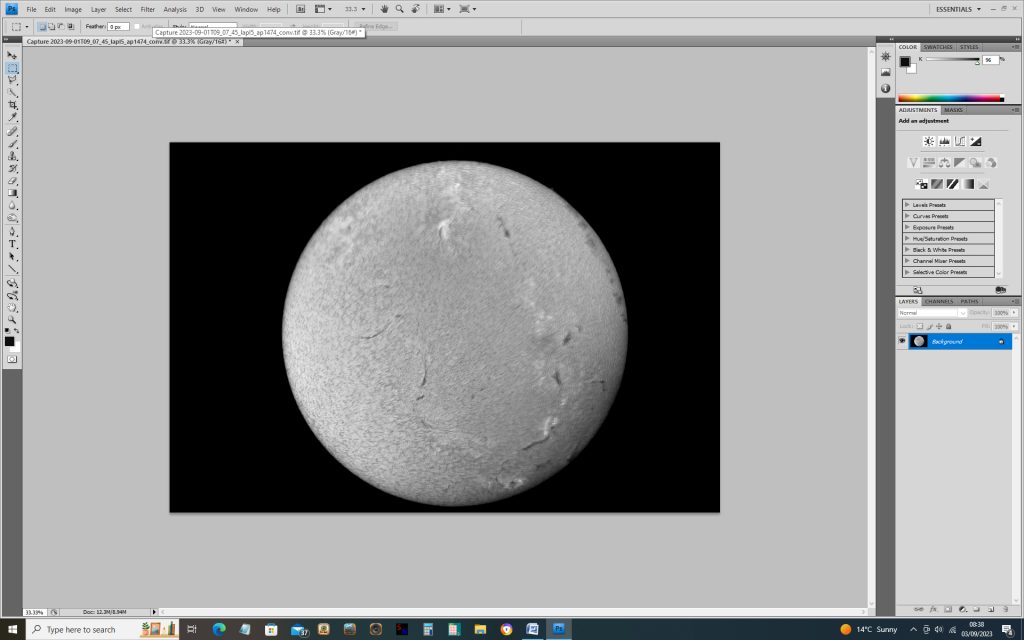
The blending mode is set to ‘Multiply’ and the two layers flattened or merged down. The resulting image is darker and needs to be brightened. It should be seen that the brightness across the Sun’s disk is more uniform.
Final Adjustments
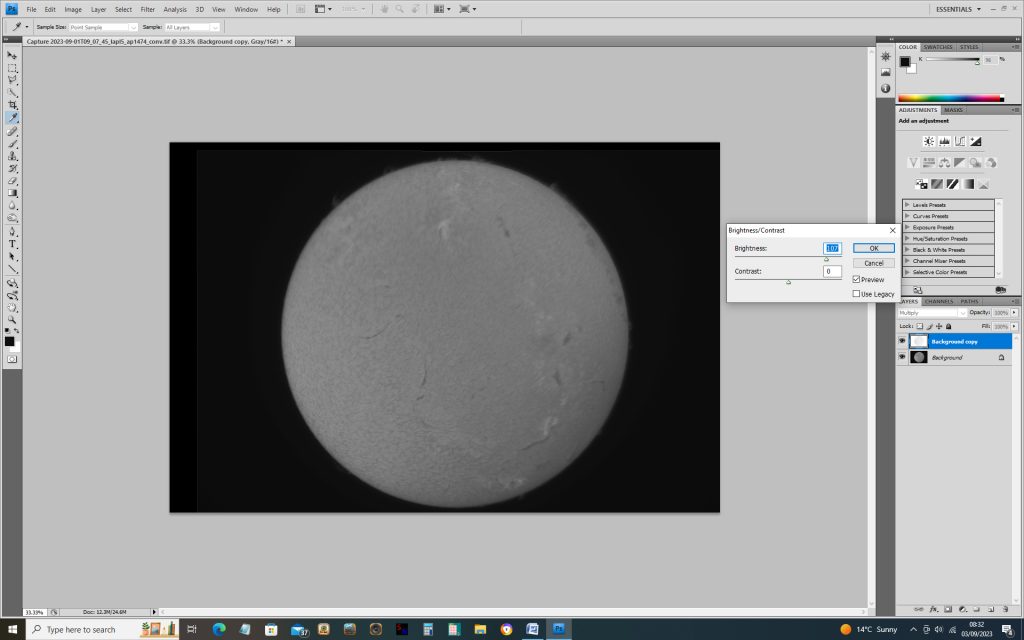
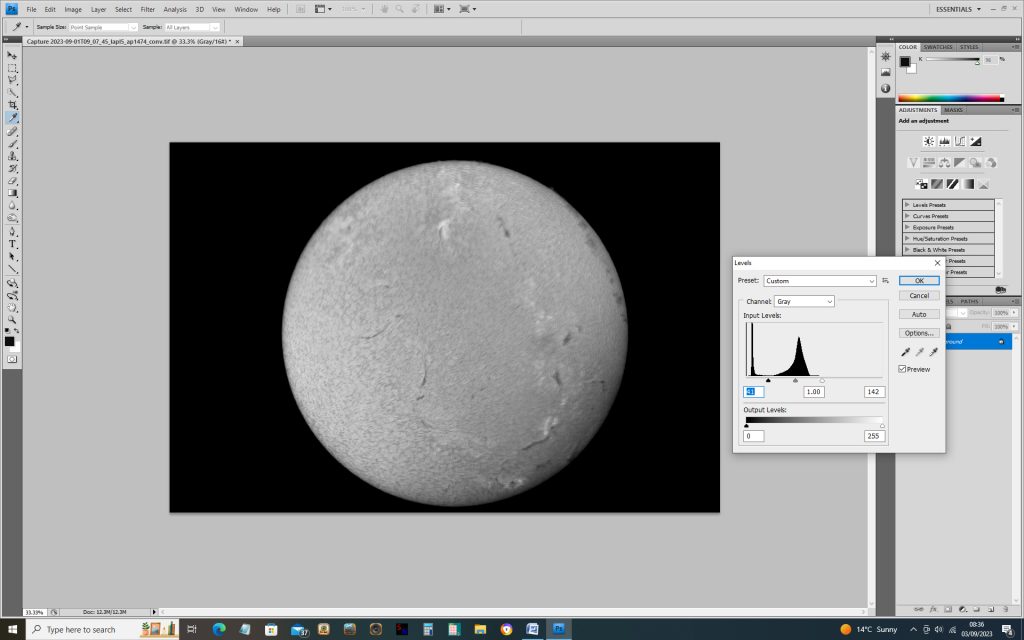
The ‘Levels’ tool can then be used to adjust the image.
One can apply some sharpening. A good way is to duplicate the image, apply a ‘High Pass’ filter to the duplicate layer with a radius of perhaps 5 pixels. Then flatten or merge the two layers usingthe ‘Overlay’ blending mode.
It may well be that these adjustments may also increase thechanges of brightness the image across the disk. In this case, one can apply the ‘flat frame’ idea for the second time.
Colouring the Image
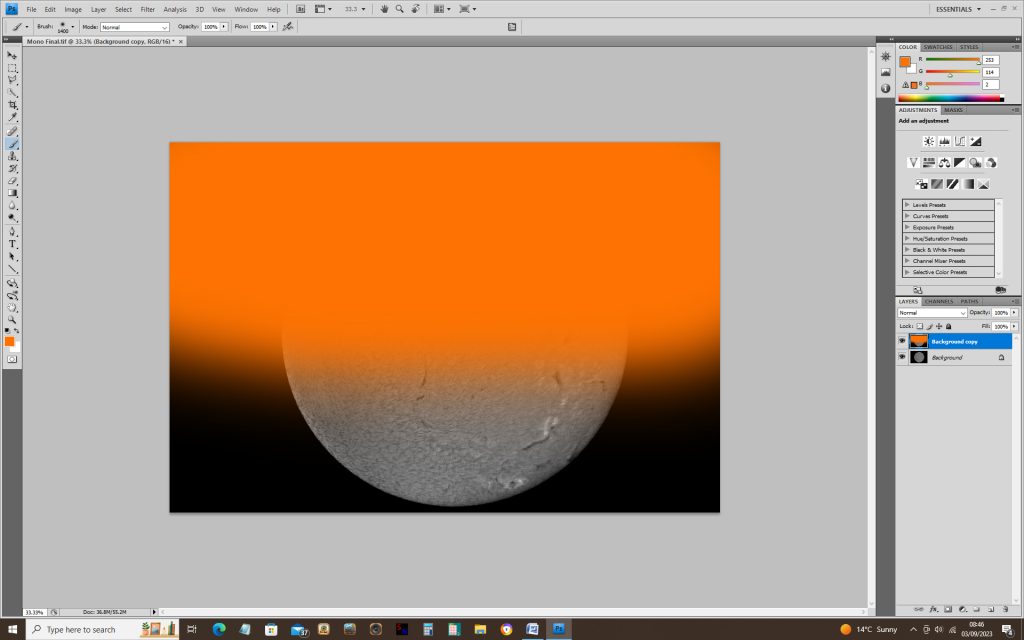
To add colour, one first changes the image mode from monochrome to RGB. This is duplicated and the duplicate layer painted with a suitable colour – - it’s not too critical as the colour can be adjusted using the ‘Hue’ tool.
Searching for the ‘GONG Solar Observatory’ can show the correct Solar orientation and, if desired, the captured image can be flipped and rotated.