JUNE 2023
Neat Image – a free (with limitation) noise reduction program
Neat Image is regarded as one of the better noise reductionprograms though perhaps not in the same league as Topaz Labs DeNoise AI. It does, however, provide a free versionhaving a limitation which I think can be acceptable for many uses in that itwill only output a good, but not highest quality, 8-bit Jpeg. I normally produce some final versions of myimages for use on the web or within our internal astronomy club competitions andthese are Jpegs of around 1,200 to 1,600 pixels across. So if the noise reduction is done as thefinal step, having first reduced the overall size and bit depth, this is notreally a problem.
It does imply a maximum image size of 1,600 x 1,600 pixels. However, in tests, it did appear to processthe full area of an image 5,456 x 3,632 pixels in size. The filtered result was ‘differenced’ withthe original and there was no differencein the result across the full frame.
It is best to use in ‘Advanced Mode’ rather than ‘BeginnersMode’ (click at the top right of the screen)
Having opened the image, one clicks on ‘Prepare Noise Profile”and, using the mouse select an area of the image that contains as little detailas possible. Then click on ‘Build Profile’ and Neat Image analyses the noisewithin the selected area. One thenclicks on ‘Adjust and Preview’ and Neat Image applies what it thinks are thebest parameters to remove the noise. These, and in particular, the ‘Noise’ slider can be adjusted if desired toadjust the level of noise removal.
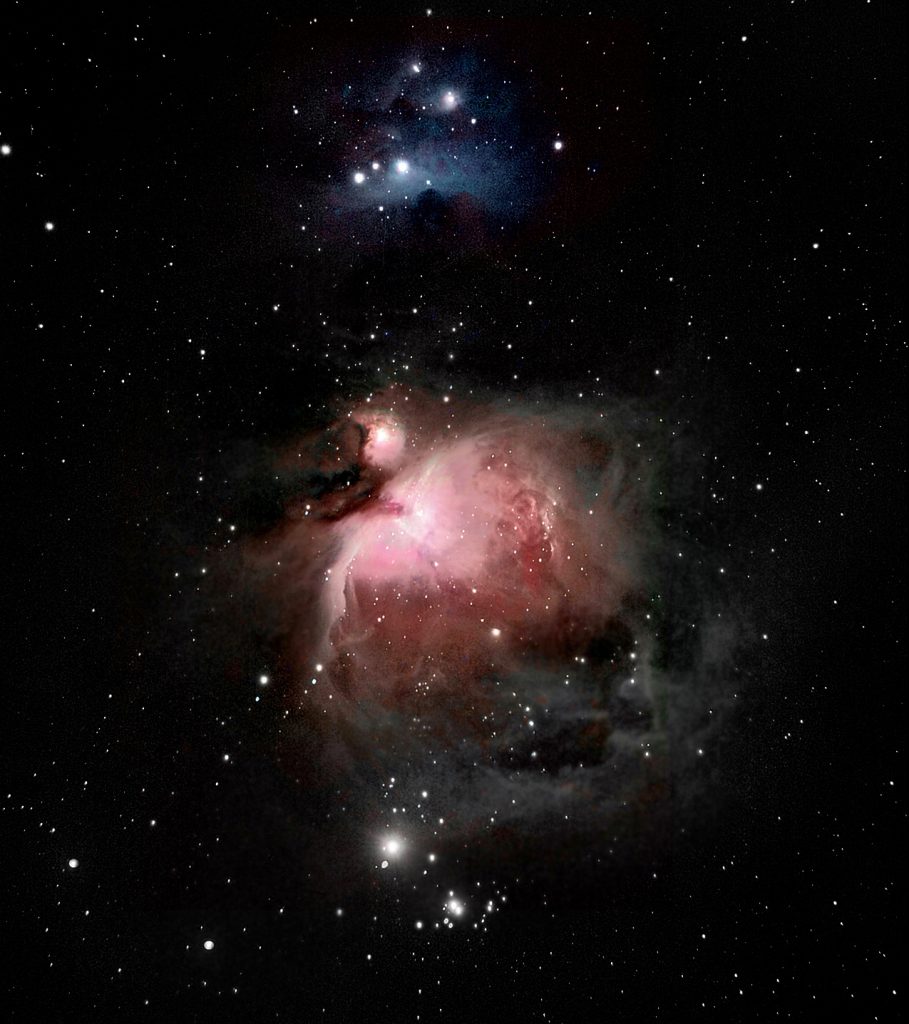
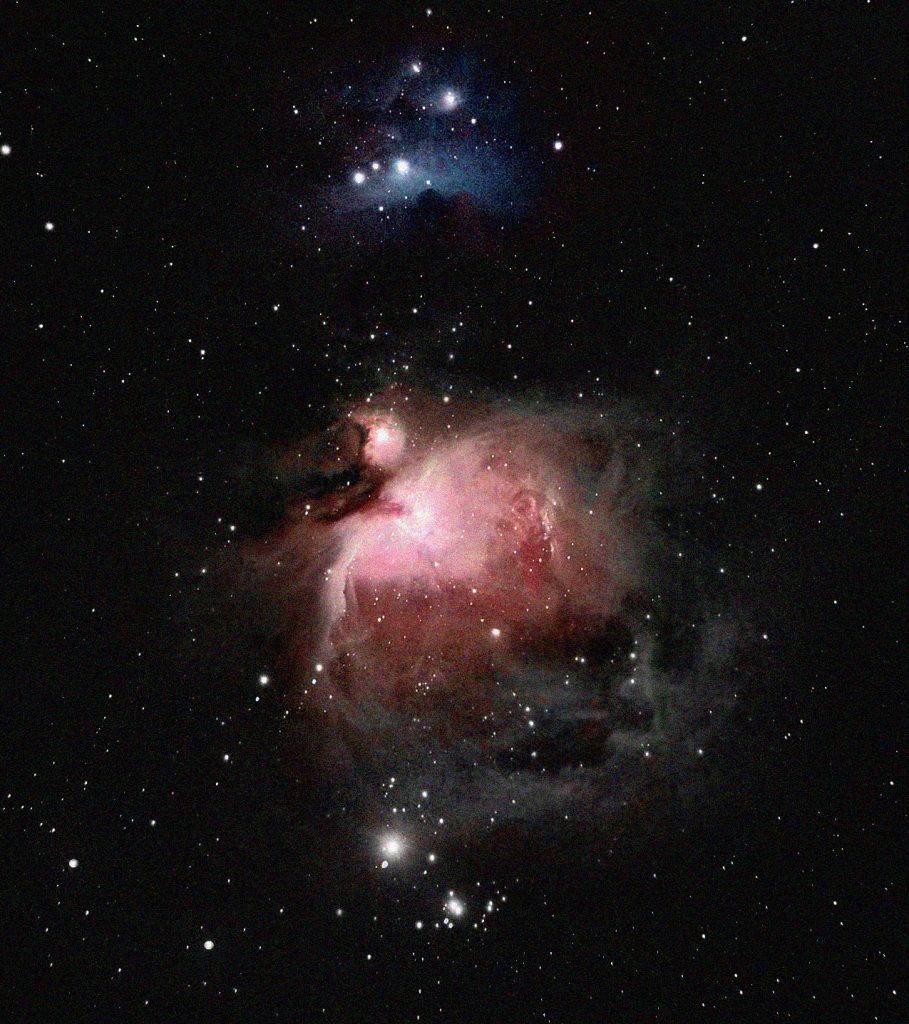
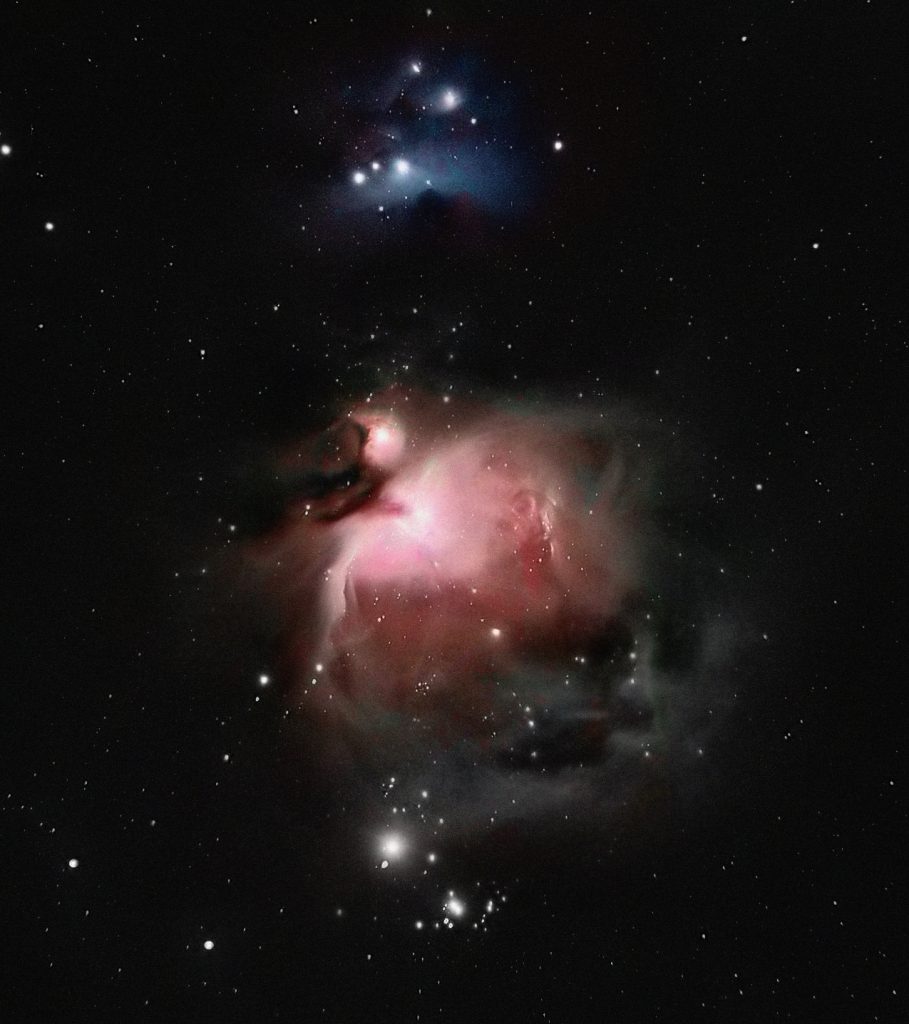
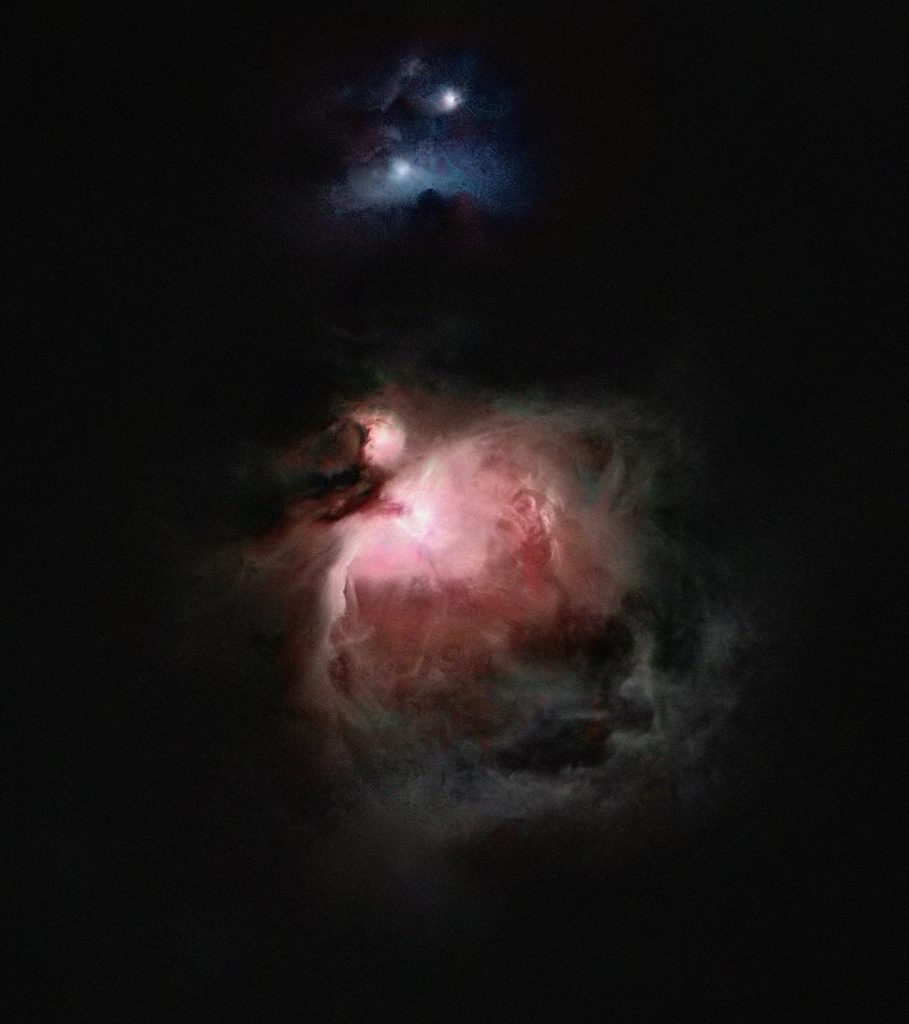
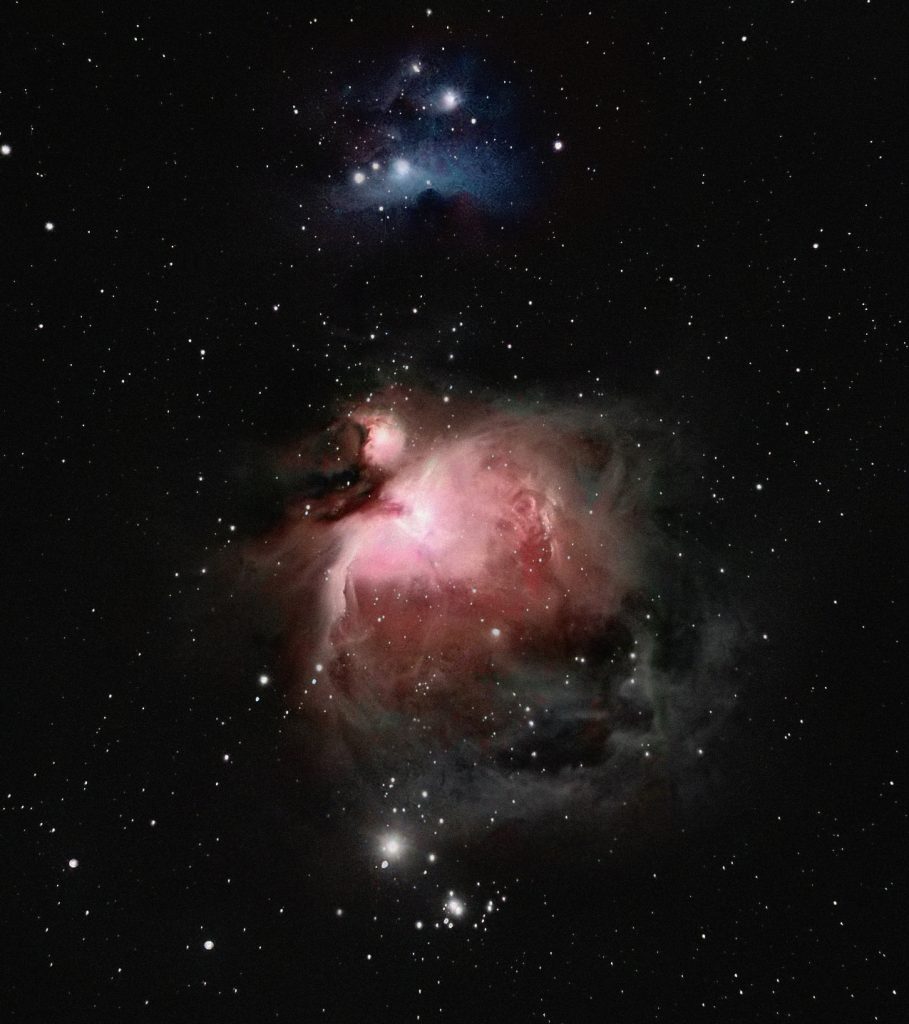
There seems to be a possible problem when denoisingastronomy images: how can the program differentiate between noise andstars? To investigate this, I have done a test usingNeat Image to denoise an image of M42 (Image 1) to which I had added noise(image 2). The result is shown in image 3. I had used the noise reduction settings that the noise analysis hadsuggested. However, a better result was obtained by reducing the Noise sliderfrom -15 to -35 (image 4).
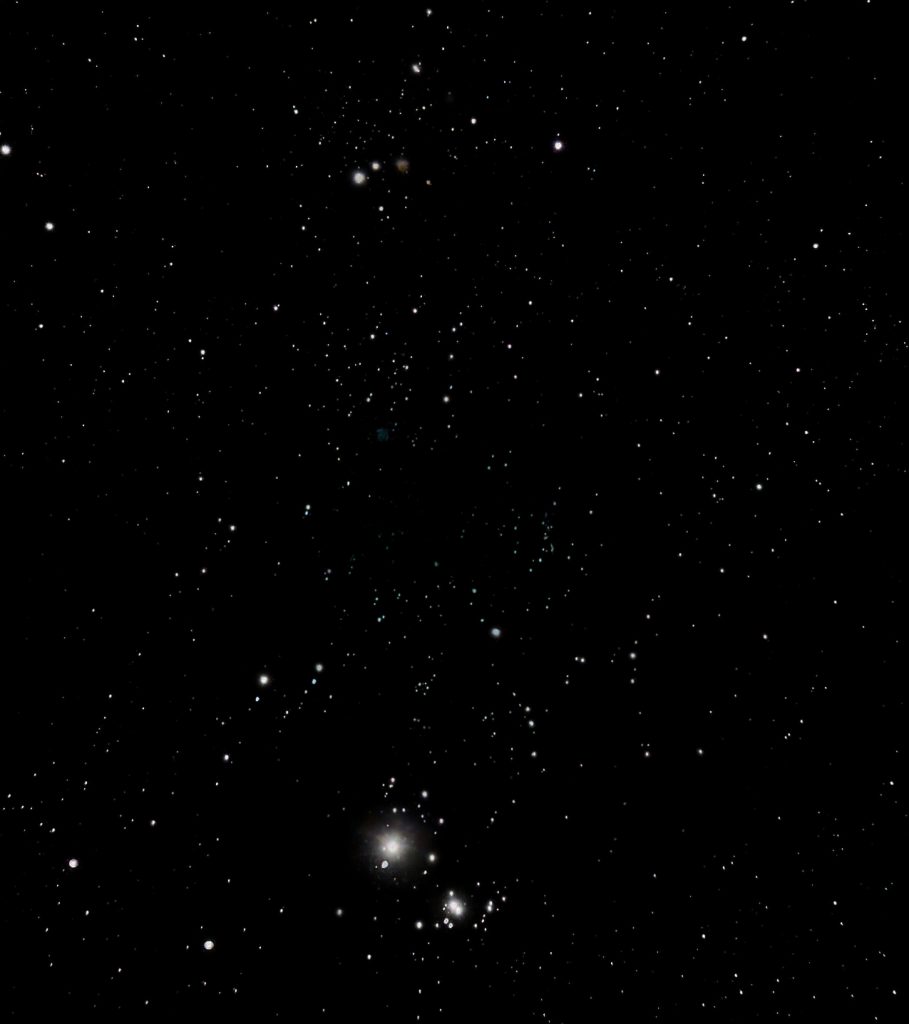
I then usedStarnett++ to separate out the stars and nebulae in the, noise added, image ofM42 (images 5 and 6). I then used NeatImage to remove the noise from the Nebula image (image 7) alone to which Iadded back the stars to give me a second result (image 8). Obviously, the stars would not have affectedthe noise reduction applied to the Nebula image.
So I had 8 images:
1) The original image of M42.
2) The original image to which I had added noise.
3) The result of using Neat Image to denoise this image (sostars were included).
4) That of (3) but with the noise slider value reduced sogiving a better result.

5) The Nebula image.

6) The Stars image
7) The denoised Nebula Image.
8) The result of adding the back the stars to the denoisedNebula image.
It is fairly obviousthat the result (8) came closest to the original image suggesting that thismight well be useful technique.
This program is worth a try – there is nothing to lose.