DECEMBER 2019
Removing planes in Deep Sky Stacker: Orion imaged with a Fugi X100S camera.
[This is just one of many articles in the author’s Astronomy Digest.]
Perhaps my best film camera was a Konica Hexar AF with a excellent fixed focal length, f/2, 35mm lens apparently ‘copied’ from the Leica Summicron f/2. It now has ‘cult’ status and was the perfect ‘street’ or ‘walk around’ camera. In 2010, Fugifilm first produced a digital camera equivalent, the X100, having a fixed 23mm f/2 lens so having the same 35mm effective focal length as the Hexar. Since then the X100 has been upgraded improving, for example, the auto focussing and increasing the sensor resolution from 12 to 24 megapixels. They are jewels of cameras, having manual controls for aperture, exposure and exposure compensation and a combined optical and EVF viewfinder. Though expensive, they have been compared to the far more expensive Leica digital cameras. I was lucky enough to acquire a near mint X100S, having a 16.3 megapixel sensor, with no though of using it for astrophotography as, for two reasons, it is not ideal. Firstly, it does not have a tilting screen, so useful when imaging at high elevations, and, secondly, it has no provision for using an intervalometer so each exposure must be initiated manually either with cable release (!) or using a 2 second delay to avoid camera shake.
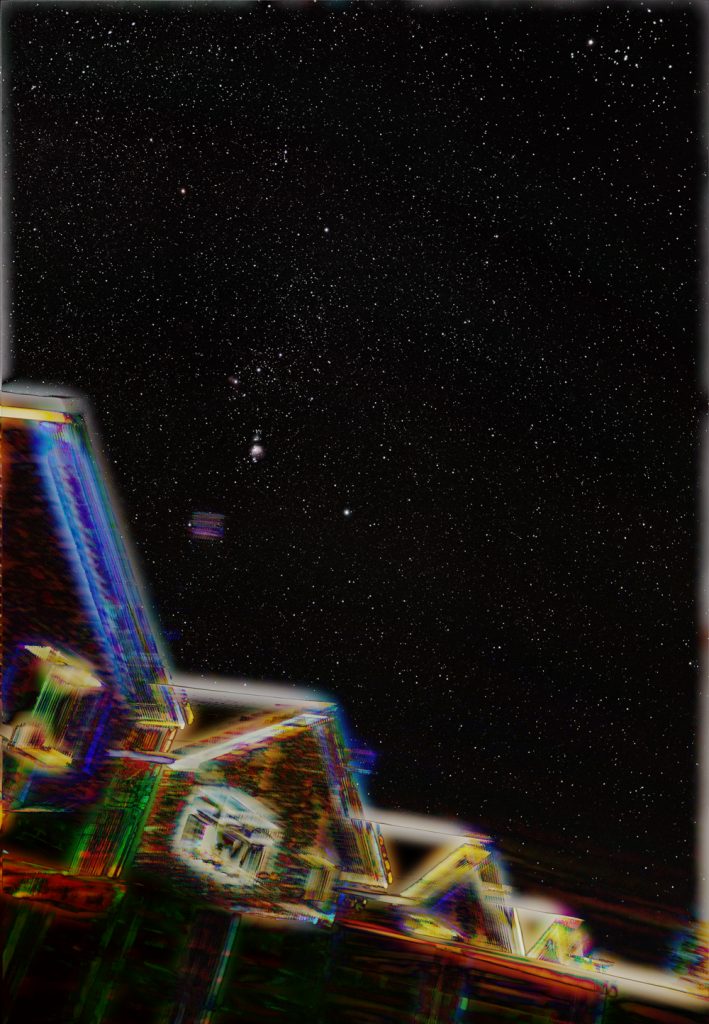
Arriving home from an astronomy lecture, I spotted Orion lying above the next door house as seen in the image below, and thought that it might be worth attempting to image the constellation as a test of the lens quality of the X100S. [Star fields are perhaps the severest test of any lens as, in their corners, they are prone to give elongated stars aligned away from the centre (easy to correct) or, worse, ‘little seagulls’ caused by coma (not so easy to correct).]
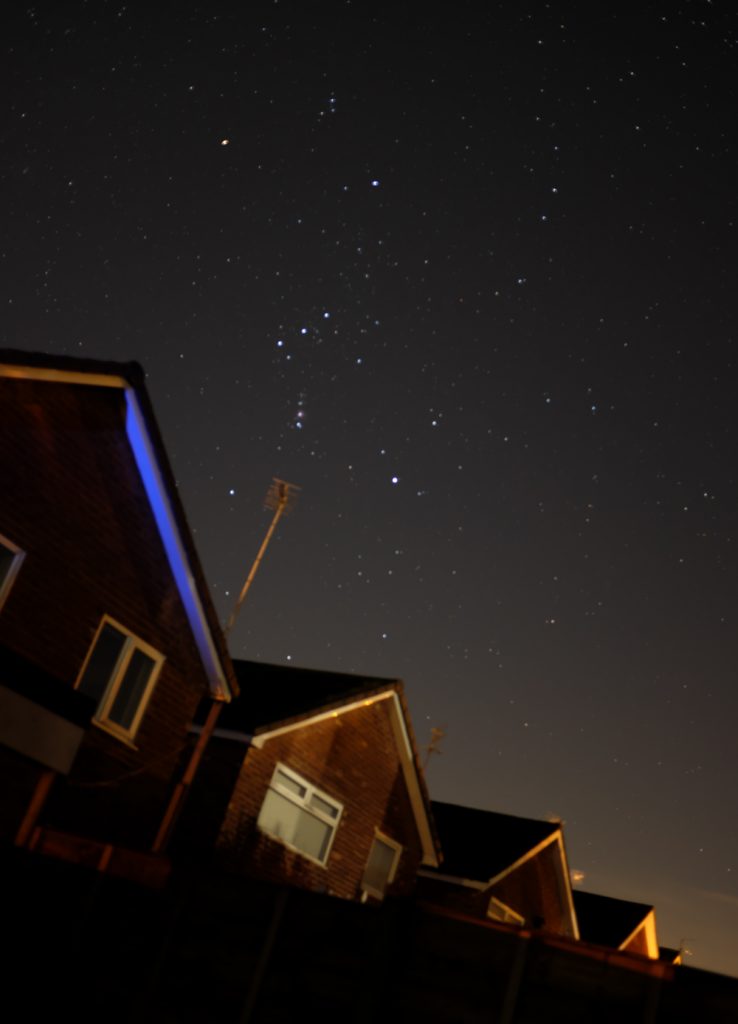
A single 25 second exposure at f2.8 showingOrion over the house next door.
Mounted on a Nanotracker, I took 16, 25 second, exposures with the lens aperture reduced to f/4 to enhance its image quality. Both Jpeg and raw files were captured with an ISO of 400. Scanning through the Jpeg frames I discovered that a plane passing overhead had appeared on three of the images.
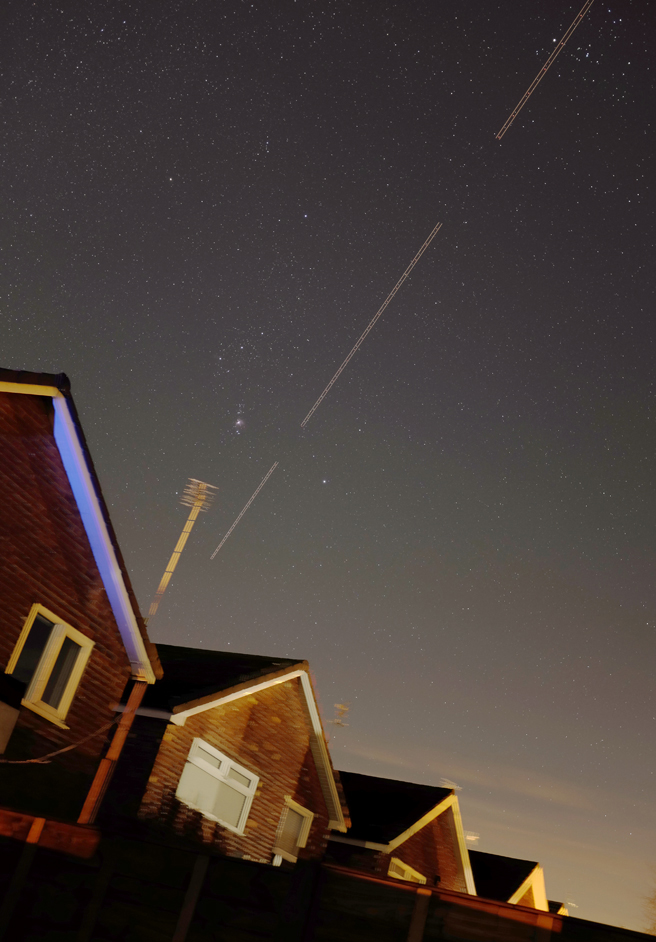
A composite of the three images that show thetrack of a plane passing overhead.
If this onlyhappened on one frame out of say, 50, I would have simply deleted it butdeleting three out of 16 would not be good. I thus used Deep Sky Stackerto align and stack the JPEG frames using the Sigma-Kappa averaging mode. In this mode, after producing the aligned andstacked image, DSS compares the valueof every pixel in each frame and replaces any that deviate too far away fromthe average value. Ideally this is withthe average value of that pixel excluding the errant value. [That may not be the case − it would be farquicker to just replace it with the average value that had already beencalculated.]
As hoped,in the DSS result, the plane haddisappeared.
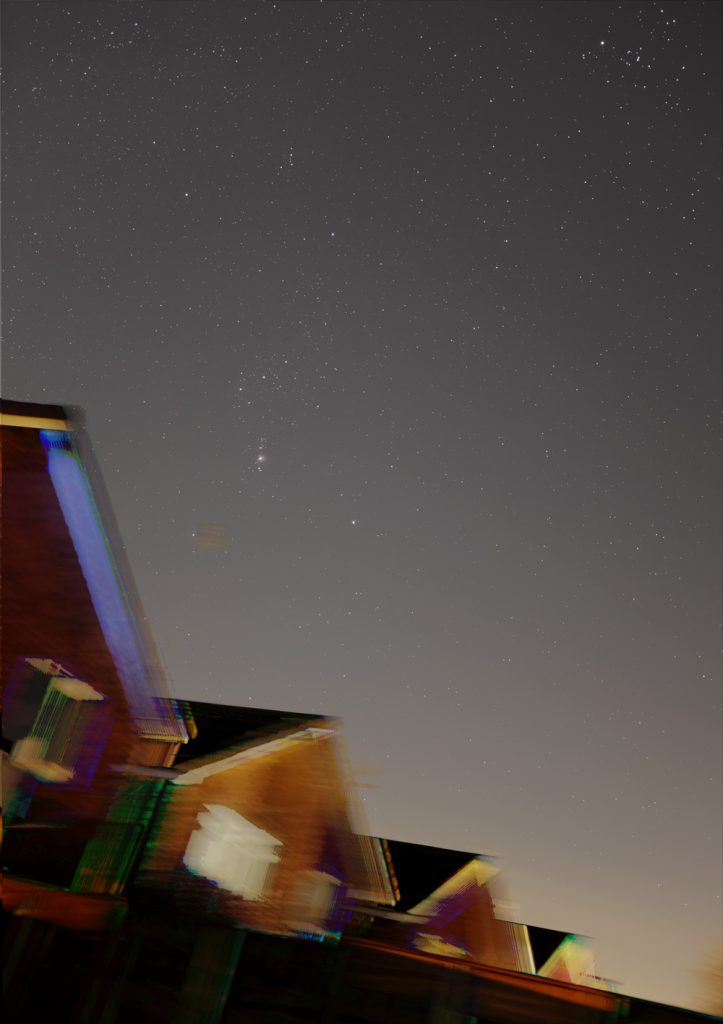
The aligned and stacked image using theSigma-Kappa averaging mode.
The light pollution was removed using the method described in detail in the digest article ‘Removing Light Pollution in Adobe Photoshop and GIMP’. In Photoshop, the image was duplicated and the ‘Dust and Scratches’ filter applied with a radius of 40 pixels. The filter thinks that the stars and small details such as the Orion Nebula are dust and removes them. The result was smoothed using the ‘Gaussian Blur’ filter with the same radius. The two layers were then flattened using the ‘Difference’ Blending mode. The result was stretched using a few applications of the levels command with the central slider moved to the left to the value 1.2 to give the result below.
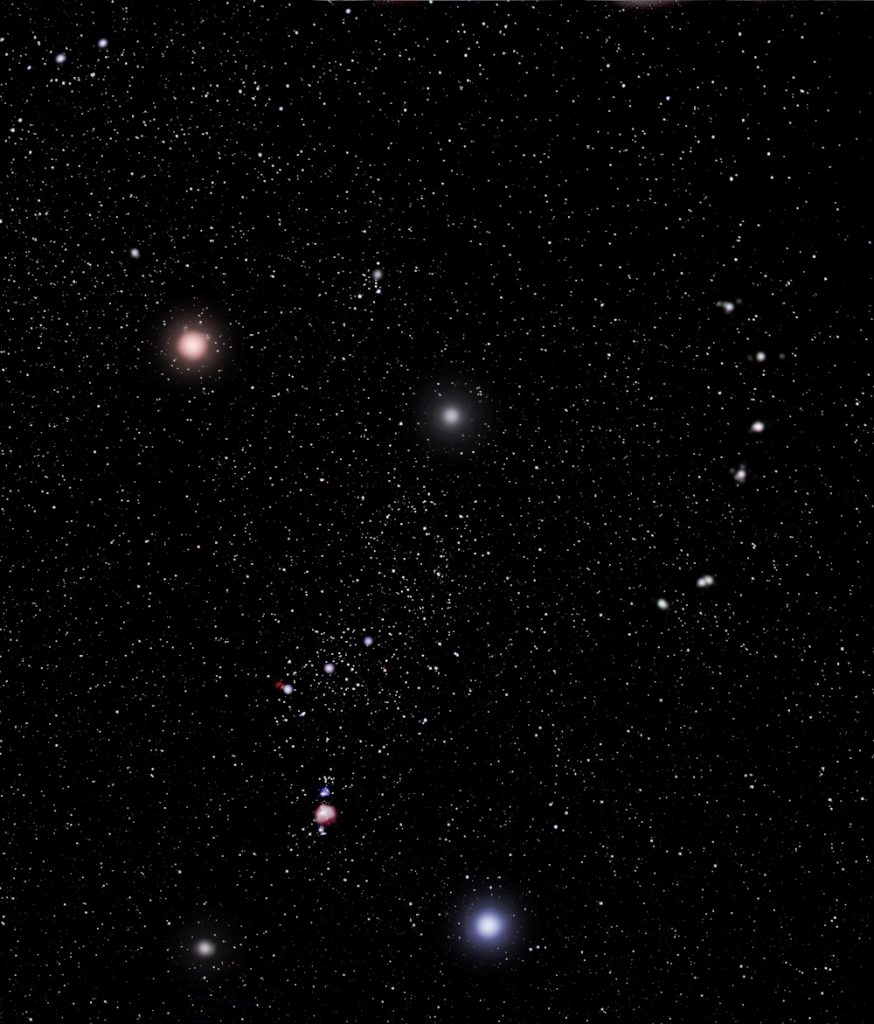
Orion wascropped from the full image and the TV aerial cloned out.
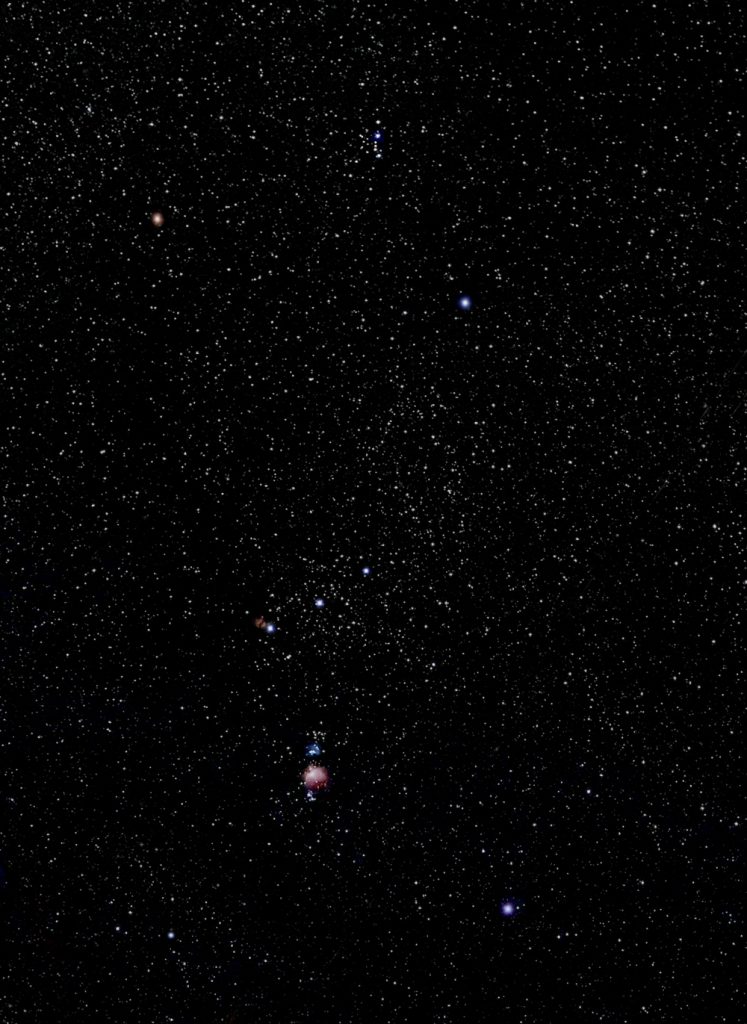
I had applied some enhancement to the brighter stars to make them stand out a little better (as film does due to halation) to give the result above. It was far better than I had expected. There was even a hint of the ‘trapezium’ within the Orion Nebula, M42. The blue ‘running man’ reflection nebula can be seen above with the ‘flame nebula’ up to the left of Alnitak, the lower left star of the belt. I also converted the raw, .raf, files into .Tiff files and stacked these too. I have found that, often, first converting raw to .Tiff files can give a better result than letting DSS stack the raw files direct. To be honest, in this case, I can find no obvious differences between them.
[I was somewhat surprised to find that DSS canaccept the Fugi raw files that are derived from an X-Trans sensor which uses a6×6 grid of RGB filters rather than the 2×2 grid of the Bayer sensorarray. Raw converters do appear to haveproblems demosaicing the X-Trans filter array raw files.]
The lens,stopped down to f/4 was near perfect, even in the corners of the frame. To take a wide field star field, this maywell be the best camera/lens combination that I own. Time will tell.
One can make digital images look more like those made by a film camera to simulate the effect that halation has on the brighter stars. Its effect is to make them larger so enabling then to stand out better. The famous astrophotographer, Akira Fugii, whose (film) constellation images appear in the ‘The Great Atlas of the Stars’ added a soft focus filter in front of the lens to make the main constellation stars both more prominent and diffuse. [This is the most beautiful star atlas ever published – second hand copies can be bought for £100 or more!] To emulate the look of his images, one can select the brighter stars and use the Gaussian Blur tool to expand their size. This reduces their brightness so the Brightness/Contrast tool is then used to brighten them to give an image (a) which is saved. If the very brightest stars are selected with the remainder of the image made black, they can be expanded further to give an image (b) which is copied and pasted over image (a). These two images are then flattened using the ‘Screen’ blending mode to give the effect of a soft focus filter. The result does actually look quite like Akira’s image. One may, or may not, prefer the resulting image below.