AUGUST 2017
The TS Optics Quadruplet Astrographs: TS 70mm, f/5, TS71SDQ 71mm, f/6.3, and the TS Imaging Star 65mm, f/6.5.
This is one of over 100 illustrated articles to be found in the author’s Astronomy Digest.
These are three, essentially identical, astrographs. The original astrograph with its 65mm objective was first replaced by one with a 71mm objective with the current version having a 70 mm objective with a focal ratio f/5 and hence a focal length of 350 mm. This review is based on that of my 65 mm objective astrograph but should equally apply to the newer versions.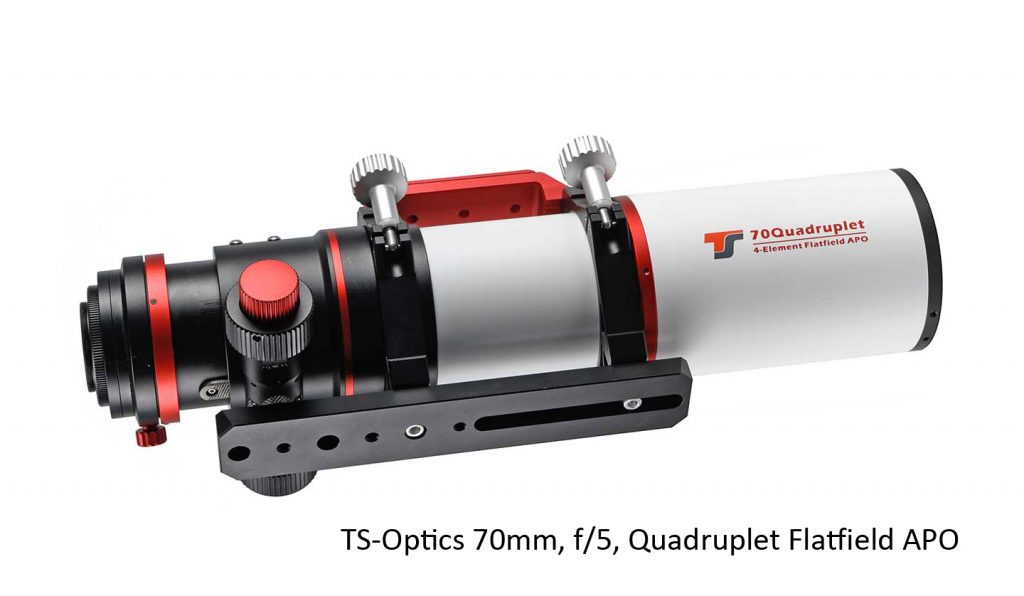
An astrograph should give pinpoint stellar images and no significant vignetting across its specified field. This telescopes claim to have a corrected field diameter of 44 mm and so should be able to cover the sensor of a full frame DSLR which has a diagonal of just over 43 mm.
The air-spaced triplet objectives employ one element of FPL-53 glass for optimal colour correction. A well designed triplet should not show any false colour not only in focus but also on either side of focus. There is one proviso that must be born in mind. The central element of such a triplet is isolated from the outside air by the outer lenses and the air spaces between them and thus the cool-down time to equal the outside ambient air temperature is longer than is the case for a doublet (or oil spaced triplet) objective. Part way down the telescope tube is placed a fixed an internal ED field flattener element. Such a placement can provide correction over a wider field than can be achieved with add-on field flatteners located between the focuser and camera.
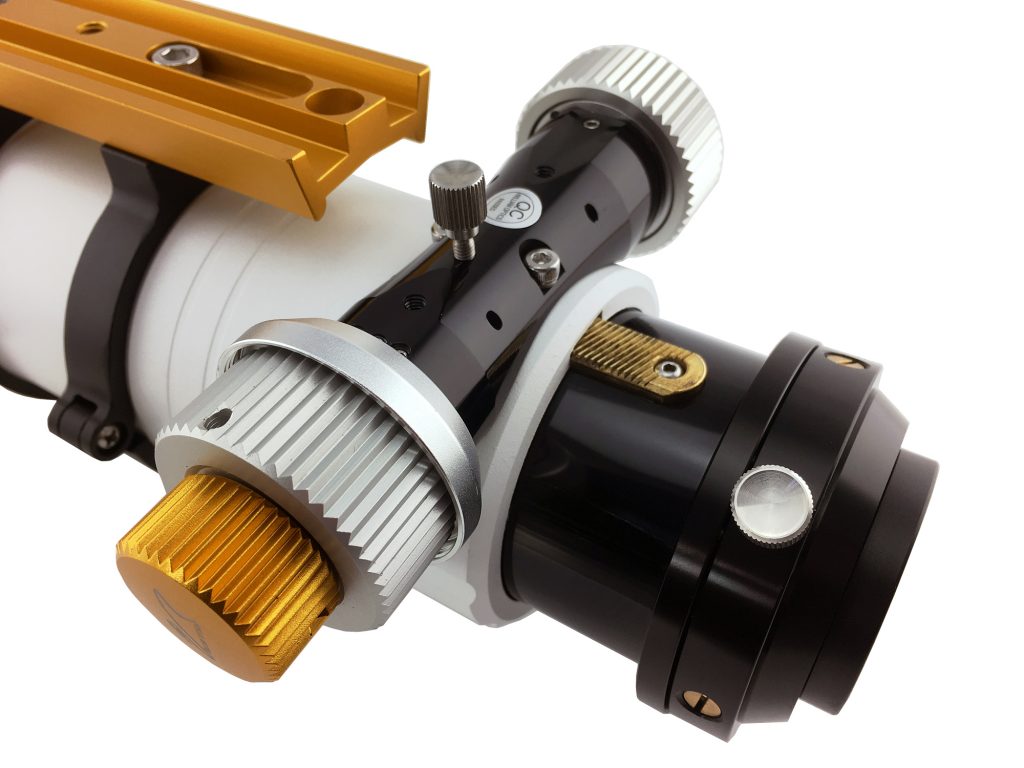
The telescopes are equipped with a rack & pinion focuser whose fine machined cograil allows smooth focusing even under heavy loads of up to 3 kg. They come with CNC tube rings and with vixen dovetail and has a standard finder shoe which is Vixen/Celestron/Skywatcher compatible. However, its fine construction meant that the rather crude base of some of my finder scopes would not fit within it without some filing to remove the crackle paint finish.
Specification and Review of my 65 mm astrograph
— Aperture: 65 mm
— Focal length: 420 mm
— Photographic speed: f/6.5
— Diameter of the corrected field: 44 mm
— Weight: approx 2.8 kgs (with tube rings and prism rail)
— Focuser: 2″ RP with improved bearing, 360° rotation and ring clamping
— Mechanical length: 340/375 mm with retracted/extended dew cap
— Resolution: 1.78 arc seconds
— Limiting visual stellar magnitude: 11m6
Photographic Tests
Their aim was to check for the extent of the unvignetted field and the quality of the stellar images across the field.
Test for field coverage
The telescope was used in conjunction with a full frame Nikon D610 camera. This could be brought to focus without requiring a focus extender as is often required with refractors. Good.
A number, 13, of exposures were made of a region of sky almost directly overhead in the Constellation of Cygnus. The light pollution should then have been uniform across the field. A single exposure was used as a test. First, the ‘Dust and Scratches’ in Adobe Photoshop was applied with a radius of 18 pixels. It thinks the stars are dust and removes them. The resulting image, slightly stretched and shown below, does show some vignetting in the extreme corners of the field. Measurements indicated that this corresponded to a drop of up to one stop. This is not too extreme and its effects could be removed with the use of light frames when processing the data in Deep Sky Stacker.

Measurement gave an unvignetted field of 30 x 24 mm. This equates to a field diameter of 38 mm, so perhaps the quoted field diameter of 44 mm is somewhat optimistic. The field diagonal of a Nikon APSC sensor (24 x 16 mm) is 29 mm and has an area of 384 sq mm. The unvignetted field of the Quad Astrograph has dimensions of (30 x 24) mm giving an area of 720 sq mm. So even without correcting for the vignetting using flat fields, the covered area has increased by 180%. Correcting for the vignetting as described below, gives an area increase of 225% over an APSC field.
In processing this data, I realised that I could use a single light frame from the set to produce a flat frame with which to correct for the vignetting. This, perhaps surprisingly, proved to be the case and, as described in the article within the digest on producing a flat frame from a light frame, I employed it to produce the image that would be used to investigate the star quality across the field.
The image below is the DSS screen grab of the alignment and stacking result having used the derived flat frame. The light pollution, both from the Moon and street lights is shown in the histograms. It was this light pollution that enabled a flat frame to be produced. The dark regions at top and right are simply the result of imperfect tracking.
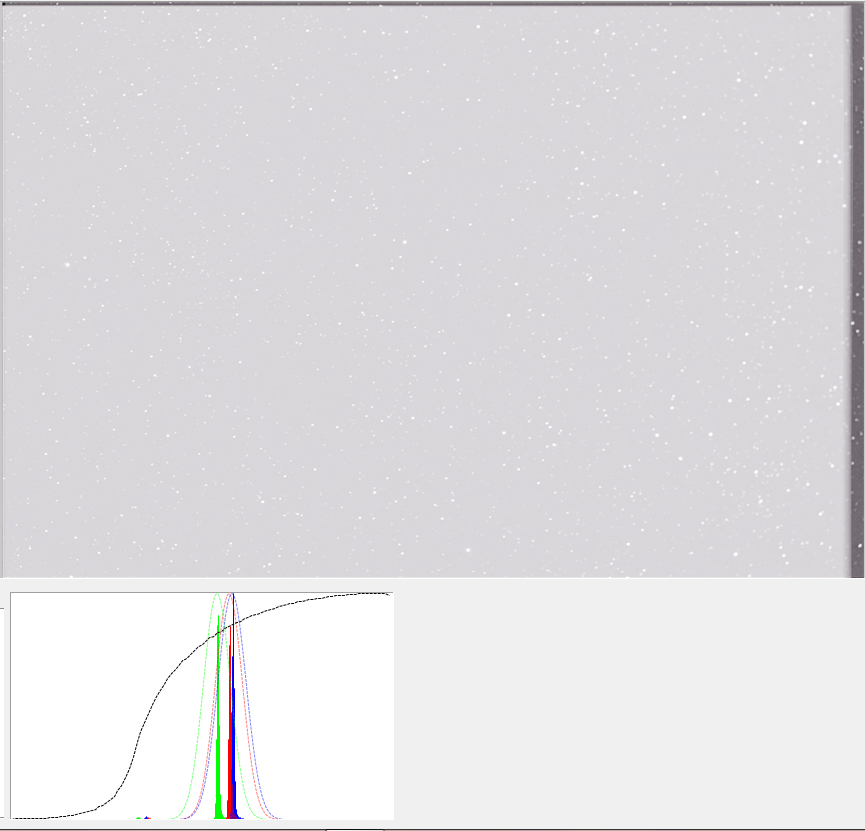
The result was excellent in that the vignetting has disappeared, but do note that the noise in the ‘lifted’ regions will be greater. I do not believe that this will important in real imaging as the objects of interest will not be placed so close to the extreme corners of the field.
The output from DSS was stretched with two applications of the ‘levels’ tool to give the result below.
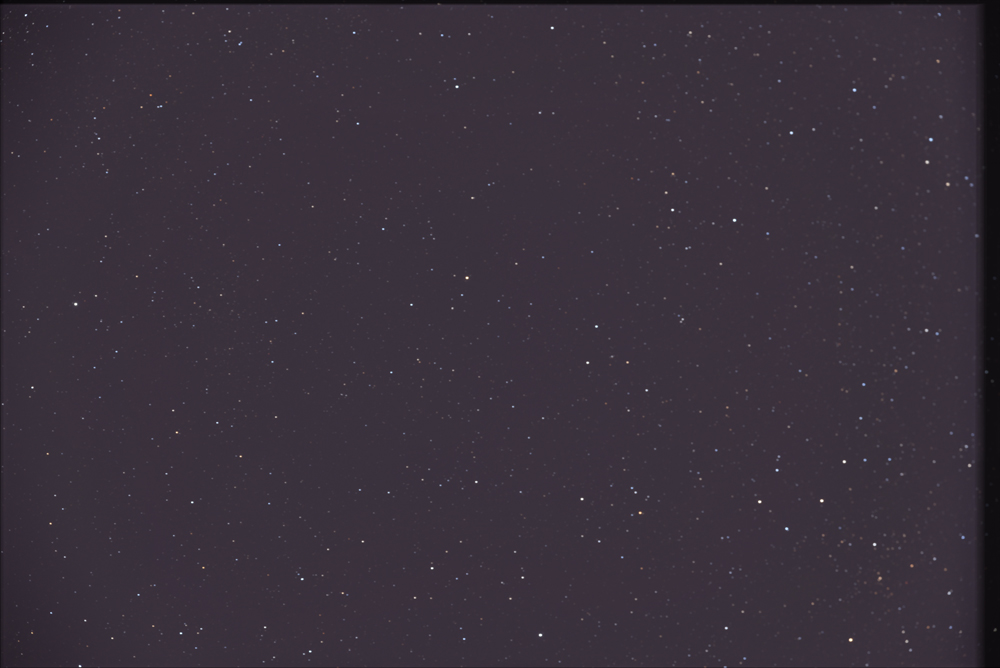
The layer was duplicated and the ‘Dust and Scratches’ filter applied to the top layer with a radius of 18 pixels. This removes the stars as it thinks that they are dust! Selecting the major part of the field as shown below (to avoid edge effects) and using the Gaussian Blur filter with a radius of 30 pixels gave a very smooth image of the light pollution.
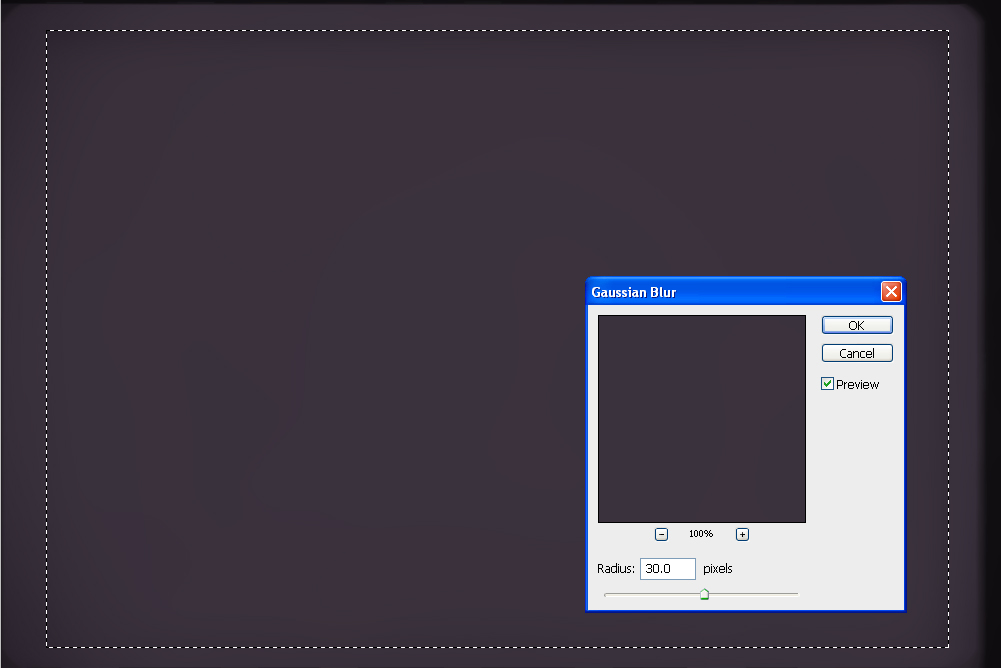
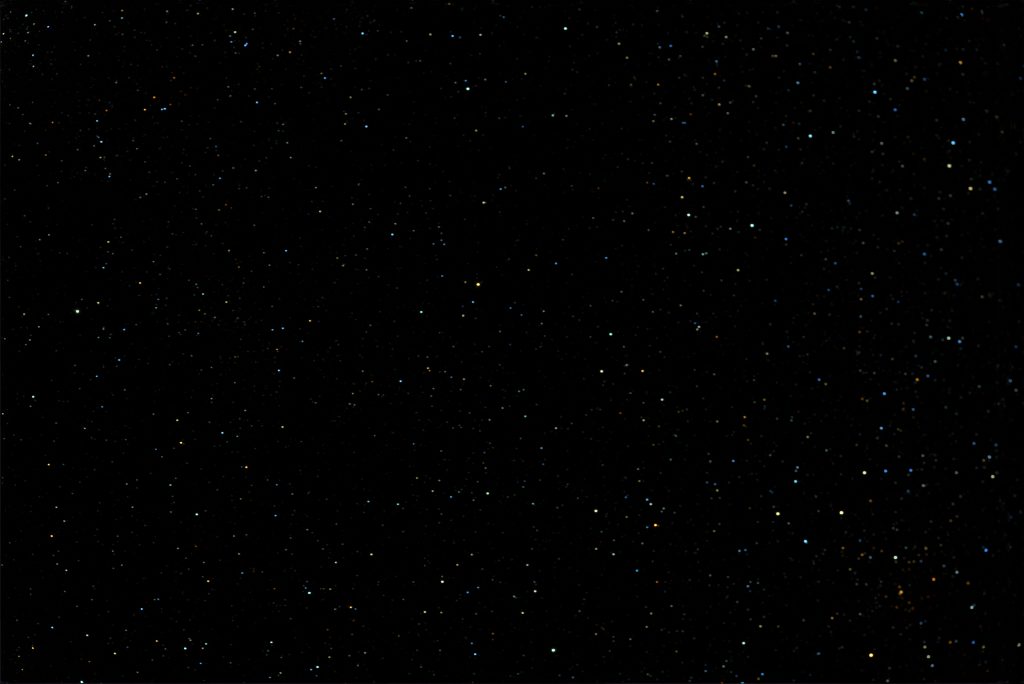
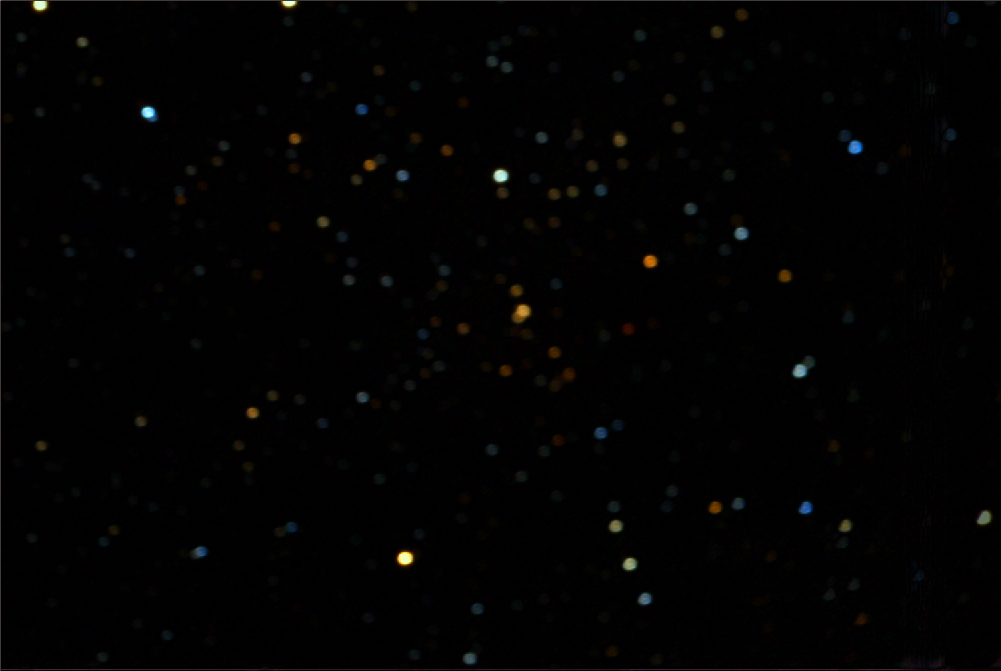
The two layers were then flattened using the ‘Difference’ blending mode and the light pollution was removed. The result was stretched further and the ‘Hue and Saturation’ tool used to enhance the star colours to give the result below.
Using screen grabs, I then produced image of identical areas of the field at the centre and outer parts of the image. These are shown at 66% full size in the set is shown below. The image below shows the crop size of each of the following field sections.
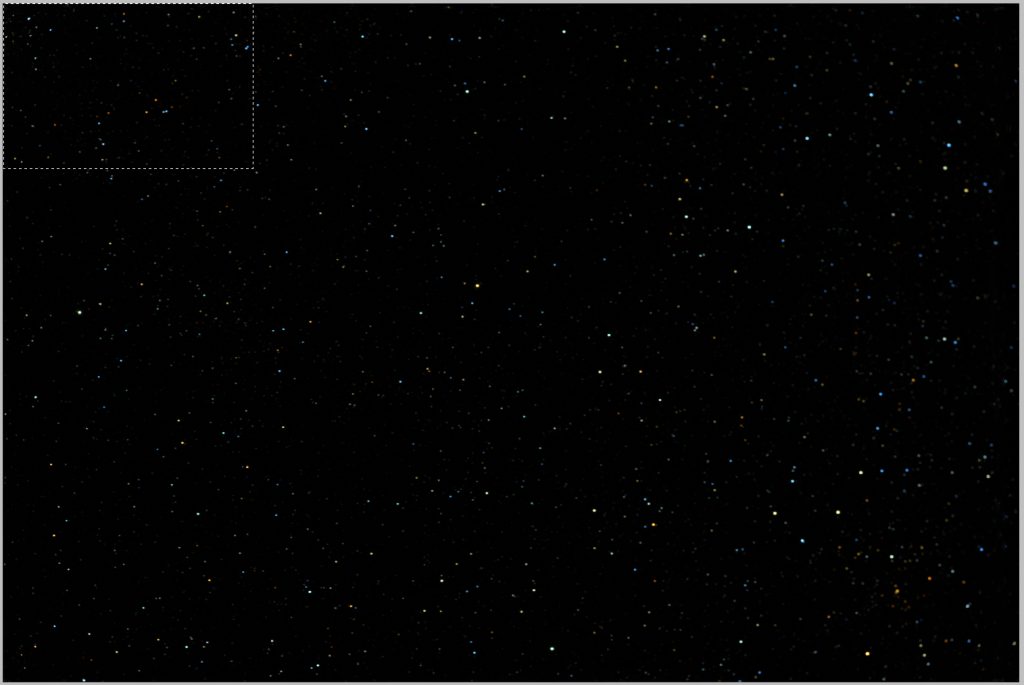
Crop size
It is obvious that my camera was slightly misaligned as the stars are sharper on the left hand side of the frame. It is only in the extreme corners of the image that the stellar image quality is slightly reduced. The worst star images, which are seen to have ‘wings’ were in the extreme top left of the field. This is probably the result of my camera being not perfectly aligned. With normal viewing these minor imperfections would not be seen.
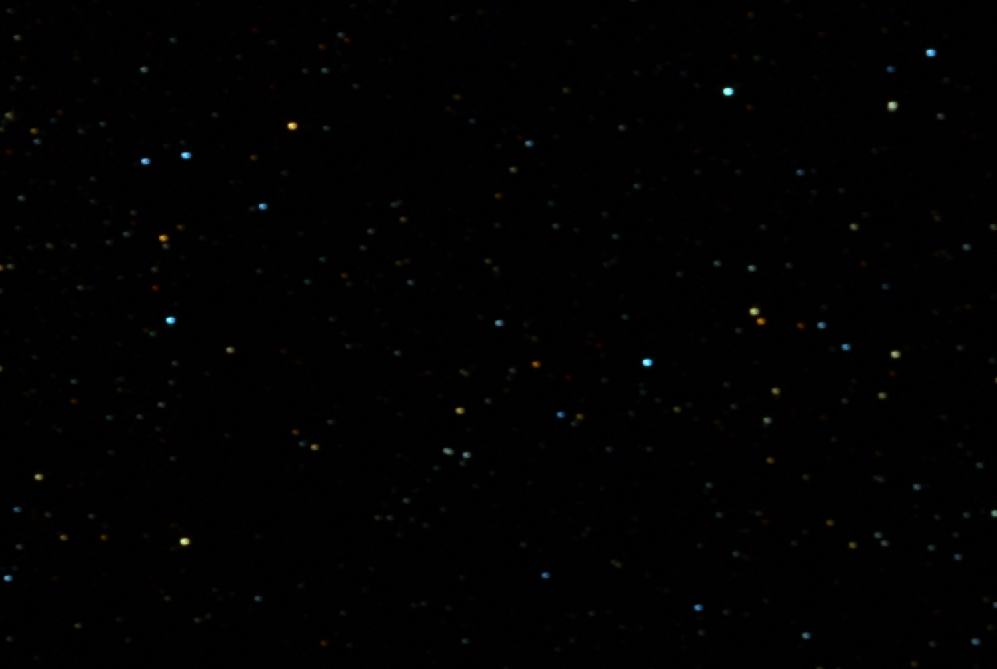
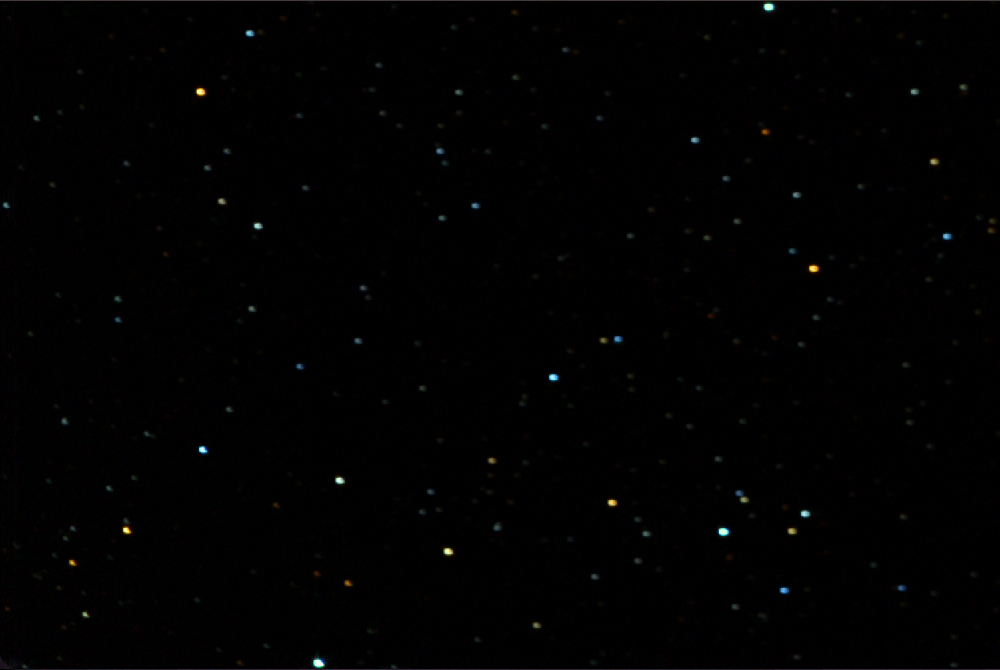
Field centre – excellent quality.
Bottom edge centre.
Right edge centre – focus is not as good on this side of the field as on the left side. Probably due to a slight misalignment of the camera.
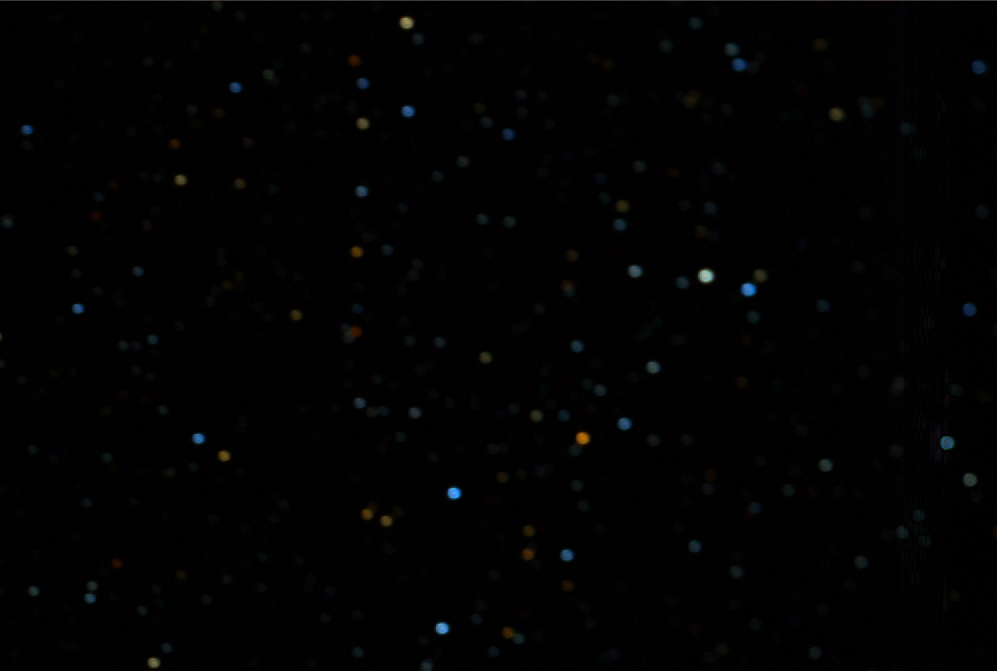
Bottom right corner – in the extreme corner the stars are a little misshapen. The focus is less good on this side of the frame – but one would not notice this on a full image.

Top right corner – very slight misshaping at the very extreme corner.
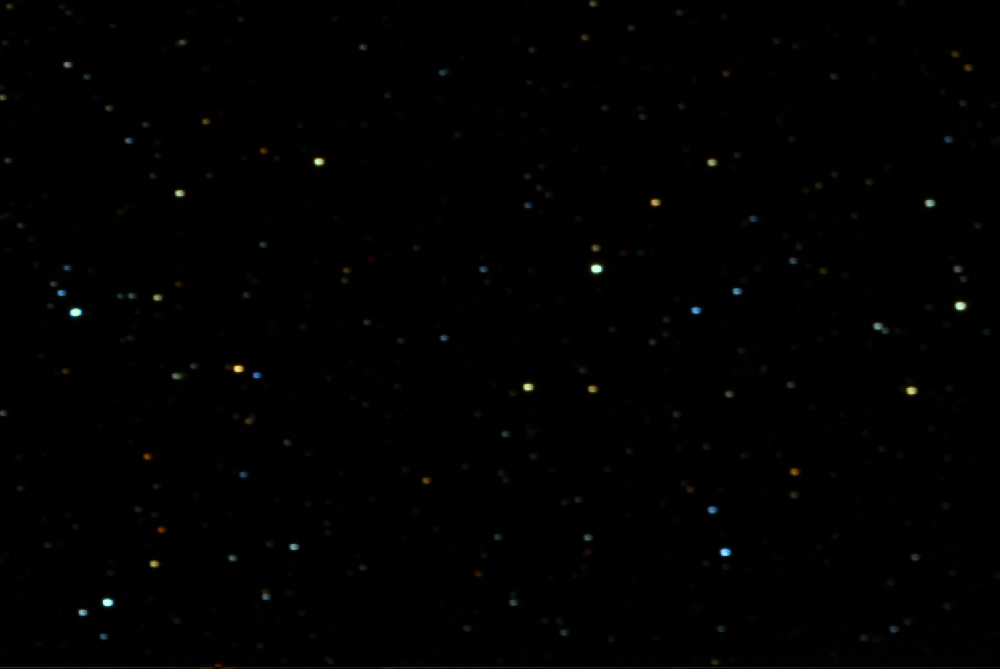
Bottom left corner – this is sharper than the bottom right. I suspect that my camera was slightly misaligned. Star quality pretty good.
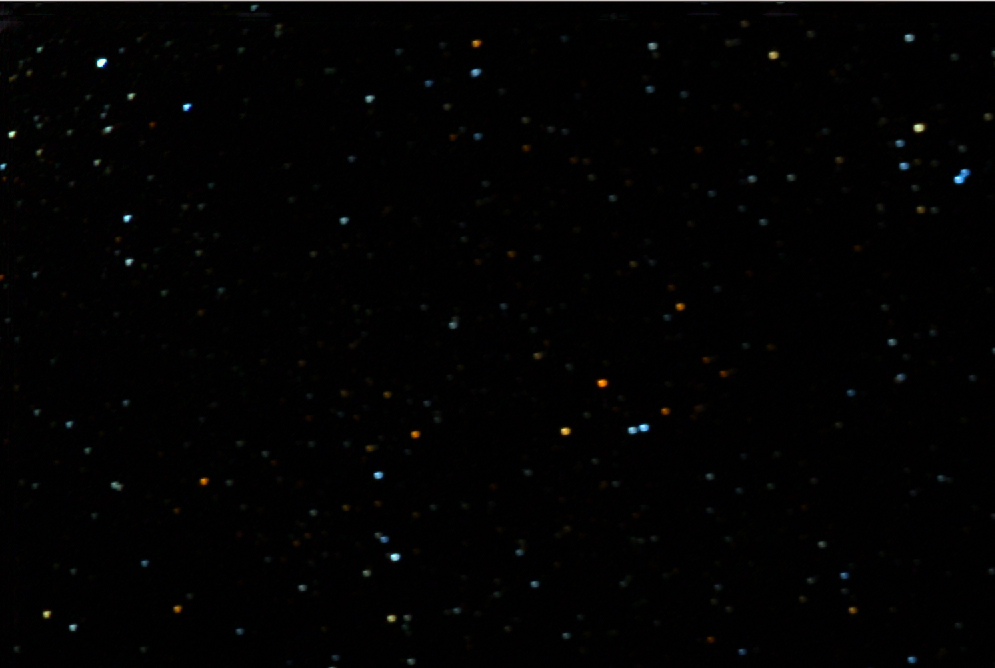
Top left corner – only a few stars in the very extreme top left are slightly misshapen. Focus is obviously better on this side of the frame.
In summary, though its unvignetted field is a little smaller than specified, this is not a real problem and the star images across the field are excellent.
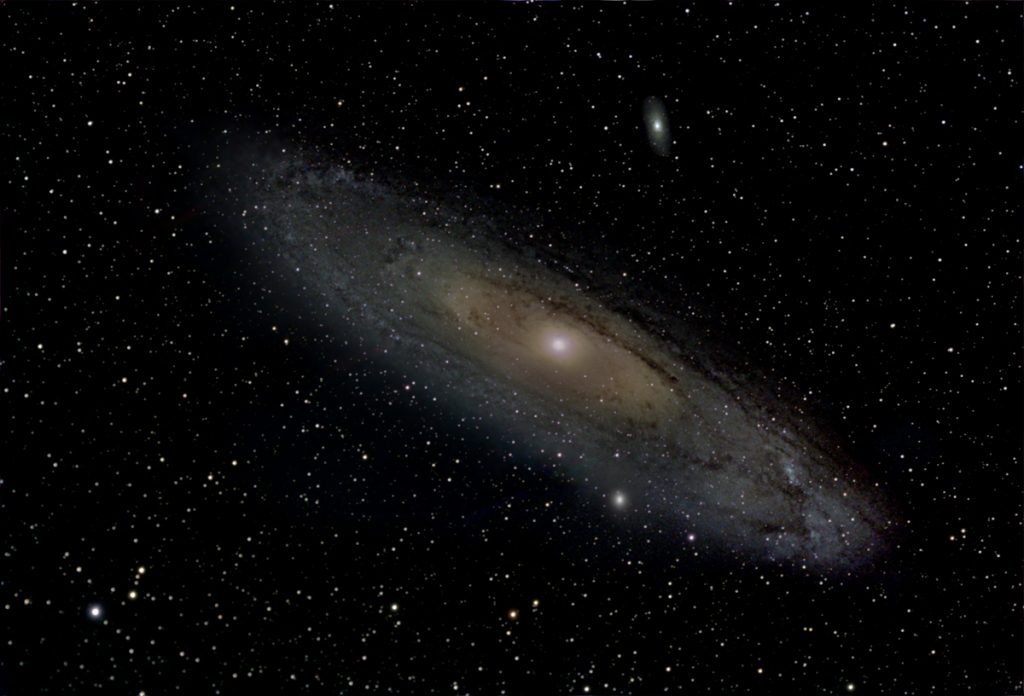
The Andromeda Galaxy imaged using a Micro 4/3 astro camera.